From Patternmaker to Designer: A Sketching Guide
TL;DR: Transitioning from a patternmaker to a designer is easier than you think because your construction knowledge is a massive advantage. This guide provides an 8-to-12-week daily sketching plan to help you confidently translate your ideas into clear, production-ready design sketches and flats. Build your portfolio with just 15-20 minutes of practice a day.
If you've spent years as a patternmaker, you already know more about garment design than most art school graduates. You understand silhouette, proportion, construction logic, and how a neckline curve affects every adjacent piece. The one thing holding you back isn't creativity. It's confidence in a new communication format: the design sketch.
This guide gives you a practical, low-pressure path to make that transition. You'll follow an 8-to-12-week daily sketching plan (15-20 minutes a day), learn to translate sketches into flats and initial patterns, and finish with a small portfolio that shows hiring teams you can go from idea to manufacturable garment.
Who this is for: Patternmakers considering a move into design who feel they lack a "creative background." What you'll need: Cheap paper or a practice pad, a pencil, and 15-20 minutes a day. Difficulty: Beginner-friendly. No drawing experience required. Time commitment: 8 weeks (intensive), 10 weeks (standard), or 12 weeks (gentle pace).
Pattern makers already speak the language of design
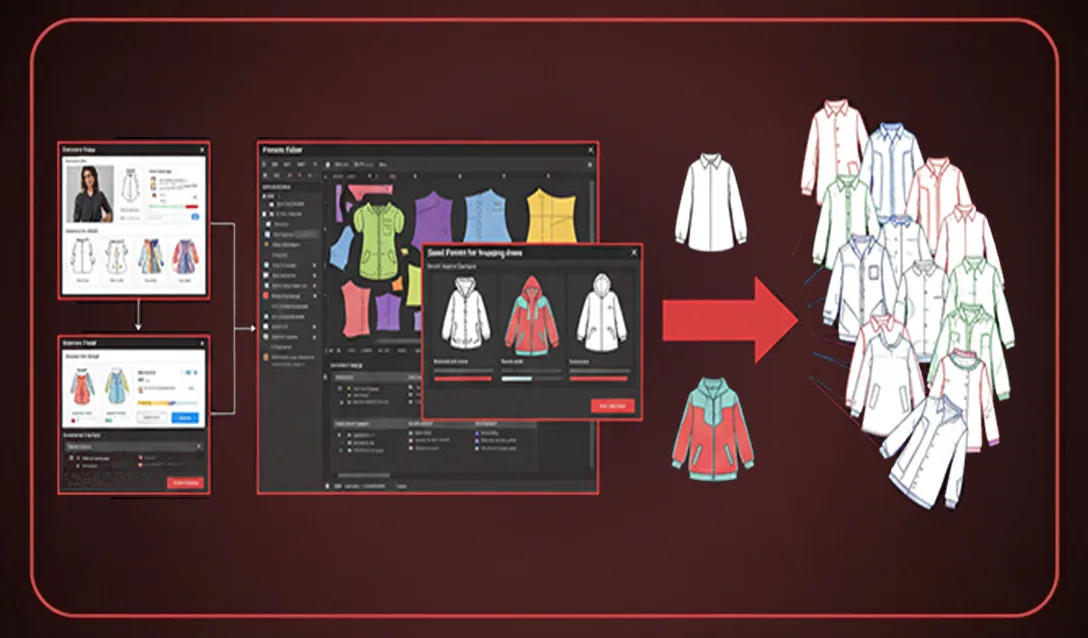
Here's what the U.S. Bureau of Labor Statistics says fashion designers actually do: they "sketch designs of clothing, footwear, and accessories," select fabrics and patterns, and "give instructions on how to produce the designs." O*NET OnLine (occupation code 27-1022.00) describes the task even more plainly: "Sketch rough and detailed drawings of apparel or accessories, and write specifications such as color schemes, construction, material types, and accessory details."
Notice the words "rough" and "write specifications." The job isn't fine art. It's communication and construction logic, two things you do every day. The BLS also notes that designers develop prototypes by working directly with patternmakers to refine fit, which means the designer and patternmaker roles are already deeply intertwined.
Your pattern knowledge is a design advantage. You already know why a sleeve cap has ease, where a welt pocket can and can't go, and which neckline geometry causes problems at the armscye. Sketching is just learning to put that knowledge on paper quickly, so others can act on it.
Your 8-to-12 week daily sketching plan
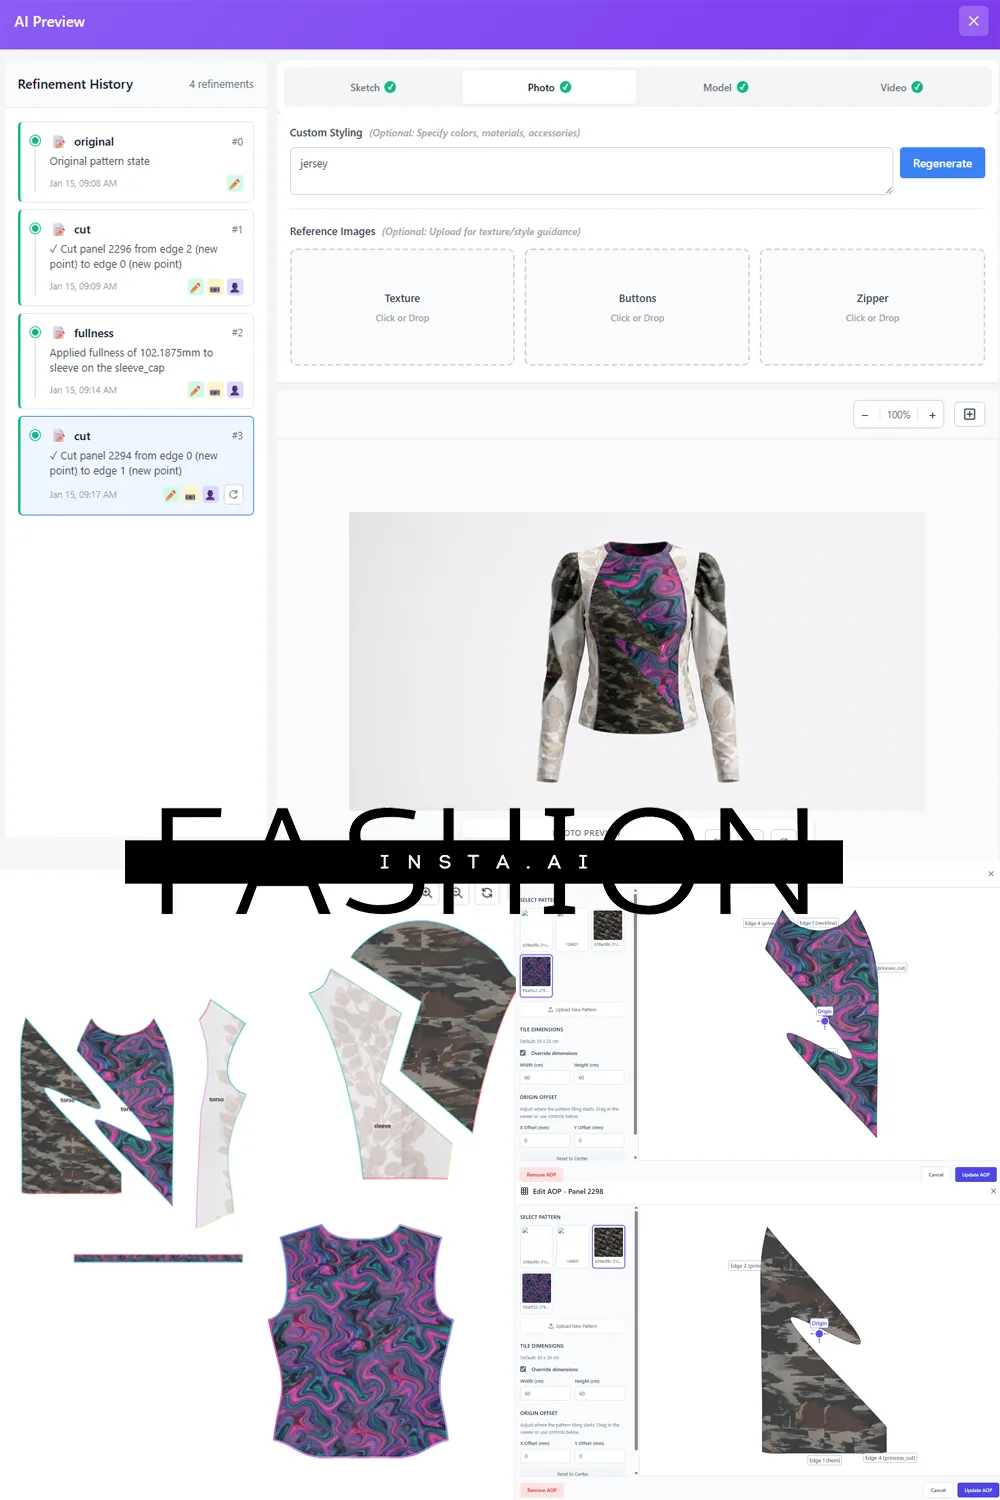
Pick one of three tracks based on your schedule. Each day follows the same structure: 2 minutes of setup (grab your paper, set a timer, choose a prompt), 10-15 minutes of drill work, and 1-3 minutes to review and note one thing that worked.
Track A: 8-week intensive | 6 days/week Track B: 10-week standard | 5 days/week Track C: 12-week gentle pace | 4 days/week
The progression works in four phases:
- Weeks 1-2: Silhouette readability. You're only drawing outer shapes. No seam lines, no buttons, nothing interior. Just silhouettes that read clearly from across the room.
- Weeks 3-4: Silhouette variations. Take one silhouette and produce three versions with proportional changes (hem length, sleeve volume, shoulder width). Save one page per session.
- Weeks 5-7: Details and material translation. Pick your best variation and add functional linework: seams, closures, pockets. Introduce a simple rule: thick outer line, lighter weight for interior construction lines.
- Weeks 8-10 (or 12): Design spec clarity. Add callout labels to your sketches (fabric type, closure hardware, stitch type). This is where your patternmaking vocabulary turns into design communication.
Weekly deliverables to save: - Week 2: 10 silhouette sheets - Week 4: 3-4 variation studies per category - Week 6: 1 translated sketch-to-flat attempt - Week 8/10: A mini-collection of 3-5 pieces with spec callouts
Three quick drills to build speed without perfectionism
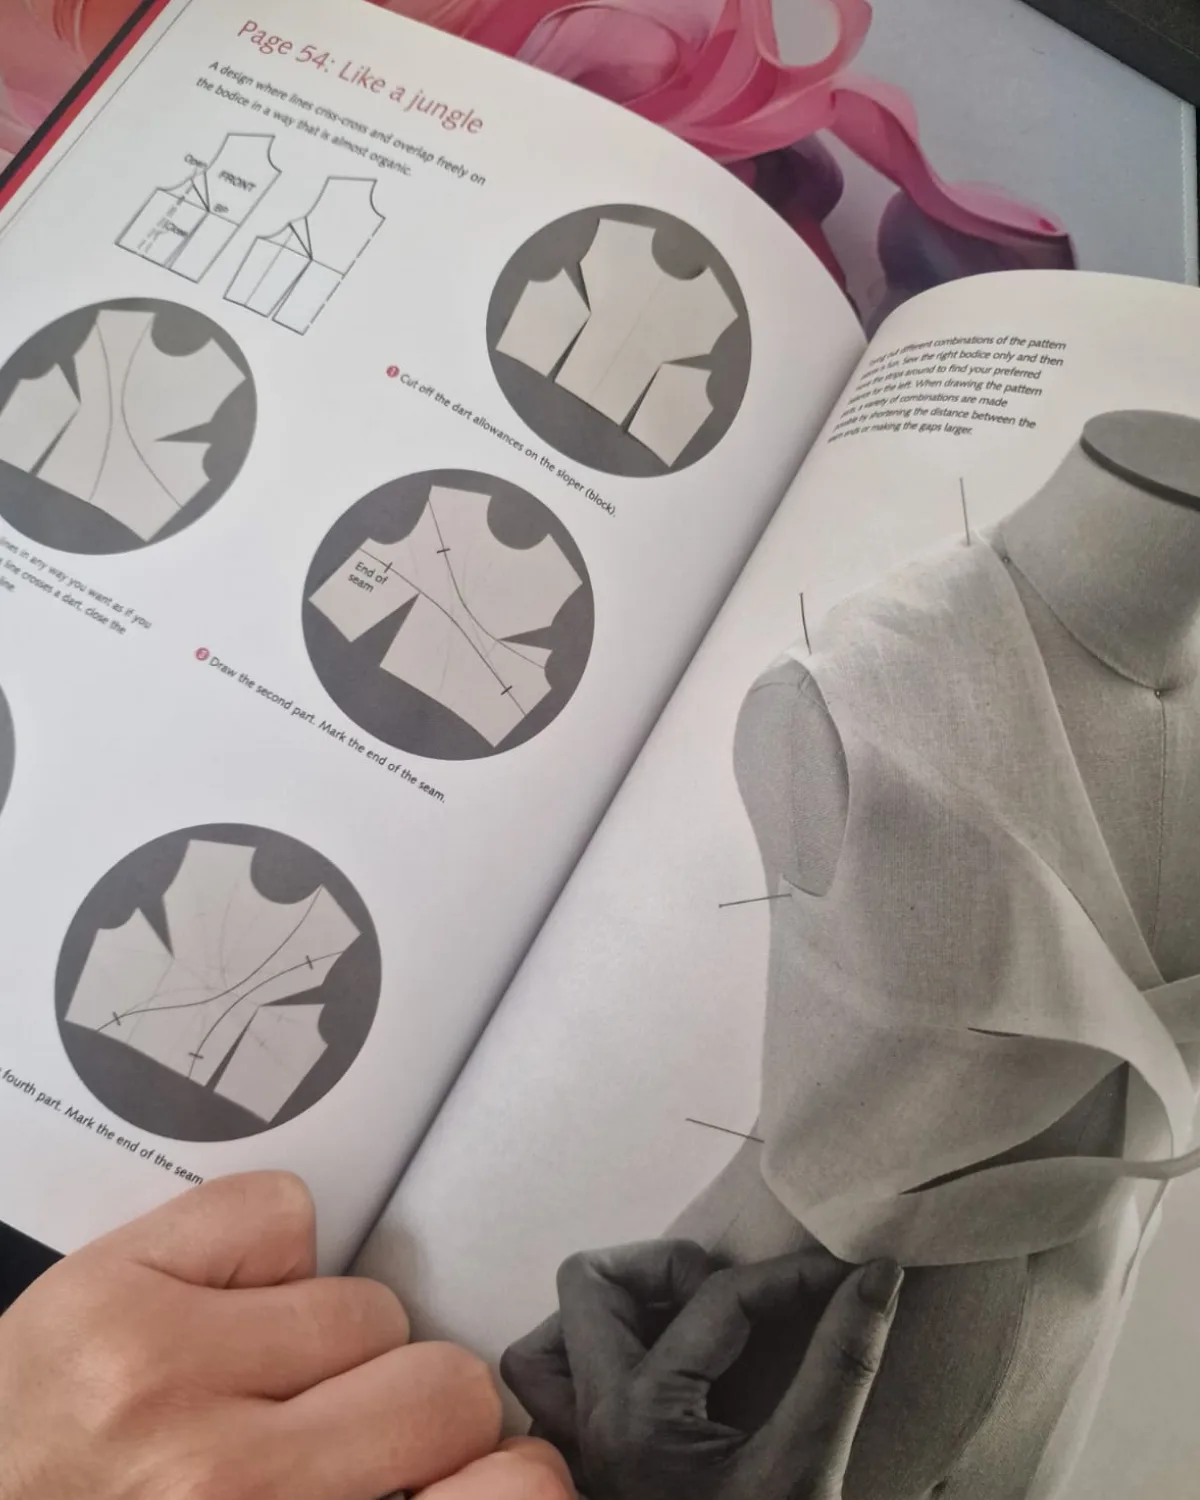
These drills take 15 minutes total and are designed to prevent over-thinking.
Silhouette drill (5 minutes)
Block in 5-8 garment silhouettes without lifting your pencil to add detail. The test: can someone across the room tell it's a coat versus a dress? If yes, move on. Work from prompt categories: outerwear, dresses, knit tops, pants, skirts.
Three-variation sketch exercise (5 minutes)
Keep one "base" design and produce three changes. Vary only one thing at a time: hem length, neckline depth, sleeve volume, or pocket placement. This drill mirrors what you already do with pattern blocks, just on paper first.
Detail callout drill (5 minutes)
Take one of your variations and add every construction decision you'd need to communicate to a sample sewer: seam lines, zipper or button placement, pocket style, collar shape. Write a one-word label next to each element. This is the sketch equivalent of a tech pack entry point.
Translating a sketch to a flat and initial pattern
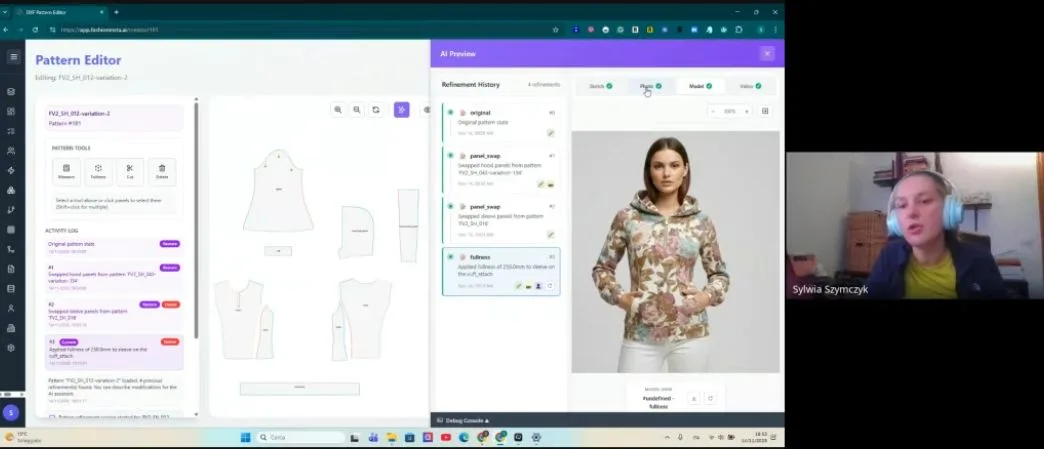
A sketch is a map of construction decisions. Your job when translating is to identify which pattern pieces get drafted first.
- Choose one variation from your three-variation exercise.
- Build a part list: front bodice, back bodice, sleeve, collar, pocket bag. Write it out before you draw anything.
- Transfer key curve logic: neckline shape and armhole geometry carry straight from your sketch into the flat. If the sketch shows a high round neckline, draft it that way. Don't improvise at the flat stage.
- Draft simplified pattern blocks using your existing patternmaking knowledge. Aim for a "minimum viable pattern," meaning it's good enough for a muslin evaluation, not a finished production marker.
- Label everything: grain lines, key measurements, seam allowance notes.
Warning: Don't add pocket details or topstitch specs to the flat before the silhouette and key curves work in muslin. Fix the shape first.
If the translation gets stuck: Go back to your silhouette drill and identify the one variable that's causing the problem (usually the neckline-to-armhole relationship or sleeve cap height). Fix it on paper before returning to the pattern.
This sketch-to-flat workflow mirrors the production-first mindset that platforms like FashionINSTA are built around: every creative decision should connect to a manufacturable output, not just a pretty rendering.
What to put in your portfolio (and when to save it)
Hiring teams reviewing design candidates want to see process work and the ability to translate ideas to production. That's straight from O*NET's task list for fashion designers: rough sketches, detailed drawings, and written specs together.
Save these at each stage:
| Checkpoint | What to save |
|---|---|
| Week 2 | 10 silhouette sheets |
| Week 4 | 3 tech-flat-ready sketches with variation studies |
| Week 8-10 | Mini-collection: 3-5 pieces, front/back flats, spec callouts |
Your portfolio's strongest piece is a "translation proof": one sketch placed side-by-side with its derived flat and initial pattern block. This shows the full chain from design intent to production-ready geometry, which is exactly what design teams need from someone stepping into a design role from patternmaking.
Score your own work with four questions: - Can someone read the silhouette clearly without explanation? - Are construction decisions visible in the linework? - Do you have at least three variations showing you can iterate? - Could a sample sewer follow the callouts without asking you?
If yes to all four, the piece is portfolio-ready.
Templates and demos to get started today
These are the practice resources that support the weekly plan. Keep the bar low: rough paper is fine, a ballpoint pen works, and nothing needs to look polished.
Template set (print or trace): - Silhouette grid: front-only and front/back columns for blocking 6-8 shapes per sheet - Three-variation sketch template: one base shape on the left, three variation boxes to the right - Detail callout template: garment outline with leader lines pre-drawn for seams, closures, and pockets - Sketch-to-flat checklist: 10-point list confirming all construction decisions are documented before drafting begins
Practice handouts: - Prompt card set by category (outerwear, dresses, knit tops, pants, skirts) - Weekly reflection sheet: one row per session (what you drilled, what worked, what to fix) - Timer card: 5/5/5 breakdown for the three-drill session
Short video demos to watch alongside the plan: 1. A 15-minute silhouette drill recorded in real time 2. Adding functional details to one garment variation 3. A sketch-to-flat walkthrough from part list to labeled block 4. A troubleshooting example: fixing a neckline/armhole translation that didn't work on the first pass
You don't need a tablet or design software to start. The whole micro-course runs on paper. Once you're producing consistent flats with clear spec callouts, tools like FashionINSTA can pick up where the sketch ends, converting your design communication into DXF patterns and tech pack inputs that are ready for production.
Your patternmaking background doesn't need to be traded in. It gets to come with you.