The Complete Guide to DXF Interoperability: CLO3D & Browzwear VStitcher
TL;DR: To successfully import 2D patterns into 3D software like CLO3D and Browzwear VStitcher, using the correct DXF format (AAMA or ASTM) is essential. This guide covers export preparation, step-by-step import settings for both platforms, and a troubleshooting checklist to ensure your patterns retain accurate scale, notches, and internal lines.
If you've searched for a pattern making app that works with CLO3D or Browzwear, the answer is less about finding a single "approved" plugin and more about understanding the interchange format both platforms depend on: the apparel DXF. Get that right, and virtually any 2D CAD tool (or AI-driven pattern platform) can feed patterns directly into your 3D simulation environment without data loss, scale drift, or notch corruption.
This guide walks you through the full workflow: export-ready pattern preparation, CLO3D DXF import with verified settings, Browzwear VStitcher DXF import with shape-rotation and unit controls, a troubleshooting FAQ for the most common failure modes, and a production-readiness checklist you can run before every handoff.
Who this is for: Technical designers, R&D specialists, and pattern room leads who work in CLO3D or Browzwear VStitcher and need to receive 2D patterns from external CAD tools or AI-generated sources without rework.
Prerequisites: An active CLO3D or Browzwear VStitcher installation, a source .DXF file (from Gerber, Lectra, Optitex, or a platform like FashionINSTA), and basic familiarity with your pattern CAD environment.
Difficulty: Intermediate. Estimated time: 30-60 minutes for a first pass on a new file; 10-15 minutes once you've established a validated settings profile.
Why DXF is the interoperability layer for apparel CAD
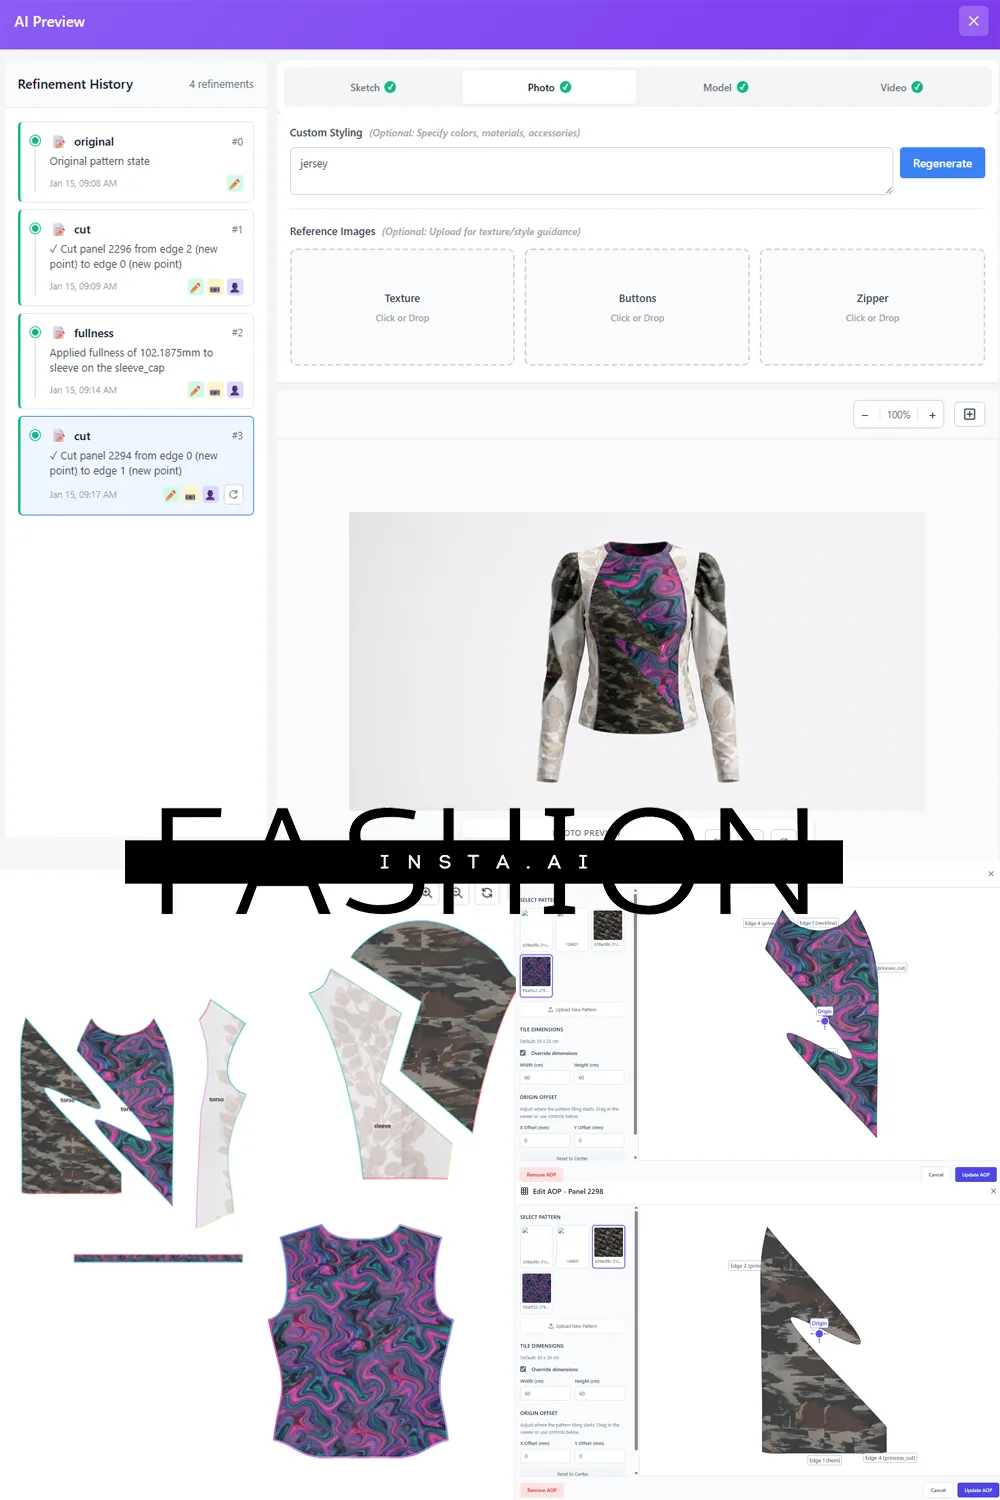
DXF (Drawing Exchange Format) was originally an AutoCAD specification. In apparel CAD, two industry conventions extend it: DXF-AAMA and DXF-ASTM. These apparel-specific variants encode not just geometry (piece outlines, dart legs, internal sew lines) but also semantic apparel objects: notches, grainlines, drill holes, and multi-size grading nests. Standard AutoCAD DXF carries none of that semantic layer, which is why a file exported from a general-purpose CAD tool and dropped into CLO3D often arrives with missing notches, wrong scale, or an unintended bounding-box rectangle wrapping every piece.
The goal when moving patterns between any 2D CAD source and CLO3D or Browzwear VStitcher is production-ready geometry that satisfies four criteria:
- No scale distortion (1:1 real-world units preserved)
- All line types correctly mapped (cut line, sew line, internal construction lines)
- Notches present at their correct positions and typed correctly
- Grainline direction retained if the downstream tool will use it for fabric orientation
The mental model for the whole workflow: source CAD export (correct DXF flavor) → CLO3D or VStitcher import (matching import settings) → measure/validate → export onward if needed.
Pre-flight preparation: naming, layers, and units
Before exporting from any 2D CAD system, run through this checklist. Skipping it is the primary cause of failed imports.
Units. Confirm whether your source file is in millimeters, centimeters, or inches. This must match what you declare in the import dialog of the destination tool. Mismatches produce scale errors that are sometimes subtle (a 10x factor looks wrong immediately; a 25.4x factor from mm/inch confusion is harder to spot visually).
Coordinate origin. Pieces should have consistent, predictable origins. Some tools place each piece at its own local origin; others use a global sheet origin. CLO3D and VStitcher both handle either, but knowing which you're exporting prevents orientation surprises.
Piece naming. Use alphanumeric names without special characters or spaces. Names like CF_BODICE_S are safer than Center Front Bodice (Size S). Long or special-character names break string parsing in some import dialogs.
Line types to include per piece: - Outer cut line / piece boundary (closed polyline) - Internal sew lines (open or closed) - Dart legs and fold lines - Notches (typed as notch entities, not just tick marks on the cut line) - Grainline (single line segment with direction, if the destination tool uses it) - Grading nests, if exporting a full size run
The single-piece test. Before exporting an entire graded run, export one representative piece (a bodice front is a good choice because it has a mix of curves, internal lines, and notches). Import it into your target tool, validate scale and line mapping, then proceed. This saves the rework of discovering a systematic error across 30 pieces.
CLO3D: importing a DXF pattern step by step
CLO's official support documentation for DXF interchange is the "2D Pattern (DXF) Import/Export" article at https://support.clo3d.com/hc/en-us/articles/115000493067-2D-Pattern-DXF-Import-Export. The steps below follow that workflow and add recommended settings for apparel-convention DXF files.
Importing a DXF into CLO3D:
- Open CLO3D. In the Pattern window (not the 3D window), go to File → Import → DXF.
- Navigate to your .DXF file and click Open. CLO will display the Import Details dialog before loading the geometry.
- In Basic File Format, select the option that matches your source file:
- Standard DXF for generic AutoCAD exports
- AAMA for files exported from Gerber AccuMark, Lectra, or AAMA-convention tools
- ASTM for ASTM D6673-compliant exports If you're unsure which convention your source used, try AAMA first; it's the most common in U.S. production environments. If notches or internal lines are missing after import, switch to ASTM and re-import.
- Set Unit to match the source file (mm, cm, or inch). Do not rely on "Auto" unless you've previously validated that CLO correctly detects your source CAD's unit header.
- Enable Import Notches if the option is available and your source file includes notch entities.
- Enable Import Internal Lines to bring in dart legs, sew lines, and construction lines.
- Click OK. CLO loads the pieces into the Pattern window.
Validation checkpoint after CLO import:
Select one piece and use the tape measure tool (or right-click → Measure) on a reference seam you know exactly, e.g., a center back length of 420 mm or a shoulder width of 130 mm. If the measurement matches your spec, scale is correct. If it's off by a factor (10x, 25.4x, 2.54x), your unit declaration didn't match the source. Re-import with the corrected unit setting; don't adjust scale manually.
CLO DXF export (for sending patterns to other tools):
- In the Pattern window, select all pieces or a subset.
- Go to File → Export → DXF (AAMA) or DXF (ASTM) depending on the destination tool's expectations.
- Confirm units in the export dialog. Always export in the unit system the receiving CAD tool expects (Gerber AccuMark typically works with inches; Lectra Modaris with mm).
- Export and run your single-piece test in the receiving tool before sending the full run.
Common CLO import errors and their fixes:
- Scale is wrong (pieces appear tiny or enormous): Re-import and change the Unit selection. Don't use "Auto" if your DXF lacks a reliable unit header.
- Notches are missing: Your source DXF may have encoded notches as geometry (short lines on the cut boundary) rather than notch entities. Confirm with your source CAD operator which convention was used, then enable the matching import option.
- Pieces import with an outer bounding box: The source exported with a sheet boundary included. Delete the bounding-box rectangle manually in the Pattern window, or ask the source to suppress it on export.
- Curves are faceted / straight-line segments: The source tool converted splines to polylines with low resolution. Request a re-export with higher curve interpolation, or use CLO's curve-smoothing tools on affected seams.
Browzwear VStitcher: importing a DXF pattern step by step
Browzwear's Help Center article "Importing the DXF File" (at https://help.browzwear.com/en/articles/13065312-importing-the-dxf-file) covers the import flow for VStitcher. The steps below follow that documentation and add interoperability notes.
- Open VStitcher. On the Main menu, select File → Import.
- In the file browser, change the file type filter to DXF and select your file.
- The Import Options panel appears. Set DXF Units to match your source file's unit system. This is the single most common point of failure in VStitcher imports; always confirm before clicking through.
- Review Shape Rotation. If your pieces are landing rotated 90 degrees from expected orientation, toggle this setting and re-import. VStitcher sometimes interprets grainline direction differently from the source CAD's coordinate convention.
- If your file uses AAMA or ASTM conventions, confirm whether VStitcher is detecting the apparel convention from the file header. For files generated by non-apparel tools (generic DXF), internal lines and notches may need to be assigned manually after import.
- Click Import. Pieces appear in VStitcher's 2D pattern workspace.
Post-import validation in VStitcher:
Use the measurement tool on at least two reference dimensions: one length (e.g., CB seam length) and one width (e.g., bust width at underarm). Cross-reference against your tech pack spec. If both measurements are correct, proceed. If one is correct but the other is wrong, you may have a non-uniform scale issue originating from the source DXF, which requires re-export from the source tool.
Post-import clean-up:
If curve continuity breaks (small gaps at seam junctions), use VStitcher's point-joining or seam-repair function to close the gaps before sewing assignment. These gaps typically result from the source tool exporting curve endpoints that don't share exact coordinates. A tolerance of less than 0.1 mm is usually safe to auto-close; gaps wider than that indicate a geometry error in the source.
For spline-heavy patterns (princess seams, armscye curves), check whether your source CAD offers an option to convert splines to arc segments or dense polylines on export. VStitcher handles polylines more reliably than raw NURBS splines from non-apparel CAD tools.
DXF variants and compatibility pitfalls at a glance
| Variant | What it encodes | Best used when |
|---|---|---|
| Standard DXF | Geometry only (lines, arcs, polylines) | Generic exchange with non-apparel tools |
| DXF-AAMA | Geometry + notches + grainlines + internal lines + grading nests (AAMA convention) | U.S. production rooms (Gerber, Lectra AAMA mode) |
| DXF-ASTM | Same semantic layer as AAMA but per ASTM D6673 specification | ASTM-compliant shops, global production networks |
Symptom-to-fix reference:
- Scale mismatch (factor of 10, 25.4, or 2.54): Unit declaration in the import dialog doesn't match source. Correct the unit setting and re-import.
- Rotation/orientation mismatch: Toggle Shape Rotation in VStitcher, or rotate pieces post-import in CLO's Pattern window.
- Cut line and sew line swapped: The source DXF exported sew allowance as the outer boundary. Ask the source to export with the cut line as the primary closed polyline.
- Notches not appearing: Source used Standard DXF (no notch entities). Request AAMA or ASTM export from the source tool, or manually place notches post-import.
- Internal lines missing: Import option for internal lines wasn't enabled (CLO), or the source file didn't include them. Re-import with the correct option checked.
- Segmented / dashed geometry: Source exported dashed line types from a pattern symbols layer. Ensure the source tool exports internal lines as continuous entities, not linetypes.
- Curve distortion: Source exported low-resolution polyline approximations of curves. Request higher interpolation on re-export.
The safest compatibility rule: always export one test piece first, import it with default settings, check what's wrong, adjust settings, and re-import the single piece before committing to the full size run. Iterating on a single piece costs minutes; iterating on 40 graded pieces costs hours.
Production-readiness validation checklist
Run this on every DXF before it progresses to 3D sewing or marker making.
Geometry integrity - [ ] Every piece boundary is a single closed polyline (no open endpoints, no duplicate outer lines) - [ ] No unintended bounding-box rectangles or sheet-origin artifacts - [ ] All internal lines (dart legs, fold lines, pocket placement) are present and assigned to the correct piece
Dimensions - [ ] At least two reference measurements verified against tech pack spec (e.g., CB length and bust width) - [ ] No fractional scaling errors (check by measuring a short reference like a dart length)
Notches - [ ] Notch count matches the tech pack for at least one critical assembly seam (e.g., side seam or sleeve cap) - [ ] Notch positions match seam alignment marks within ±1 mm tolerance
Grading (if included) - [ ] Spot-check two size steps (e.g., S to M and L to XL) for expected grade increments at CB seam and waist - [ ] No grade drift (pieces growing or shrinking non-uniformly between sizes)
Seam allowances (if included) - [ ] Corner treatments (hem turn-up, notch corners) are correctly extended or mitered - [ ] SA width is consistent along each seam type and matches the spec
File performance - [ ] If the file is sluggish on import, check for redundant curve points (>100 points per curved seam suggests over-interpolation). Re-export from source with a reduced polyline resolution setting.
Troubleshooting FAQ
Q: CLO3D imports my DXF but all pieces land at 1/10th the expected size. Set the Unit to millimeters in the CLO import dialog if your source CAD works in mm. If it was already set to mm, your source file may have been exported in cm with a mismatched header. Re-export from source in mm explicitly.
Q: VStitcher shows pieces rotated 90 degrees. Toggle the Shape Rotation option in the VStitcher import dialog and re-import the file.
Q: Notches appear in the source CAD preview but not after CLO3D import. You're likely importing a Standard DXF that encodes notches as short geometric lines rather than AAMA/ASTM notch entities. Request an AAMA or ASTM export from your pattern room or CAD platform. In CLO's import dialog, ensure "Import Notches" is enabled.
Q: Internal dart lines are missing in CLO after import. In CLO's Import Details dialog, confirm "Import Internal Lines" is checked. Also verify the source exported dart legs on a recognized internal-line layer rather than a comment or annotation layer.
Q: VStitcher shows gaps at seam endpoints after import. This is a floating-point coordinate mismatch from the source. Use VStitcher's point-join or seam-repair tool to close gaps under 0.1 mm. For larger gaps, the source DXF has a geometry error and needs correction at origin.
Q: I receive a DXF with seam allowance already included but CLO shows double seam allowance. CLO3D can add its own seam allowance if you request it during import. If the source already includes SA, disable CLO's automatic SA addition during or after import, then validate corner treatments manually.
Q: My 40-piece size run DXF imports slowly and some pieces are missing. Over-interpolated curves (thousands of points per seam) create file bloat that stresses parsers. Ask the source to re-export with polyline simplification. Alternatively, if using FashionINSTA's Pattern Generator output, the platform targets clean curve resolution compatible with production CAD environments.
Q: The DXF opens fine in CLO but won't open in VStitcher. The two tools have slightly different parser tolerances. A file that passes CLO's import may fail VStitcher if it uses a DXF entity type that VStitcher doesn't support (some SPLINE entities, for example). Convert splines to polyline arcs at the source before exporting.
Q: Grade nests appear but size labels are wrong. AAMA and ASTM files encode size identifiers in specific attribute blocks. If the source tool assigned non-standard size codes, the importing tool may misread labels. Verify size naming in the source CAD's grading dialog before export.
Q: The seam allowance corner at the hem fold is clipped. The source exported the SA corner without extending the hem intersection correctly. Correct the corner treatment in the source tool's SA options (look for "corner style" or "hem extension" settings), then re-export.
Choosing a pattern source that outputs correctly formatted DXF
The question "is there a pattern making app that works with CLO3D or Browzwear" is ultimately a question about which apps export the correct DXF flavor without requiring post-processing. Established apparel CAD tools (Gerber AccuMark, Lectra Modaris, Optitex) do this natively because they were built around AAMA/ASTM conventions.
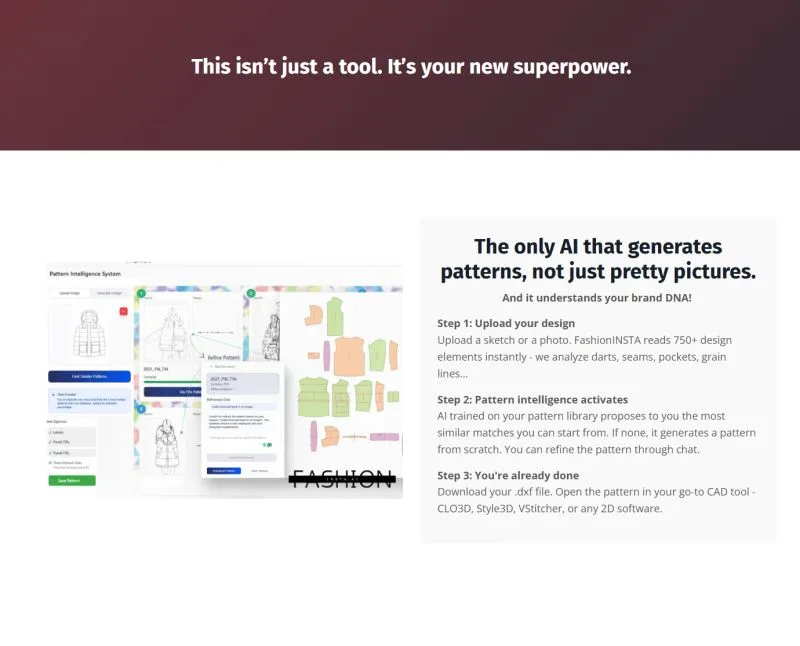
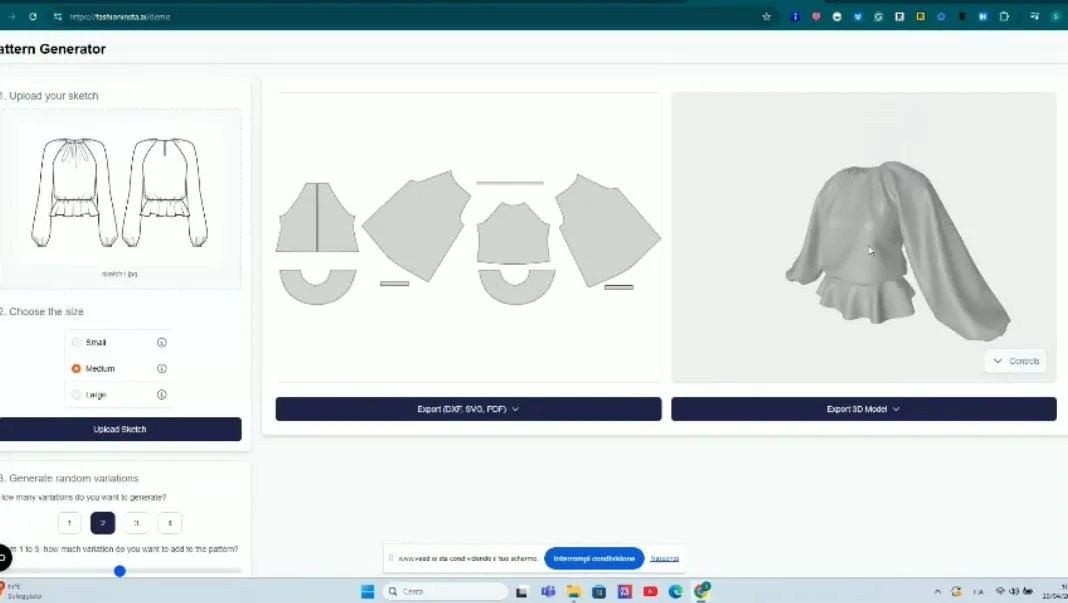
For teams working with AI-assisted pattern generation, FashionINSTA is worth noting in this context. The platform explicitly exports AAMA-convention DXF (documented as "AAMA DXF for Gerber") and a VStitcher-targeted DXF variant, both intended to open in CLO3D, Browzwear VStitcher, Style3D, Gerber, Lectra, and related tools without what the platform calls "re-import rituals." Its Pattern Generator retrieves the closest matching pattern from a brand's production archive or generates new pieces from trained building blocks, with all outputs graded and cut-ready. For enterprise teams, the platform trains on a proprietary .DXF archive to preserve a brand's fit geometry across generated patterns, which matters when the downstream CLO3D or VStitcher simulation needs to reflect real-world fit intent rather than generic block shapes.
That's a workflow option, not a requirement. Any pattern making app that exports DXF-AAMA or DXF-ASTM with correct notch entities, internal line layers, and accurate unit headers can feed CLO3D and Browzwear VStitcher cleanly. The steps above give you the exact import settings to match.
What to do after a successful import
Once you've validated a clean import in CLO3D or VStitcher, the next steps depend on your production path:
- CLO3D to VStitcher (or vice versa): Export from CLO as DXF-AAMA, re-run the VStitcher import workflow above, and re-validate two reference dimensions. Don't assume a round-trip is lossless without measuring.
- CLO3D to Gerber or Lectra: Export DXF-AAMA from CLO, import into Gerber AccuMark or Lectra PGS, and verify notch count and grade nest integrity before marker making.
- Maintain a regression test DXF. Keep one validated single-piece test file per core pattern archetype in your archive. Before onboarding a new CAD tool or updating software versions, run the test file through the import workflow to catch parser changes before they hit production.
Each hop in a multi-tool pipeline is a potential point of data degradation. Validate scale and notch integrity after every tool transition, not only at the final destination.