What Tools Do I Need for Pattern Drafting?
TL;DR: Pattern drafting requires a mix of essential manual tools like dotted paper, clear rulers, and mechanical pencils, alongside modern digital solutions. As your skills advance, integrating CAD software and AI-powered pattern intelligence systems can drastically speed up your workflow while maintaining precise fit standards. Building the right toolkit depends on your experience level, budget, and production needs.
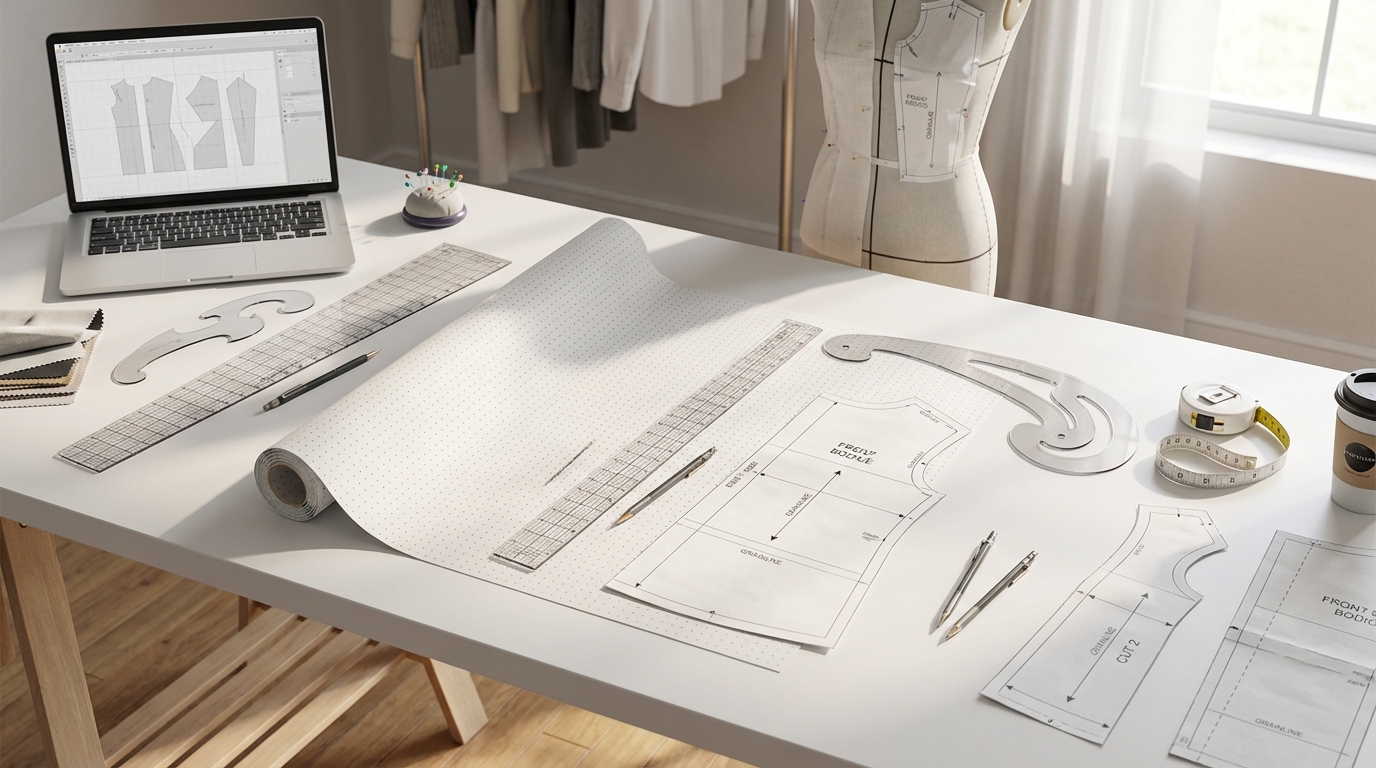
Pattern drafting is the foundation of garment construction, requiring precision, accuracy, and the right tools to translate design vision into wearable reality. Whether you're just starting out as a fashion designer, pattern maker, or technical designer, or you're looking to upgrade your existing toolkit, understanding the essential pattern drafting tools and equipment will help you create professional-quality patterns that maintain consistent fit and construction standards.
This comprehensive guide breaks down everything you need to know about pattern drafting tools—from traditional manual supplies to cutting-edge digital solutions—so you can build a kit that matches your workflow, budget, and long-term career goals.
Essential Pattern Making Tools: The Core Foundation
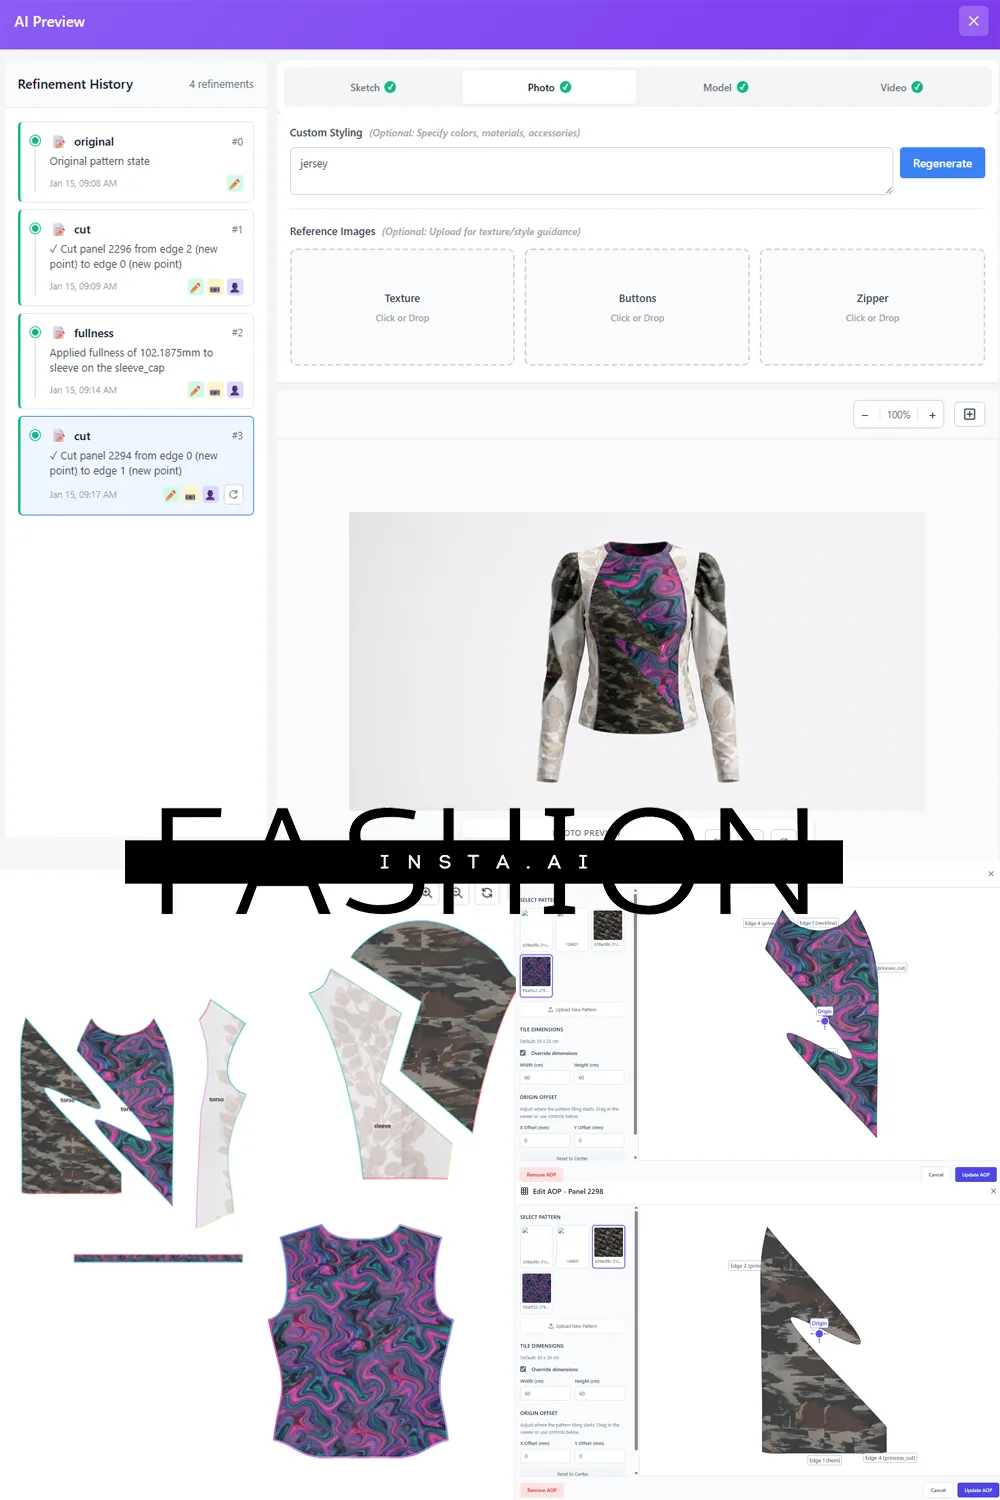
Every pattern maker needs a core set of tools that form the foundation of the craft. These are the non-negotiables, the items you'll reach for daily whether you're drafting a basic bodice block or creating complex technical patterns.
Pattern Paper and Tracing Paper
Pattern paper is your canvas. Most professionals use dotted pattern paper (sometimes called spot and cross paper), which features a grid of dots at 1-inch intervals. This grid system helps maintain accuracy when drafting straight lines and measuring distances. Kraft paper, manila paper, and Swedish tracing paper are also popular choices depending on your budget and project type.
For beginners, start with a roll of dotted pattern paper from suppliers like Wawak, GoldStar Tool, or Sure-Fit Designs. You'll also want tracing paper or vellum for copying patterns, transferring modifications, and creating working copies of your master blocks. Card stock or tagboard is essential for creating durable master blocks that you'll reference repeatedly—these should be your most accurate, carefully drafted templates that preserve your brand's fit philosophy.
Measuring Tools: Rulers, Curves, and Tape Measures
Accurate measurement is non-negotiable in pattern making. You'll need several types of measuring tools:
Clear Plastic Rulers: An 18-inch or 24-inch clear plastic ruler with both imperial and metric markings is your workhorse. The transparency lets you see pattern lines underneath, and the grid markings help you maintain right angles and parallel lines.
French Curve Rulers: These comma-shaped tools are essential for drawing smooth, precise curves on necklines, armholes, and collar points. A standard French curve set usually includes 2-3 different curve shapes to accommodate various drafting needs.
Hip Curve Rulers: The hip curve (also called a styling design ruler or vary form curve) is longer than a French curve—typically 24-30 inches—and features a gentle, sweeping curve perfect for drafting side seams, hip lines, skirt hems, and waistlines. The Fairgate hip curve and Kearing 3-in-1 vary form curve are industry favorites for their durability and versatility.
Pattern Master or Styling Ruler: This multi-purpose transparent ruler combines a straight edge, right angle, curves, and often includes common seam allowances and grading increments. Many pattern makers consider this their single most valuable tool because it consolidates several functions.
Flexible Curve Ruler (Flexi-Curve): This bendable ruler holds its shape and is useful for measuring or replicating irregular curves, though it's less durable than metal or rigid plastic curves.
Tape Measure: A 60-inch flexible tape measure is essential for taking body measurements and measuring curved pattern edges. Look for quality brands like Hoechstmass that won't stretch or distort over time.
Marking and Drawing Tools
Precision marking determines the accuracy of your final pattern.
Mechanical Pencils: Most professionals swear by 0.5mm mechanical pencils with hard lead (3H or 4H). Hard lead creates fine, clean lines that won't smudge, and mechanical pencils maintain a consistent line width without sharpening. Keep extra leads on hand.
Colored Pencils or Fine-Tip Pens: Use different colors to distinguish between pattern lines, seam allowances, grainlines, and modifications. Many pattern makers use red for seam allowances, blue for original draft lines, and black for final lines.
Erasers: A high-quality soft eraser (like a Staedtler Mars plastic eraser) removes pencil marks cleanly without damaging paper or leaving residue.
Awl: This pointed tool pierces small, precise holes to mark dart points, pocket placements, and buttonhole positions. It's indispensable for transferring markings from one pattern piece to another.
Cutting Tools: Scissors and Rotary Cutters
Pattern Shears or Paper Scissors: Never use your fabric scissors on paper—paper dulls blades quickly. Invest in dedicated pattern shears with long blades (8-10 inches) for cutting smooth, continuous lines.
Fabric Scissors: Keep separate, sharp fabric shears for cutting your toile or test garments. Quality brands like Gingher or Kai are worth the investment.
Rotary Cutter and Mat: For straight cuts and grading multiple sizes, a rotary cutter paired with a self-healing cutting mat speeds up the process and delivers clean edges.
Fastening and Assembly Tools
Transparent Tape or Scotch Tape (Matte Finish): Use matte-finish tape (like 3M Scotch Magic Tape) to join pattern pieces, make corrections, and add extensions. Matte tape allows you to write on it and is easier to remove than glossy tape.
Masking Tape or Drafting Tape: For temporary holds and larger joins, low-tack masking or drafting tape won't tear your pattern paper when removed.
Glue Stick: Useful for permanently adhering pattern pieces to card stock or joining large pattern sections.
Pins and Weights: Pattern weights (or heavy objects like small dumbbells) hold your pattern in place while you trace or cut. Pins are essential for securing fabric during fittings.
Specialty Pattern Making Tools
As you advance, several specialized tools make pattern work faster and more accurate.
Pattern Notcher: This punch tool creates small, consistent 1/16" x 1/4" notches along pattern edges to mark seam allowances, match points, center lines, and grainlines. Notches are easier to see and more durable than pencil marks.
Tracing Wheel: Paired with carbon paper, a tracing wheel transfers markings from one layer of paper or fabric to another. Choose a sharp, fine-toothed wheel for precise lines.
Pattern Drill or Hole Punch: Use this to punch clean holes for marking specific points like dart tips or buttonhole placement.
Set Square or Right-Angle Ruler: Essential for squaring off grainlines, creating perpendicular lines, and ensuring your pattern pieces are aligned correctly.
Pattern Hooks: Specialized clips or hangers for storing finished patterns—they keep patterns organized and wrinkle-free.
Digital Pattern Making Tools and Software
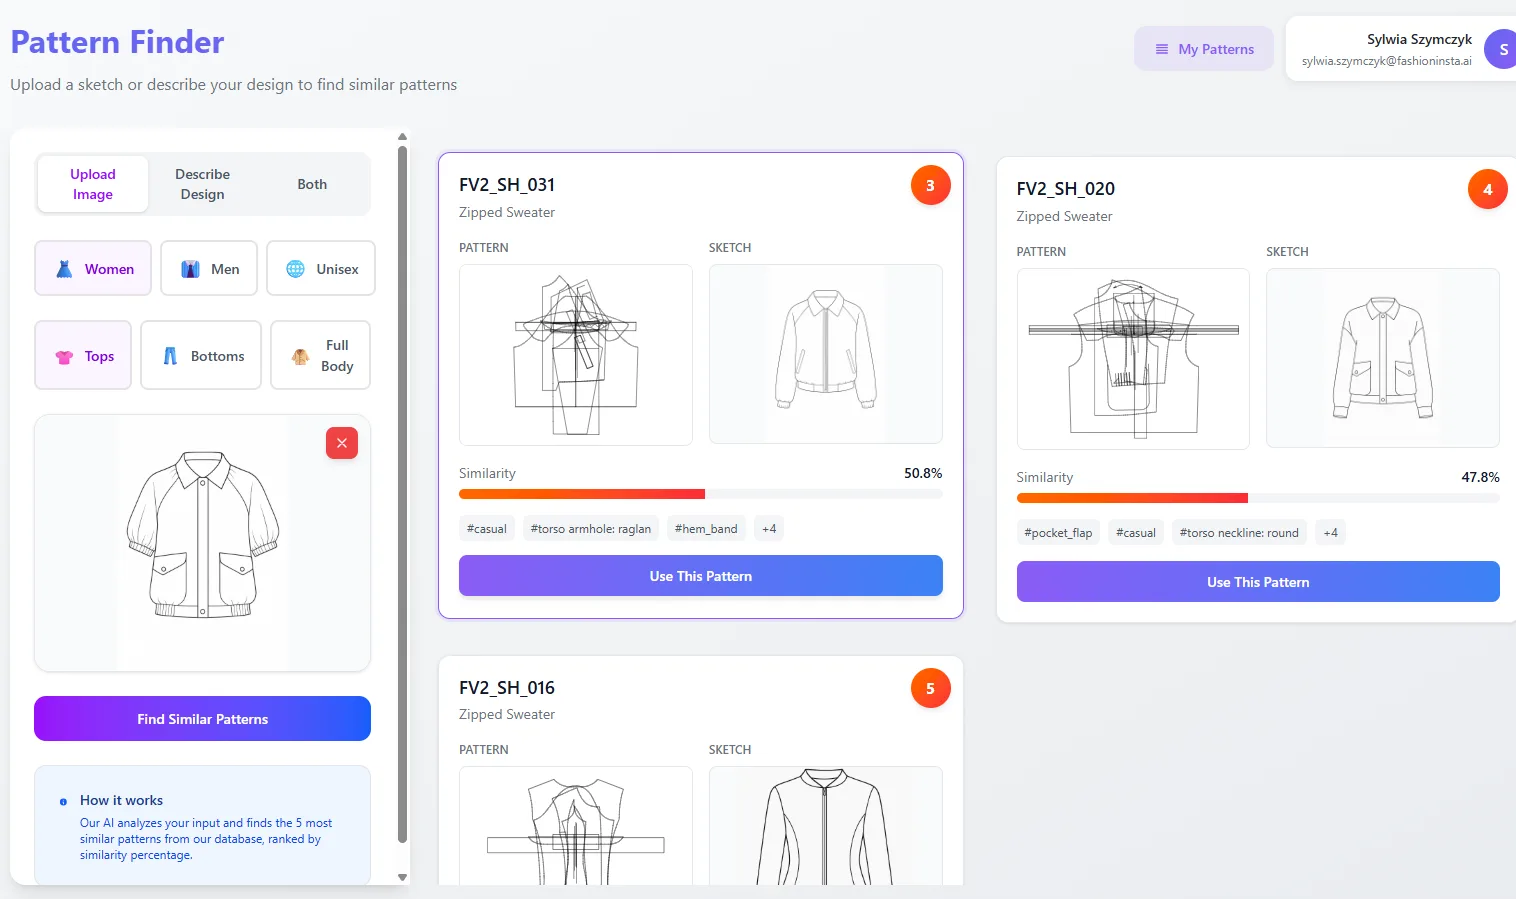
The fashion industry has increasingly embraced digital pattern making, and understanding these tools is now essential for most professional roles. Digital solutions cut pattern development time by 60-80% while maintaining production accuracy above 95%.
Computer-Aided Design (CAD) Software
Professional CAD software like Gerber AccuMark, Lectra Modaris, and TUKAcad remain the industry standards in production environments. These systems handle 2D pattern drafting, grading, marker making, and can interface directly with automated cutting equipment. Most factories and established brands build their workflows around one of these platforms, which means learning them significantly increases your employability.
For independent designers and smaller teams, more accessible options include:
CLO 3D and Marvelous Designer: These 3D garment visualization tools let you drape and simulate fabric in a virtual environment, then convert your 3D designs into 2D patterns. They're particularly valuable for fit testing and design iteration without physical sampling.
Browzwear VStitcher: Another industry-standard 3D solution favored for commercial production and true-to-life visualization.
Seamly2D (formerly Valentina): A free, open-source parametric drafting tool that's excellent for learning digital pattern drafting principles without financial investment.
Adobe Illustrator: While not purpose-built for pattern making, many designers use Illustrator for creating technical flats, grading patterns, and preparing patterns for digital printing.
AI-Powered Pattern Intelligence Systems
The latest evolution in pattern making technology leverages artificial intelligence to dramatically accelerate pattern creation while preserving brand fit standards and construction DNA. Unlike generic CAD tools, AI pattern making platforms learn from your existing pattern library to generate new variations that maintain your signature fit philosophy.
FashionINSTA represents this new generation of tools, training custom Pattern Intelligence on your brand's actual .DXF pattern archive. The system extracts 750+ features from each pattern—armholes, ease, seams, curves, construction methods—so the AI understands your brand's unique approach. You can upload sketches, and the system scores existing patterns by similarity and operation complexity, then enables modular editing: swap collars, mix sleeves, add cuts, adjust ease, all while maintaining fit consistency and tracking every modification.
This approach differs fundamentally from image-based AI tools because it works with actual DXF pattern geometry, not AI-generated pixel approximations. The result is production-ready patterns with instant fabric consumption and cost calculations based on real pattern pieces—what the platform calls "pattern-based truth" rather than "AI hallucinations."
For technical designers and product development teams managing large pattern archives, this type of pattern intelligence system transforms scattered files into a searchable, modular library where finding reuse-ready patterns takes seconds instead of days. The technology particularly benefits brands looking to accelerate digital pattern creation by 70% while ensuring every new iteration respects approved fit blocks and construction standards.
Essential Digital Hardware
If you're working digitally, you'll need:
Digitizer Tablet: For tracing existing physical patterns into CAD software, a large-format digitizer tablet (like a Wacom or GTCO CalComp) is the standard input device.
High-Resolution Monitor: Pattern work demands screen real estate and clarity—invest in at least a 27-inch monitor, or better yet, dual monitors.
Scanner/Plotter: For importing hand-drafted patterns or printing large-format patterns, a wide-format scanner and plotter are necessary for professional work.
Building Your Pattern Making Kit by Experience Level

Beginner Starter Kit (Budget: $150-$300)
If you're just beginning pattern drafting, focus on quality basics:
- Roll of dotted pattern paper (100+ feet)
- 18" clear plastic ruler
- Hip curve ruler (24")
- French curve set (3 pieces)
- Pattern master/styling ruler
- Tape measure (60")
- Mechanical pencils (0.5mm) with 3H or 4H lead
- Soft eraser
- Colored pencils or fine-tip pens (3-4 colors)
- Paper scissors (8" or longer)
- Matte-finish transparent tape
- Awl
- Pattern notcher
- Tracing wheel
- Tracing paper or vellum (25 sheets)
This kit covers all essential manual drafting needs and will serve you through years of pattern making.
Intermediate Kit (Budget: $500-$1,000)
As your skills develop, add:
- Half-scale ruler for creating scaled-down samples
- Grading ruler with standard increments
- Set square or large right-angle ruler
- Additional specialty curves (armscye curve, sleeve curve)
- Pattern drill or hole punch
- Pattern hooks and storage system
- Card stock or tagboard for master blocks
- Quality fabric scissors
- Rotary cutter and self-healing cutting mat
- Dress form in your target size
- Basic digital pattern software (Seamly2D is free; budget for Adobe Illustrator or entry-level CAD)
Professional Kit (Budget: $2,000-$10,000+)
Professional pattern makers invest in:
- Professional CAD software subscription (Gerber, Lectra, or similar)
- Digitizer tablet
- Dual monitors (27" or larger)
- Wide-format printer/plotter
- Adjustable dress form (like Wolf or Royal Dress Forms)
- Complete set of specialty rulers and curves
- Industrial-quality cutting tools
- Professional pattern storage system
- AI pattern intelligence platform for brands managing pattern libraries
Materials for Testing and Fitting
Pattern drafting doesn't end with the paper pattern—you need materials to test fit and construction:
Muslin Fabric: Inexpensive, plain-weave cotton fabric used to sew test garments (toiles). Buy in bulk.
Pins and Pin Cushion: For securing fabric during pattern cutting and fittings.
Marking Tools for Fabric: Tailor's chalk, water-soluble fabric markers, or vanishing markers for transferring pattern markings to fabric.
Iron and Pressing Equipment: Essential for pressing seams during fitting and construction.
Basic Sewing Supplies: Thread, needles, seam ripper, and ideally access to a sewing machine for constructing test garments.
Maintenance and Care of Pattern Making Tools
Quality tools last decades with proper care:
- Store rulers flat or hanging to prevent warping. Keep metal rulers dry to prevent rust.
- Clean plastic rulers regularly with mild soap and water to remove pencil residue and maintain transparency.
- Protect pattern paper rolls from humidity and direct sunlight—store in a cool, dry place.
- Sharpen or replace cutting tools regularly—dull blades tear rather than cut cleanly.
- Back up digital patterns in multiple locations (cloud storage plus external hard drive minimum).
- Calibrate digital equipment annually or per manufacturer recommendations.
How to Choose Between Manual and Digital Pattern Making Tools
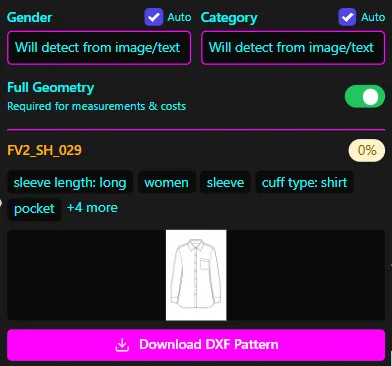
The choice between manual and digital pattern making isn't binary—most professionals use both. Manual tools teach fundamental principles and offer tactile understanding of pattern geometry. Digital tools accelerate production, improve precision, and enable rapid iteration.
Choose manual tools if you: - Are learning pattern making fundamentals - Work on small-scale, custom, or one-off projects - Prefer tactile, hands-on work - Have limited budget or don't need production-scale output
Choose digital tools if you: - Work in production or need to grade multiple sizes - Need to integrate with factory systems - Produce high volumes of patterns - Want to visualize fit before cutting fabric - Manage a large archive of existing patterns
Combine both if you: - Are a professional pattern maker or technical designer - Run your own fashion brand or consulting practice - Need flexibility across different project types - Want to leverage the speed of digital with the precision of manual refinement
Many professionals draft initial blocks manually, then digitize them for grading and production. Others use 3D digital design tools for creative exploration, then refine in 2D CAD for manufacturing. The most effective approach depends on your specific workflow, client needs, and production volume.
Where to Buy Pattern Making Tools
Online Suppliers: - Wawak Sewing Supplies (www.wawak.com) – Comprehensive selection, competitive pricing - GoldStar Tool (www.goldstartool.com) – Specializes in professional pattern making tools - Sure-Fit Designs (surefitdesigns.com) – Pattern making tools and education - Mood Fabrics (www.moodfabrics.com) – Fashion district supplier with good selection - Amazon – Convenient for standard tools, though quality varies
Specialty Suppliers: - Alvaform/Royal Dress Forms – Professional dress forms - Fairgate Rule Company – High-quality aluminum rulers and curves - Kearing – Durable aluminum curves and specialty rulers
Software Vendors: - Direct from manufacturer (Gerber, Lectra, Browzwear, CLO Virtual Fashion) - Educational discounts often available for students - Consider subscription vs. perpetual license models - FashionINSTA for AI-powered pattern intelligence
Common Beginner Mistakes to Avoid
Using the wrong pencil hardness: Soft leads (HB, 2B) smudge and create thick, imprecise lines. Stick with hard leads (3H, 4H) for clean, accurate marks.
Cutting patterns with fabric scissors: This dulls your expensive fabric shears. Keep separate scissors for paper.
Skipping the master block step: Always create durable master blocks on card stock before making variations. This preserves your fit standards.
Not labeling patterns thoroughly: Every pattern piece needs grainline, notches, piece name, size, and date. Future-you will thank present-you.
Measuring once: The old carpenter's adage "measure twice, cut once" applies even more to pattern making. Verify every measurement.
Ignoring digital tools: Even if you prefer manual drafting, familiarity with digital pattern making is increasingly essential for professional opportunities.
Buying low-quality tools to save money: Cheap rulers warp, cheap scissors dull quickly, and cheap tape damages paper. Invest in quality basics that will last.
Frequently Asked Questions
Do I need all these tools to start pattern drafting?
No. Start with the beginner essentials: pattern paper, one good ruler, a hip curve, French curve, tape measure, mechanical pencils, eraser, paper scissors, tape, awl, and notcher. You can add specialty tools as your skills develop and your projects demand them.
What's the difference between a French curve and a hip curve?
A French curve is shorter (typically 12-15 inches) with tighter curves for small areas like necklines and armholes. A hip curve is longer (24-30 inches) with gentler curves for body contours like hips, side seams, and waistlines.
Can I use regular pencils instead of mechanical pencils?
You can, but mechanical pencils maintain consistent line width, never need sharpening, and (with hard lead) create the fine, clean lines essential for accurate pattern work. They're worth the small investment.
Should I learn manual pattern making before digital?
Most educators and professionals recommend learning manual pattern drafting first to understand the fundamental geometry and logic of pattern construction. Digital tools are easier to master once you understand what you're creating and why. However, if your goal is purely production work in a factory environment, you might go directly to learning the CAD system that factory uses.
How much should I budget for pattern making tools?
A complete beginner kit costs $150-$300. An intermediate kit including some digital tools runs $500-$1,000. Professional-level equipment with CAD software and hardware can exceed $10,000. Start with basics and add tools as your skills and projects require them.
What's the best pattern making ruler for beginners?
A pattern master or styling ruler (like the Dritz Styling Design Ruler) offers the most versatility in a single tool—straight edge, right angle, curves, and common seam allowances. Pair it with a hip curve, and you can tackle most basic pattern drafting projects.
Do I need a dress form for pattern making?
While not strictly required for flat pattern drafting, a dress form in your target size (or an adjustable professional form) is invaluable for draping, checking fit, and seeing how your patterns translate into three-dimensional garments. It's particularly important for fitting adjustments and design development.
What pattern paper type is best?
Dotted pattern paper (spot and cross paper) with 1-inch grid markings is the professional standard because the dots provide visual reference for measurements and alignment without cluttering the pattern with solid lines. Kraft paper and Swedish tracing paper are also popular and more economical for large projects or student work.
Conclusion: Building Your Perfect Pattern Making Toolkit
Pattern drafting tools are the physical and digital foundation of your garment construction process. While the array of available tools can seem overwhelming, remember that the essentials—accurate measuring tools, quality marking instruments, reliable paper, and thoughtful cutting implements—form the core of your kit regardless of your experience level or budget.
For those starting out, invest in quality basics and learn manual drafting fundamentals first. As your skills grow, add specialty tools that match your specific projects and workflow needs. Professional pattern makers and technical designers should embrace both traditional and digital tools, recognizing that manual skills provide deep understanding while digital systems deliver speed, consistency, and production efficiency.
The latest generation of pattern making technology—particularly AI-powered pattern intelligence platforms—represents a significant evolution beyond traditional CAD, offering brands the ability to preserve their unique fit DNA while accelerating pattern development by 70% or more. These systems transform pattern archives from static files into living, searchable intelligence that makes every pattern maker more productive and every new design more consistent with brand standards.
Whether you're drafting patterns by hand on dotted paper or generating variations from a trained AI system, the underlying principles remain the same: precision, consistency, and a deep respect for the geometry that determines how fabric transforms into perfectly fitted garments. Choose tools that support those principles, invest in quality over quantity, and remember that your skills and understanding matter far more than any single tool in your kit.