What "seamless integration" actually means for apparel CAD workflows
TL;DR: Seamless integration in apparel CAD workflows requires strict shape and feature fidelity, relying heavily on proper DXF AAMA or ASTM export conventions. This guide explores compatibility across major 2D and 3D fashion design software, highlighting common pitfalls like seam allowance and notch errors. Learn how to ensure smooth interoperability between your digital pattern tools and PLM systems.
In apparel development, a "seamless" software integration means more than opening a file without an error. It means shape fidelity plus feature fidelity: the exported pattern arrives in the receiving tool with its seam allowances intact, notches in the right positions, grainlines correctly oriented, and annotations readable. Losing any one of those elements forces manual rework before a garment can move to sampling.
Two distinct interoperability layers determine whether a fashionCAD workflow holds together:
- 2D CAD interchange (fashionCAD/pattern tool to another 2D system, such as Gerber AccuMark or Lectra Modaris)
- 3D simulation handoff (2D pattern tool to CLO3D, Browzwear VStitcher, or Marvelous Designer)
Both layers share the same critical variable: the DXF convention used at export. A generic .dxf exported from most CAD tools uses AutoCAD layer conventions. Apparel tools expect DXF AAMA or DXF ASTM conventions, which map sewing lines, cutting lines, notches, and grainlines to specific named layers. Using the wrong convention is the most common reason production-critical features disappear on import.
2D CAD compatibility matrix
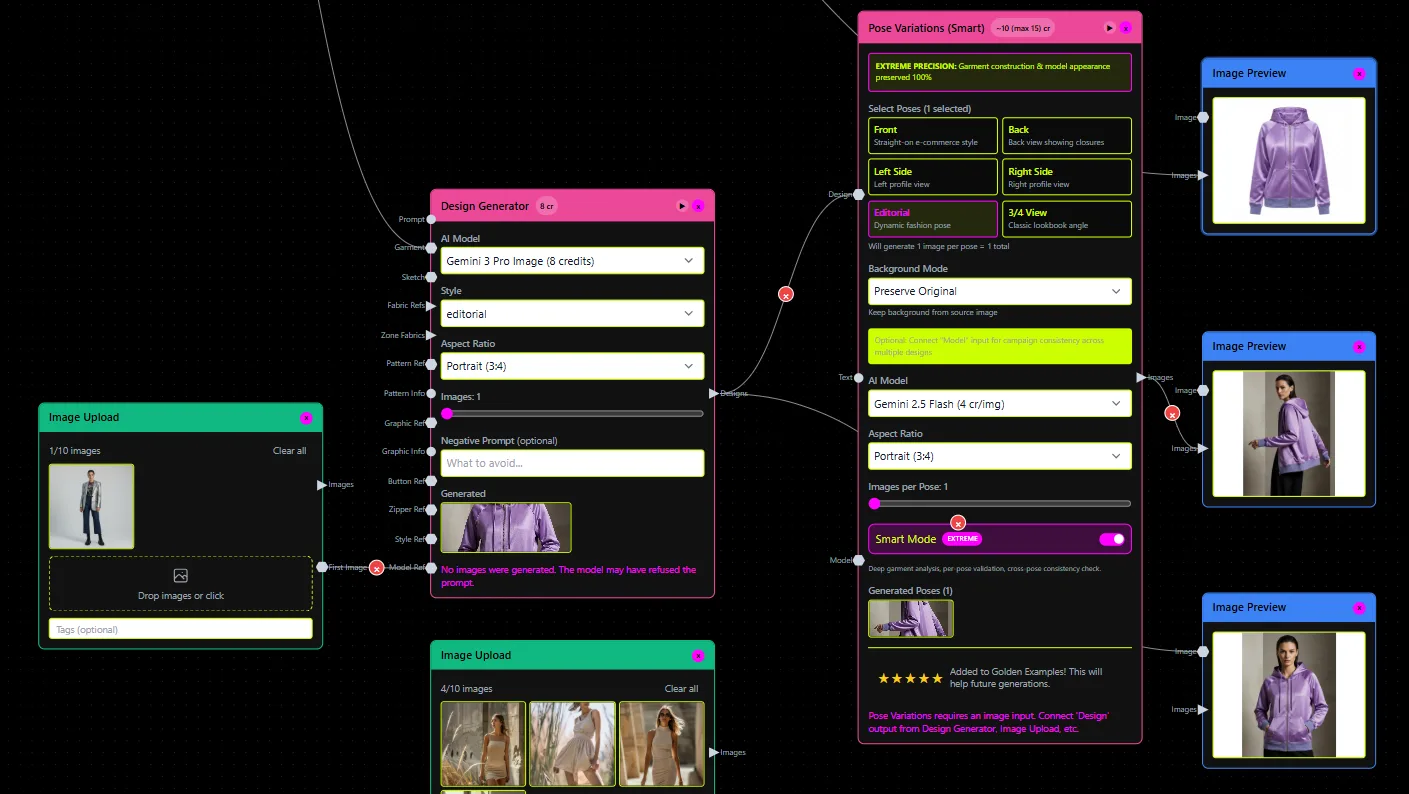
The table below summarizes expected DXF convention support and key notes for common industry pattern tools. Where exact export preset behavior could not be verified from official documentation, entries are marked "verify in your export preset."
| Tool | Expected DXF convention | Notes |
|---|---|---|
| Gerber AccuMark | DXF AAMA | AccuMark supports DXF AAMA export natively. Confirm version-specific layer mapping in your AccuMark export preset; grading nest data may require a separate export step. |
| Lectra Modaris | DXF AAMA | Modaris exports DXF AAMA. Seam allowance inclusion is controlled per-export; verify whether SA is embedded or excluded before downstream import. |
| Optitex | DXF AAMA / DXF ASTM | Optitex supports both conventions. If importing into a 3D tool, confirm which convention the receiving tool prefers and match accordingly. |
| Assyst | DXF AAMA | DXF AAMA is the standard export path. Verify Assyst version compatibility and confirm layer names match the receiving tool's expected schema. |
| TUKAcad | DXF AAMA | TUKAcad uses DXF AAMA. FashionINSTA outputs are noted as compatible with Tukatech environments, which means the handoff should not require format conversion. |
| Seamly2D | Limited DXF support | Seamly2D cannot open certain DXF files as editable content and cannot automatically trace vector geometry. The standard workaround is to use DXF AAMA output to a different CAD tool first, or to import as a background image and re-parameterize manually. |
For all tools: confirm the unit setting (mm vs inches) matches between export and import before validating any measurements.
3D simulation handoff
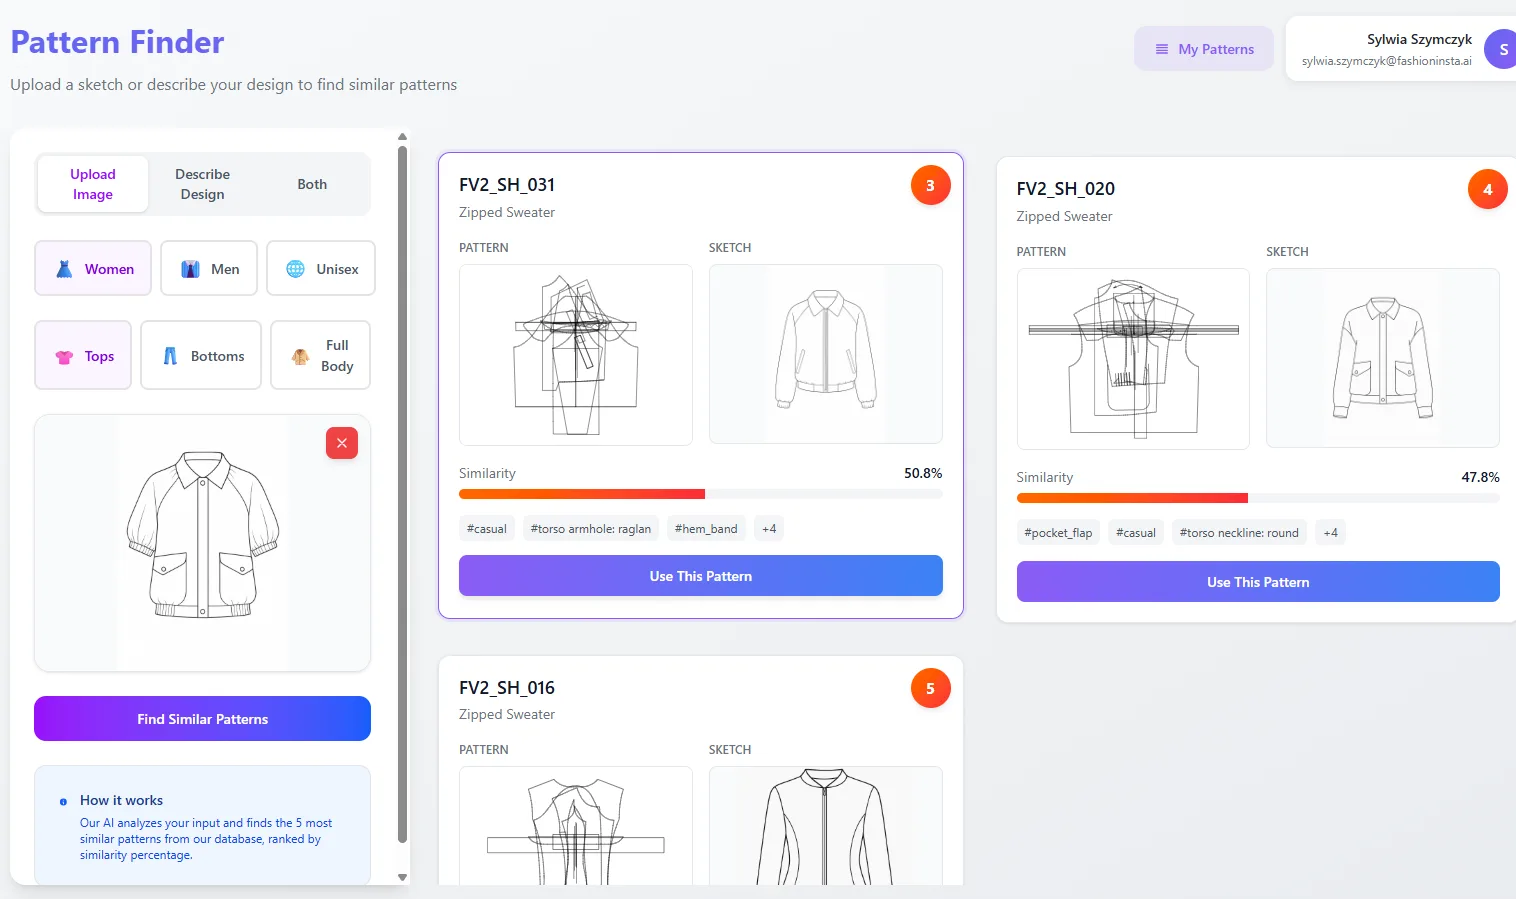
CLO3D
CLO3D imports DXF files and presents an import settings dialog on load. The Help Center documentation (updated September 11, 2026) describes seam allowance handling options, including a "Convert to Seam Allowance" toggle and a setting to swap cutting line and sewing line interpretation. If your source DXF includes seam allowances on the outer boundary, you'll need to tell CLO3D whether to treat the outer line as the cut line or the sew line. Getting this wrong produces garments that are larger or smaller than spec.
Notches from DXF AAMA-formatted files generally import, but their translation depends on layer naming. If notches are missing after import, check whether the source file placed them on the correct AAMA layer.
Browzwear VStitcher
Browzwear's own documentation (help.browzwear.com) states: "Pattern files should be exported from third-party software without seam allowances" and "Pattern files may be exported as DXF ASTM or DXF AAMA." This is one of the clearer vendor-side statements in the ecosystem. For VStitcher, the recommended practice is to export net patterns (sewing lines only, no SA geometry), then let VStitcher add seam allowances within its own environment. VStitcher also reads grainline data directly from the DXF to set texture drape alignment, so a missing or incorrectly placed grainline entity in the source file will cause fabric to render at the wrong angle.
Marvelous Designer
Marvelous Designer accepts DXF import and is listed among the tools that FashionINSTA outputs target for clean compatibility. DXF AAMA is the generally expected convention. Seam allowance handling follows similar logic to CLO3D: verify on import whether the tool is interpreting the outer boundary as cut or sew.
Recommended workflow for all three 3D tools
- Export your pattern from the 2D source as DXF AAMA or DXF ASTM (confirm which the 3D tool prefers).
- Open the DXF in a text editor or DXF viewer and verify that sewing line, cutting line, notch, and grainline layers are present and correctly named.
- Import into the 3D tool and use the import dialog settings to specify seam allowance behavior.
- Run a single test piece before importing a full marker.
PLM/ERP integrations and API connectivity
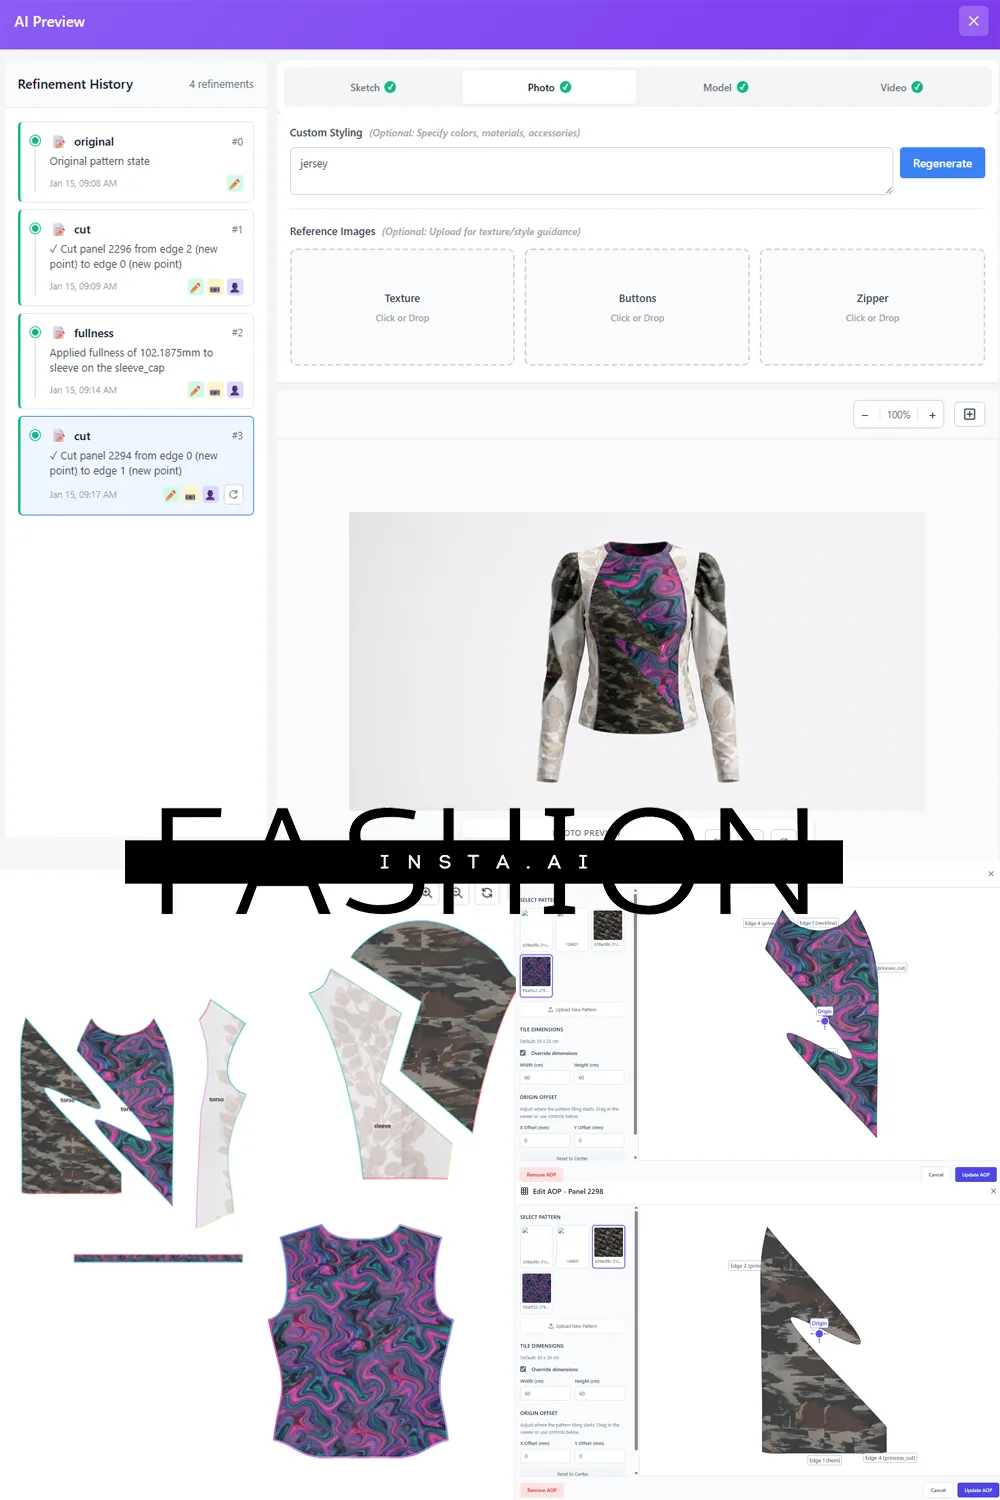
File-based interchange (DXF, PDF, CSV) and system-to-system PLM/ERP integration are different problems. DXF gets patterns from one design tool to another. PLM integration moves structured data (BOM lines, material specs, costing records, approval status) between platforms such as PTC Windchill, Centric 8, or similar systems.
FashionINSTA exposes its workflow via an MCP server, which means its Pattern Generator, BOM Agent, Cost Estimator, Feasibility Analyzer, Tech Pack Compiler, and render nodes can be called directly from MCP-capable environments, including AI chat clients like ChatGPT, Gemini, and Claude. For enterprise users on the "API in & out" tier, the platform supports programmatic access that can feed outputs into downstream systems.
Specific connector availability for any given PLM depends on your integration layer. If you're evaluating PLM connectivity, start with the MCP server path and consult FashionINSTA's API documentation for your specific PLM target.
Fidelity notes: what breaks and why
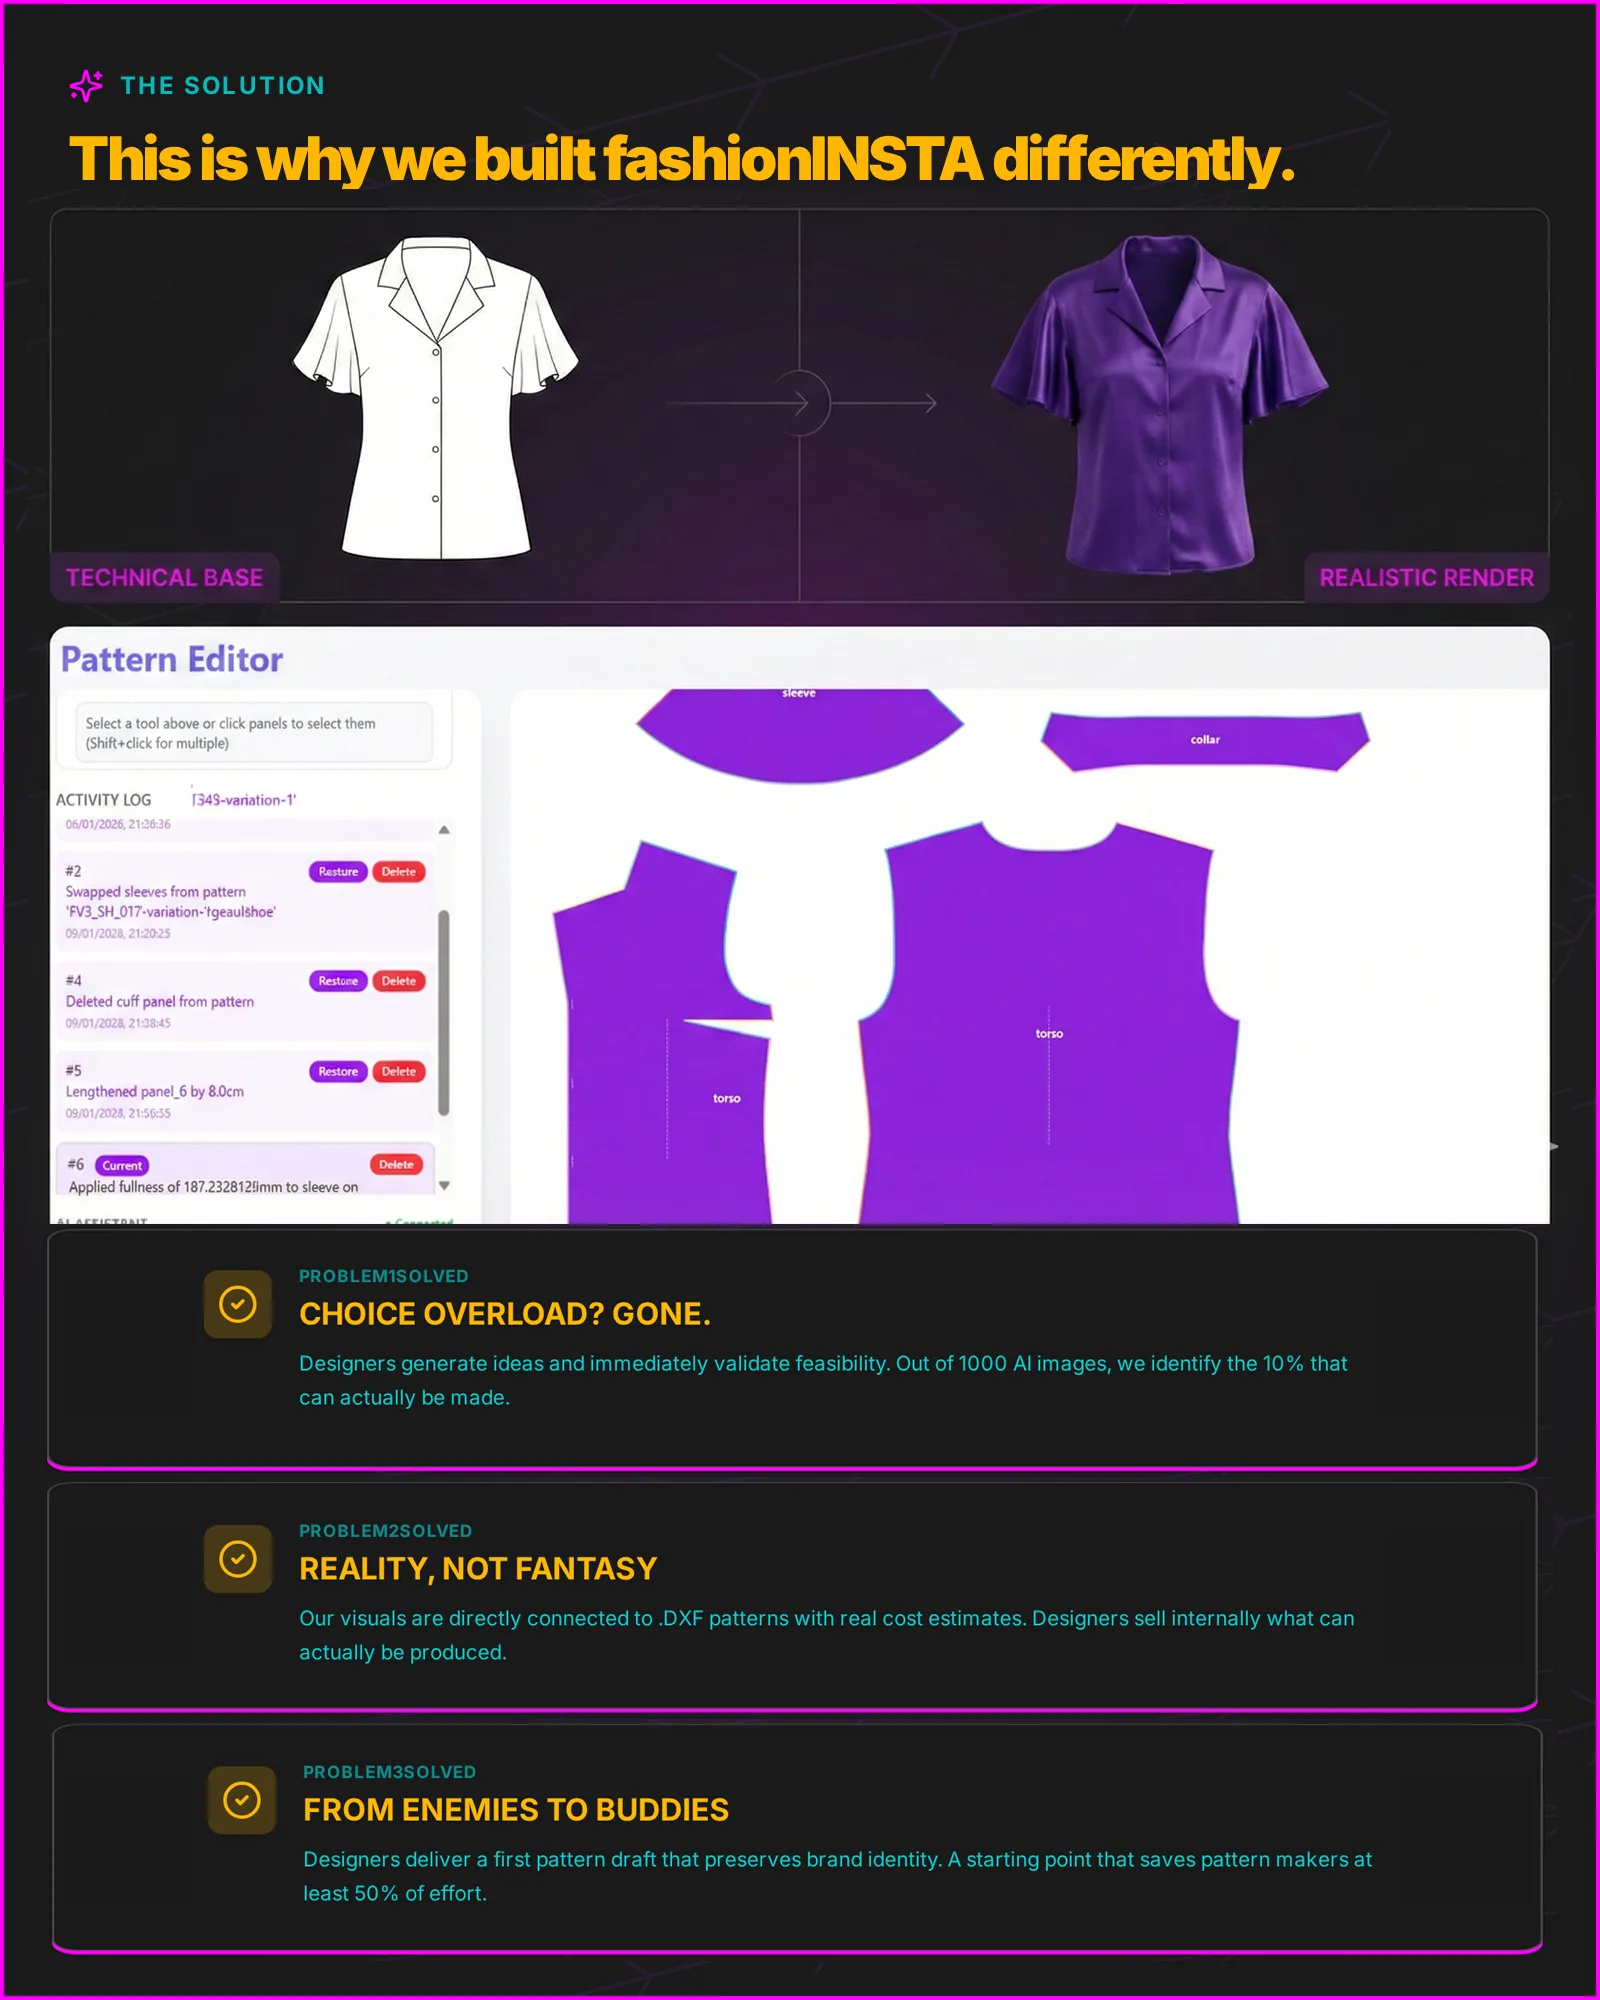
Four elements fail most often during DXF handoff:
Seam allowances. Some tools embed SA geometry in the DXF outer boundary; others export net patterns. Know which your source tool does and configure the receiving tool to match. Browzwear explicitly requires net patterns. CLO3D requires you to declare at import time how it should interpret the boundary.
Cutting line vs sewing line. In DXF AAMA, these are separate entities on separate layers. If both are present, the receiving tool must know which to use as the sewing outline. Swapped lines produce fit errors that can survive undetected until physical sampling.
Notches. Notches live on a specific AAMA layer. If your source CAD tool places them on a non-standard or generic layer, 3D tools will silently drop them on import. Re-add them manually in the 3D environment if they're missing.
Grainline units and rotation. Grainlines carry both an angle and a unit. A grainline defined in inches but imported by a mm-configured tool will produce incorrect fabric drape orientation in 3D. Verify units match before any import.
Annotations and text labels generally survive DXF AAMA interchange but may not be parsed as structured metadata. Carry annotations forward in your tech pack separately.
Pre-production compatibility checklist
Run through this list before committing any pattern to your production pipeline:
- Confirm your source tool's DXF export convention is set to AAMA or ASTM (not generic DXF).
- Confirm units match between source export and receiving tool import settings (mm vs inches).
- Open the exported DXF in a viewer and verify that sewing line, cutting line, notch, and grainline layers are present and named correctly.
- In the 3D tool import dialog, select the correct seam allowance interpretation mode.
- Import a single test piece and measure key dimensions against the source spec.
- Check notch positions against the original 2D pattern.
- Verify grainline orientation in the 3D simulation result.
- If grading data is included, confirm that grade nest layers imported cleanly and that base size is correctly identified.
- Sign off on the test piece before running the full garment through the pipeline.