What Tools Do I Need for Pattern Drafting?
TL;DR: Discover the essential tools you need to start pattern drafting, from basic manual supplies like dotted paper and clear rulers to advanced digital software. Whether you are building a budget-friendly beginner kit or a professional setup, having the right equipment ensures accuracy and efficiency. Explore how modern AI and 3D technologies are transforming traditional pattern making workflows.
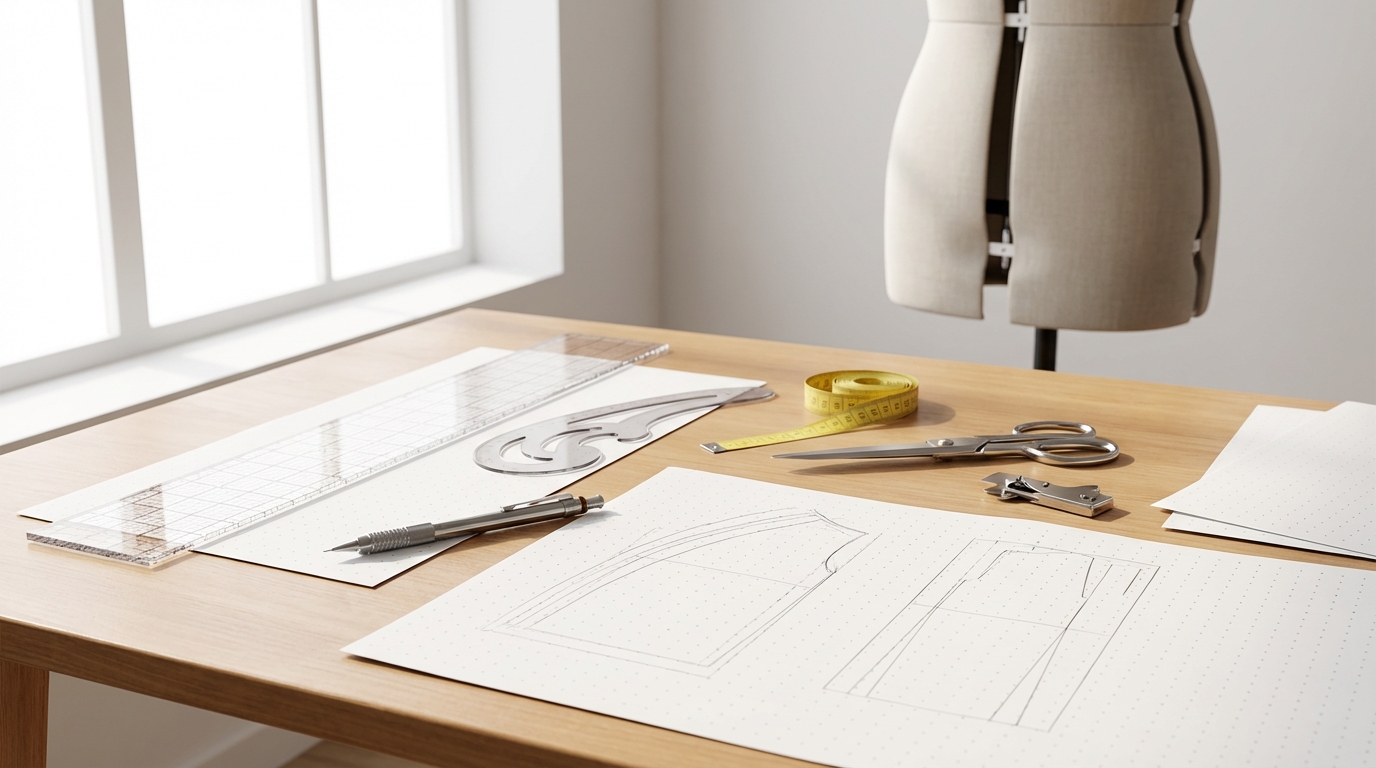
If you've ever watched a skilled pattern maker at work—ruler gliding across paper, French curve tracing a perfect armhole, notcher clicking precise marks—you know there's something almost meditative about the process. But when you're staring at a blank table, ready to draft your first pattern, the question that stops most beginners in their tracks is simple: What tools do I actually need?
I remember my first pattern drafting class. I showed up with a plastic school ruler and a ballpoint pen, only to watch my instructor pull out a toolbox that looked like it belonged to a surgeon. The sheer volume of specialized rulers, curves, wheels, and punches was intimidating. But here's what I learned over the years: you don't need everything at once, and the right tools make pattern drafting faster, more accurate, and honestly, a lot more enjoyable.
Whether you're a fashion design student starting your first flat pattern course, a hobbyist sewer ready to move beyond commercial patterns, or a technical designer building a professional toolkit, this guide will walk you through every essential tool—what it does, why you need it, and what to look for when buying. We'll cover traditional manual drafting tools, marking and finishing supplies, optional upgrades, and even the digital tools that are transforming how modern pattern makers work.
Let's demystify the toolkit and get you drafting with confidence.
The Core Pattern Drafting Toolkit: 7 Essential Tools Every Beginner Needs
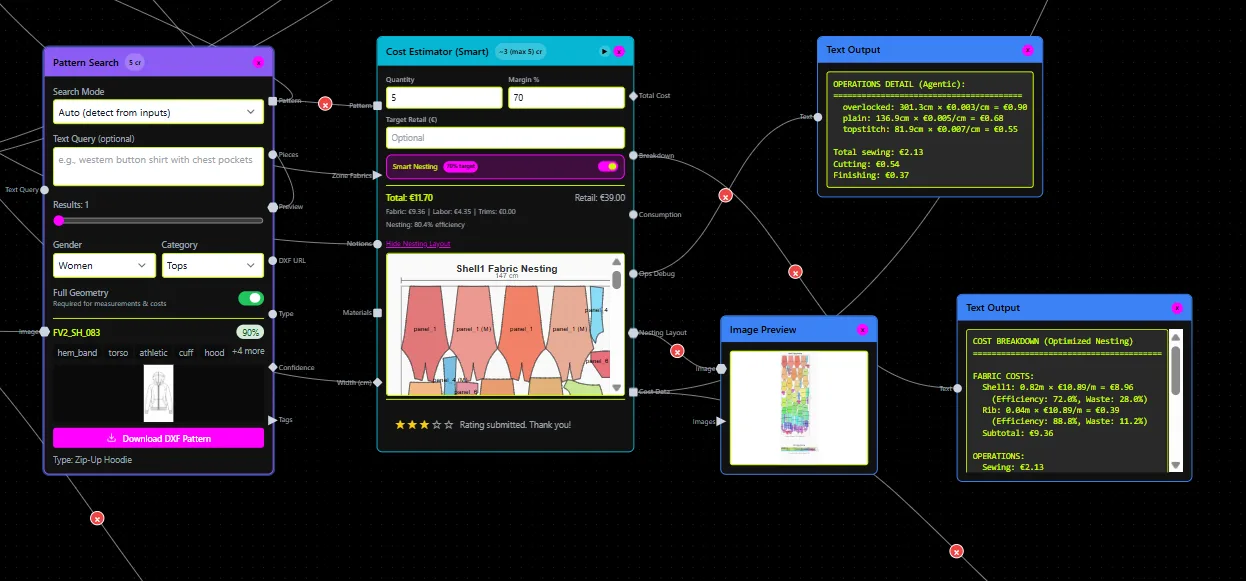
These are the non-negotiables—the tools that will get you through 90% of pattern drafting tasks, from a simple skirt block to a fitted bodice.
1. Pattern Paper (Dotted or Manila Paper)
Pattern paper is your canvas. Most pattern makers prefer dotted pattern paper (also called dot-and-cross or spot-and-cross paper), which has a grid of small dots printed at regular intervals—usually 1-inch or 1-centimeter spacing. These dots act as visual guides, helping you draw straight lines and maintain right angles without needing constant ruler measurement.
Why dotted paper? It dramatically speeds up drafting and reduces measurement errors. When you're adding seam allowances or checking grainlines, those dots become your reference points.
Alternatives: If dotted paper isn't available, plain Manila paper (a light brown kraft paper, typically 50-70 GSM) works well. It's sturdy enough to trace and fold without tearing, yet light enough to see through when tracing. Avoid using regular printer paper for patterns—it's too flimsy and will rip during repeated use.
Pro tip: Buy large rolls (36 inches or wider) rather than pre-cut sheets. Rolls give you flexibility for oversized patterns (coats, maxi dresses) and are more economical in the long run.
2. Clear Gridded Ruler (2×18 Inches)
A clear acrylic gridded ruler is the workhorse of pattern drafting. The 2×18-inch size is ideal for most tasks—long enough to draw extended lines, wide enough for adding seam allowances, and clear so you can see your pattern lines underneath.
Look for rulers with: - 1-inch or centimeter grid markings printed inside - 45-degree and 90-degree angle lines for quick reference - Durable thickness (at least 1/8 inch) so it doesn't flex or warp
This ruler is your go-to for drawing straight lines, adding seam allowances (typically 5/8 inch or 1.5 cm), and measuring short distances. The transparency lets you position it precisely over existing lines without guessing.
3. French Curve Ruler
Garments have curves—necklines, armholes, sleeve caps—and a standard straight ruler won't cut it. A French curve is a specially shaped ruler with multiple gentle, flowing curves designed to match the contours of the human body.
What makes it essential? French curves let you draw smooth, consistent curves that look professional and translate well to fabric. You'll use different sections of the curve for different pattern areas: - Tight curves for necklines - Gentle curves for armholes - Broader curves for side seams and princess seams
Buying tip: Look for a set that includes multiple sizes or a single large French curve with varied curve depths. Transparent acrylic versions are easier to position than opaque plastic.
4. Hip Curve Ruler
The hip curve (also called a styling design ruler or fashion curve) is a long, gently curved ruler designed for drafting skirts, pants, and any pattern with subtle curves along the hip and thigh.
Why you need it: Hip curves allow you to draw long, smooth lines that follow the body's natural contours. They're indispensable for side seams on skirts and pants, where a straight line would create an unflattering, boxy fit.
Most hip curves are 20–24 inches long and have one shallow curve and one deeper curve, giving you flexibility for different silhouettes (A-line vs. pencil skirts, for example).
5. Measuring Tape (Flexible Tape Measure)
A flexible measuring tape (also called a tailor's tape or sewing tape) is critical for taking body measurements, measuring curved pattern lines, and checking the length of seams that will need to match during construction.
What to look for: - Fiberglass or vinyl construction (more durable and less likely to stretch than cloth tapes) - Metric and imperial markings on opposite sides - Metal-reinforced ends to prevent fraying
Keep your tape measure in good condition—stretched or twisted tapes will throw off your measurements and ruin pattern accuracy.
6. Mechanical Pencil (0.5mm or 0.7mm)
Precision matters in pattern drafting, and thick pencil lines can add millimeters of error—enough to affect fit. A mechanical pencil with a fine lead (0.5mm or 0.7mm) ensures your lines are thin, consistent, and easy to see.
Pencil grade matters: Use an HB to H2 pencil grade. HB is soft enough to see clearly but hard enough not to smudge. Harder grades (H, H2) create even finer lines and are ideal for professional work, though they can be harder to erase cleanly.
Why mechanical? Unlike wood pencils, mechanical pencils maintain a constant line width without needing sharpening, which saves time and keeps your patterns accurate.
7. Paper Scissors (Dedicated for Paper Only)
Never use your fabric shears on paper—paper will dull the blades in minutes, ruining them for fabric cutting. Invest in a dedicated pair of paper scissors or pattern shears designed for cutting through multiple layers of pattern paper and cardboard.
Look for: - 8–10 inch blades for cutting long, straight lines and curves - Comfortable handles for extended cutting sessions - Sharp, precision-ground blades that glide through paper without snagging
Some pattern makers prefer using a rotary cutter and self-healing mat for straight lines, though scissors are more versatile for curves.
Essential Marking and Finishing Tools
Once you've drafted your pattern, you need to transfer information, mark key points, and prepare the pattern for use. These tools handle the finishing touches that make patterns functional and production-ready.
Pattern Notcher
A pattern notcher creates small V-shaped or U-shaped notches along the edges of your pattern pieces. Notches are critical for: - Marking seamlines and matching points (so you know which edges join) - Indicating centers, grainlines, and balance points - Communicating construction order to sewers
Types of notchers: - Single-notch vs. multi-notch: Single notchers create one notch at a time; multi-notch versions cut 2 or 3 notches simultaneously for grading or marking multiple layers. - Paper vs. card notchers: Paper notchers work on lightweight pattern paper; heavier-duty versions are needed for cardboard or posterboard blocks.
Why you need it: Notches are the universal language of pattern making. They're faster and more accurate than drawing tick marks, and they survive repeated tracing and handling.
Tracing Wheel
A tracing wheel (or pattern tracing wheel) is a small wheel with teeth or a serrated edge, mounted on a handle. When you roll it along a line, it perforates the paper with tiny holes, transferring the line to layers underneath.
Common uses: - Transferring patterns from one sheet to another - Copying markings onto muslin or toile fabric (when used with carbon paper) - Proofing darts and other construction details
Tip: Use a smooth tracing wheel for delicate papers or a serrated wheel for heavier materials. Protect your work surface with a cutting mat or cardboard underneath.
Awl (Pattern Awl)
An awl is a small, pointed tool used to punch precise holes in pattern paper. It's the go-to for marking: - Dart points - Pocket placements - Button and buttonhole positions - Any point-specific detail that needs to transfer exactly to fabric
Awl vs. drill: An awl punches a single hole by hand; a pattern drill (also called a mushroom drill) rotates to create cleaner holes through multiple layers and is preferred for grading or industrial work.
Scotch Tape, Masking Tape, and Glue Stick
Pattern making involves a lot of paper manipulation—joining sheets, adjusting curves, adding extensions. Keep these on hand: - Scotch tape for quick, temporary fixes - Masking tape or magic tape (writable surface) for attaching extensions and labeling - Glue stick for permanent, clean joins that won't add bulk
Pro tip: Use tape sparingly along seamlines—too much tape can interfere with tracing wheels or notchers.
Eraser (White Plastic Eraser)
Mistakes happen, and pencil marks need to disappear cleanly. A white plastic eraser (like a Staedtler Mars Plastic) removes pencil lines without tearing paper or leaving smudges.
Avoid pink rubber erasers—they can leave residue and damage thin pattern paper.
Pins and Pattern Weights
Pins hold layers of paper together during tracing or copying. Use regular straight pins (not quilting pins, which are thicker and can distort paper).
Pattern weights are an alternative to pins, especially useful when you're tracing over patterns repeatedly or working with delicate paper. You can buy commercial weights or DIY versions (metal washers, small bean bags, or even smooth river stones wrapped in fabric).
Optional But Highly Recommended Tools
These tools aren't essential for day one, but they'll make your life easier and your patterns more professional as you advance.
L-Square Ruler
An L-square (also called a grading square or tailor's square) is a large, right-angled ruler—typically 18×24 inches or larger—with a fixed 90-degree corner.
Why it's useful: - Ensures perfect perpendicular lines when drafting grainlines, hems, and fold lines - Speeds up grading (creating multiple sizes from a single block) - Helps check that your pattern pieces are "square" (not skewed)
L-squares are a professional staple, especially in technical design and production environments.
Pattern Master (Combination Ruler)
The Pattern Master is a multi-tool ruler that combines a straight edge, hip curve, and French curve into a single tool. It's popular with students because it's cost-effective and portable.
Pros: - Covers most pattern drafting tasks with one tool - Great for travel or small studio spaces
Cons: - Less precise than dedicated tools for complex curves - Can feel cramped for large patterns
Many professionals start with a Pattern Master and eventually upgrade to individual rulers as their skills and projects grow.
Grading Ruler
A grading ruler is marked with incremental shifts (usually in millimeters or 1/8-inch increments) that correspond to standard size grading. If you plan to create multiple sizes from a single pattern block, a grading ruler makes the math visual and fast.
Flexible Curve Ruler
A flexible curve (also called a snake ruler or flex curve) is a bendable ruler that can be shaped to match any curve on your pattern. Once bent, it holds its shape so you can trace it repeatedly.
When it's helpful: - Unusual or asymmetric curves (cowl necklines, draped designs) - Copying curves from existing garments - Adjusting standard French curves for custom fits
Dress Form or Mannequin
A dress form (also called a dressmaker's dummy or mannequin) is a 3D representation of the human body. It's invaluable for: - Draping (creating patterns directly on the form) - Checking fit of your drafted patterns before cutting fabric - Visualizing proportions and design lines in 3D
What to look for: - A form that matches your target measurements (or an adjustable form for multiple sizes) - Pinnable surface (foam or padded fabric, not hard plastic) - Sturdy base and adjustable height
Dress forms aren't required for flat pattern drafting, but they become essential when you move into draping or fitting.
Calico or Muslin Fabric
Calico (UK term) or muslin (US term) is an inexpensive, plain-weave cotton fabric used to make toiles—test garments sewn from your pattern to check fit and construction before cutting into expensive fashion fabric.
Why you need it: - It reveals fit issues (too tight, too loose, awkward seams) that are invisible on paper - It's cheap enough to waste on experiments and adjustments - It drapes and behaves like woven fashion fabrics
Buy calico in bulk—you'll use a lot of it as you refine your blocks and test new designs. For a comprehensive guide on how to integrate traditional and modern pattern making approaches, check out this resource on pattern making methods.
Digital Pattern Drafting Tools: The Modern Pattern Maker's Arsenal
Traditional hand-drafting skills are foundational, but today's fashion industry increasingly relies on digital tools to speed up iteration, improve accuracy, and integrate seamlessly with production workflows. If you're serious about pattern making as a career, you'll eventually need to understand digital CAD (computer-aided design) systems and—more recently—AI-powered pattern platforms.
2D Pattern CAD Software
2D CAD software digitizes the manual drafting process, allowing you to create, modify, grade, and plot patterns on a computer. The industry leaders include:
- Gerber AccuMark: The gold standard for production pattern making, grading, and marker making in large-scale manufacturing. Known for precision and robust grading tools.
- Optitex: Strong 2D-to-3D integration, widely used for tech packs and production-ready patterns.
- TUKAcad: Popular for pattern drafting, grading, and marker optimization; known for intuitive interfaces.
- PatternMaster Boutique / Pattern Editor: Affordable desktop CAD for independent designers and small studios.
Why digital CAD? It eliminates manual redrafting, makes grading mathematical and repeatable, and outputs plot-ready files for industrial cutting machines.
3D Garment Simulation Software
3D software lets you drape and fit garments virtually, visualizing how patterns will look on a digital avatar before cutting fabric.
- CLO 3D: Industry standard for virtual garment simulation, used for design visualization, fit checks, and reducing physical sampling.
- Browzwear (VStitcher): Popular for realistic 3D prototyping and tech pack creation.
- Marvelous Designer: Loved by digital fashion creators and game designers for advanced cloth simulation.
Why 3D matters: It cuts sampling costs, speeds up iteration, and helps designers and technical teams collaborate visually. Many modern brands have reduced physical samples by 30–50% using 3D tools. Learn more about the evolution of 3D and AI in fashion design here.
AI-Powered Pattern Intelligence Platforms
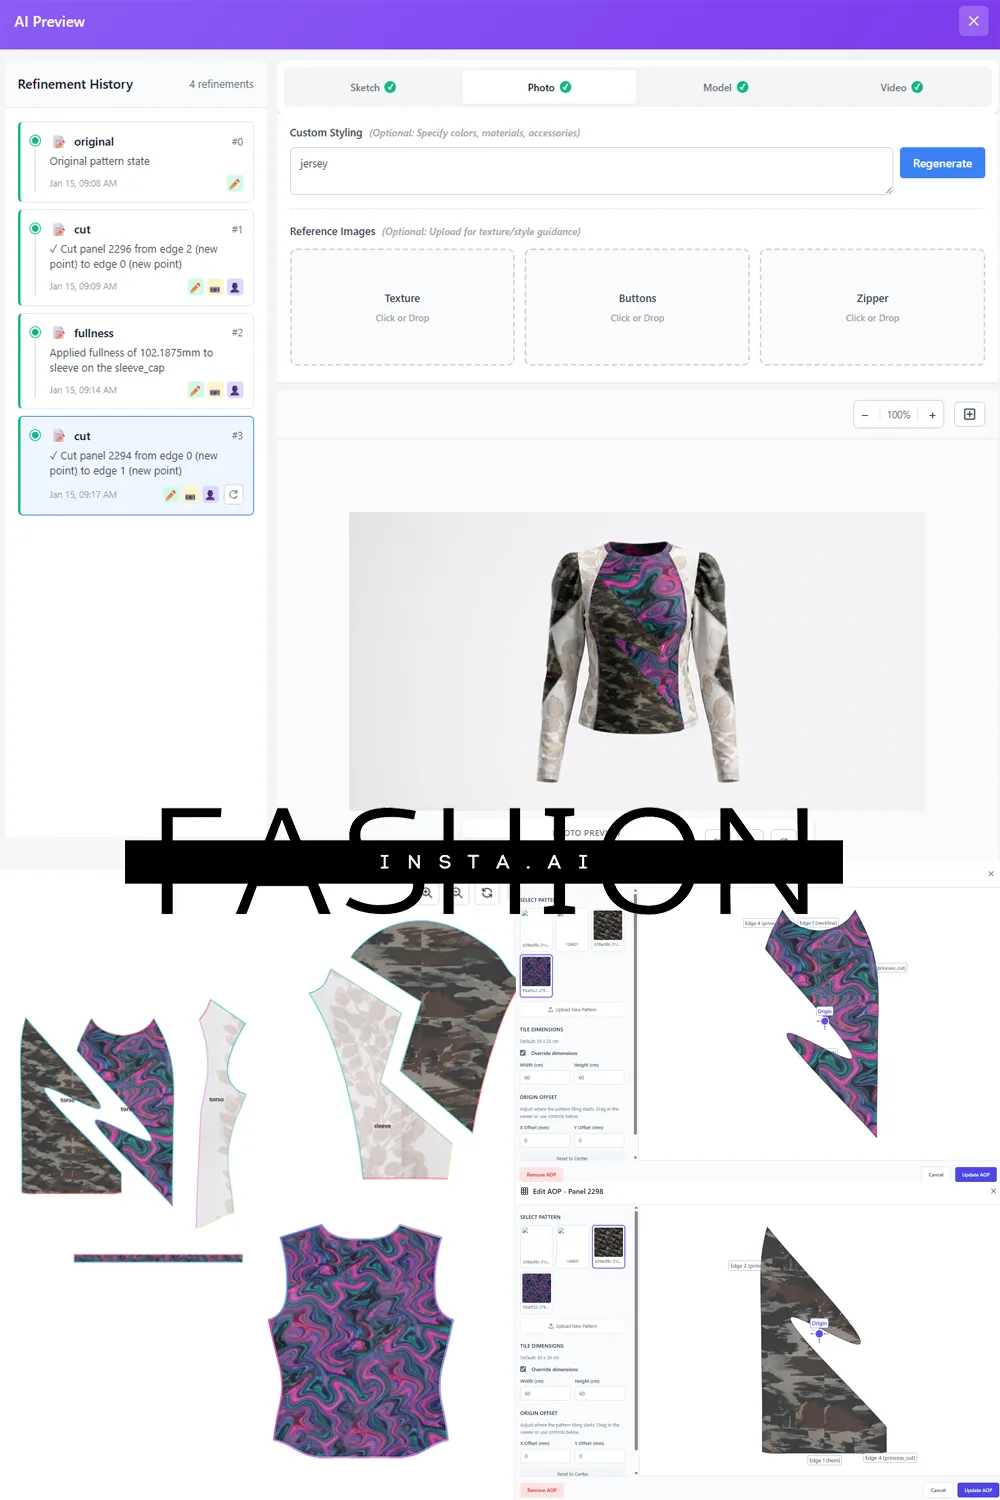
The newest evolution in pattern making is AI-powered systems that train on your existing pattern library and generate new, production-ready patterns from sketches or modular blocks.
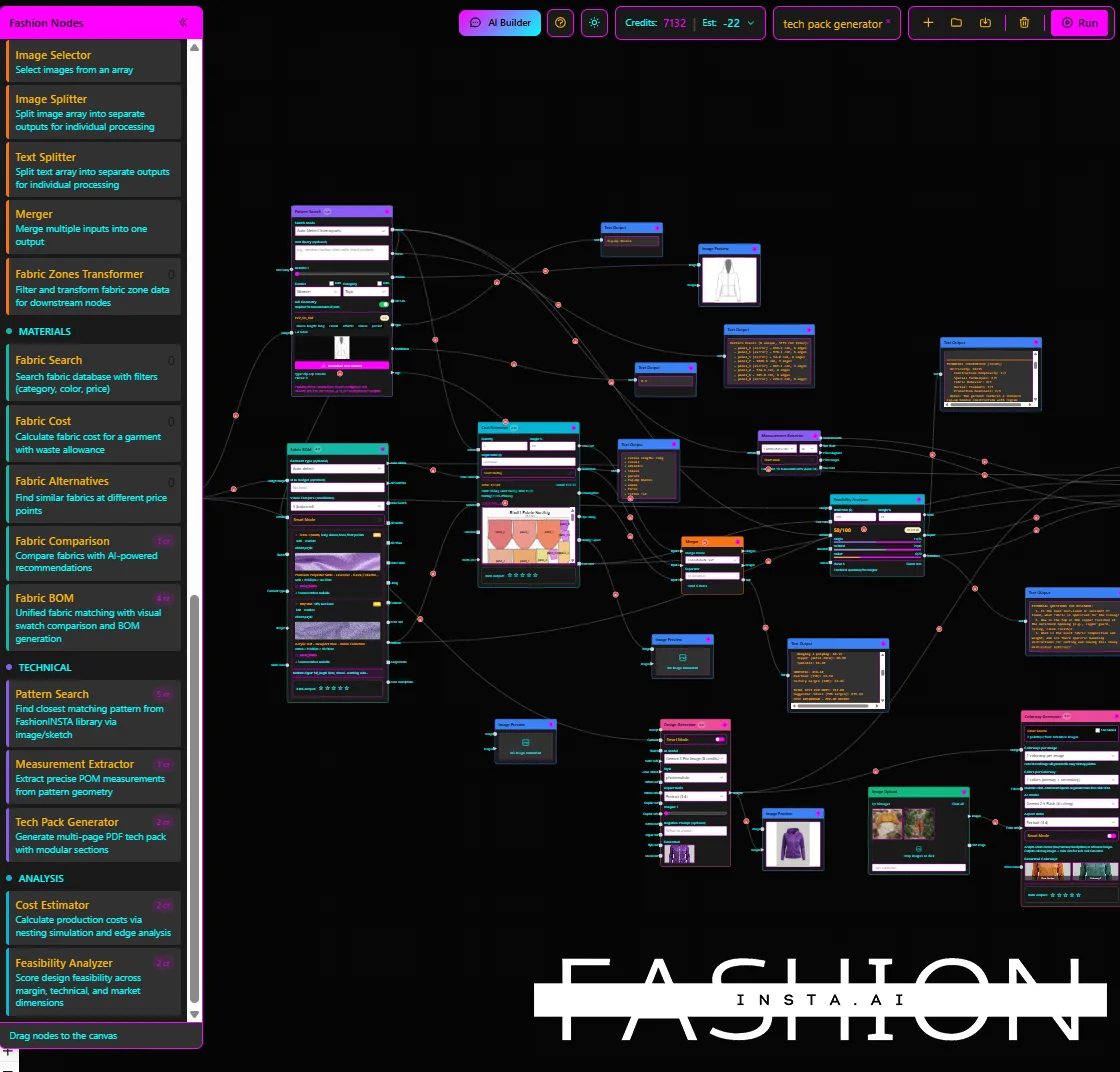
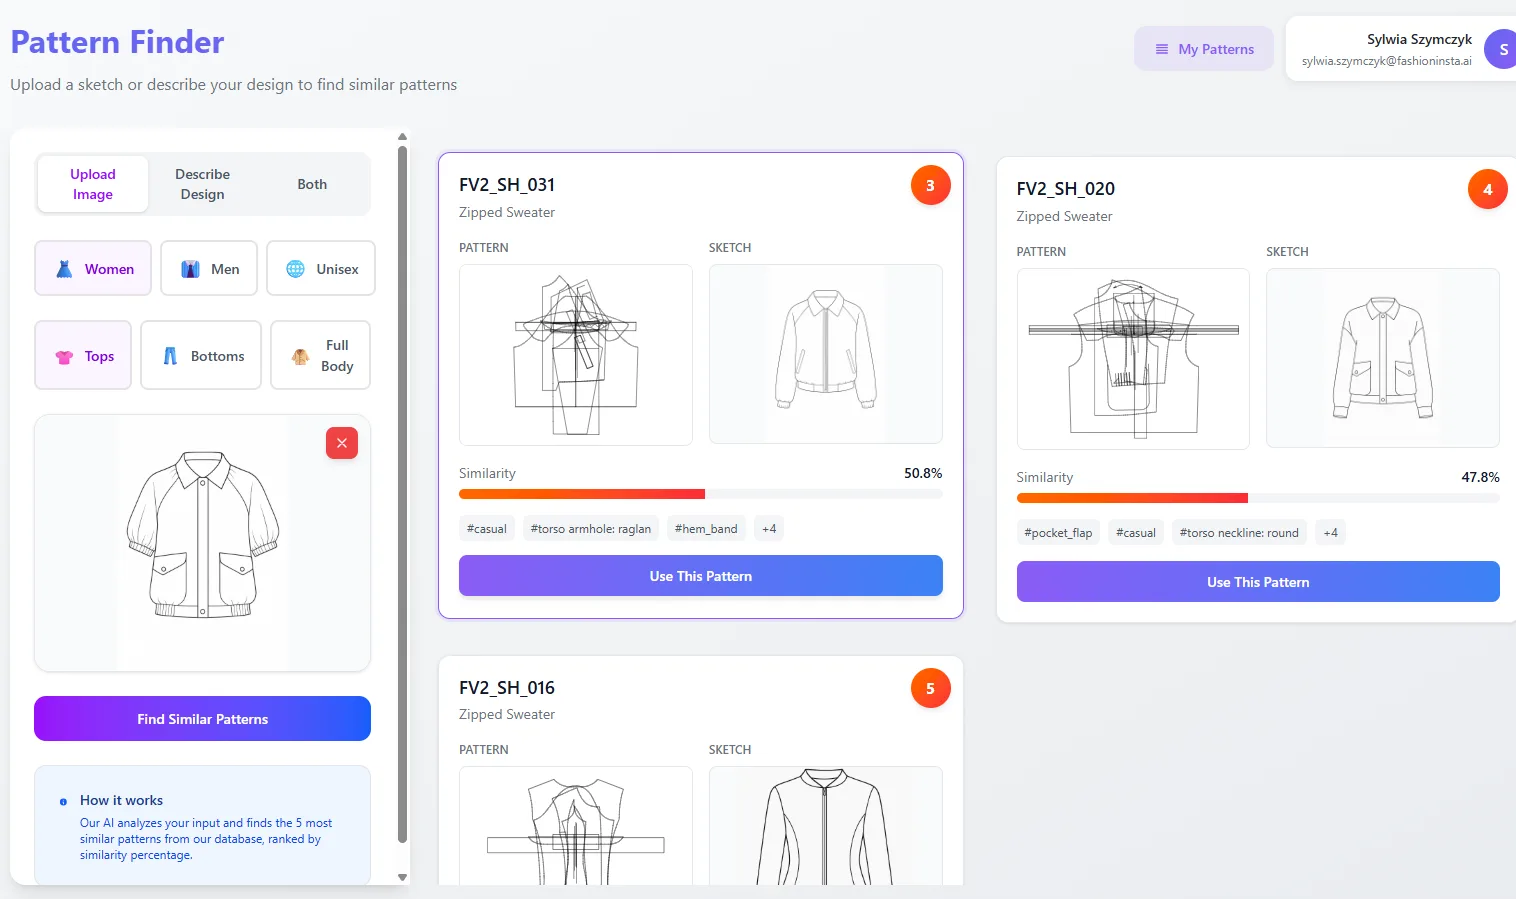
FashionINSTA is leading this space by offering a platform that learns your brand's "pattern DNA"—extracting 750+ features from each .DXF pattern (armholes, ease, seams, construction methods) and using that intelligence to: - Score existing patterns by similarity to new sketches - Generate modular variations (swap collars, adjust ease, mix sleeves) - Produce DXF-based outputs that manufacturers can cut and sew immediately - Calculate fabric consumption and costs tied to actual pattern geometry
Why AI pattern intelligence? It combines the speed of generative AI with the accuracy and manufacturability of real pattern data—no "AI hallucinations" or unpredictable outputs. For fashion brands maintaining large pattern archives, it can reduce duplicated work (exposing ~25% pattern duplication) and find reusable patterns in seconds instead of days. If you're curious about how AI is changing pattern drafting education, this is a must-read.
The takeaway: Digital tools don't replace hand-drafting skills—they amplify them. The best pattern makers today blend traditional knowledge with digital fluency, choosing the right tool for each task.
Building Your Toolkit: Budget-Friendly Starter Kit vs. Professional Setup
Not everyone needs to invest in a full professional toolkit on day one. Here's how to prioritize based on your goals and budget.
Beginner Starter Kit (Under $75)
Essential tools only: - Pattern paper or dotted paper (1 roll) - Clear gridded ruler (2×18 inches) - French curve - Hip curve - Measuring tape - Mechanical pencil (0.5mm or 0.7mm) and eraser - Paper scissors - Scotch tape and masking tape
Optional add-ons: - Pattern notcher - Awl or tracing wheel - Calico/muslin (2–3 yards)
Where to buy: Art supply stores, sewing retailers (Wawak, Joann, etc.), or online (Amazon, Etsy for specialty tools).
Total cost: $50–$75, depending on brand and quality.
This kit will get you through your first blocks (skirt, bodice, pants) and basic alterations.
Intermediate Kit ($150–$250)
Add to your starter kit: - L-square ruler or grading square - Pattern Master (if not already using individual curves) - Grading ruler - Tracing wheel and awl - Dress form (adjustable or your standard size) - Larger stock of pattern paper/cardboard - Pattern weights and larger pin set
Use case: Hobby sewists drafting their own wardrobe, students in pattern-making courses, or emerging designers building a sample collection.
Professional Pattern Maker Setup ($500+)
Full manual toolkit: - Complete set of French curves (3–5 sizes) - Multiple hip curves and flexible curves - Large L-squares and T-squares - Professional grading rulers and sheers - Industrial-grade pattern notcher and drill - Pattern hooks for hanging/storing graded sets - Cutting mat, rotary cutter, and Stanley knife for channels - High-quality dress form (Dress Rite, Wolf, or PGM) - Stock of pattern cardboard and paper in multiple weights
Plus digital tools: - 2D CAD software (Gerber, Optitex, TUKAcad) - 3D simulation software (CLO 3D, Browzwear) - AI pattern platform (FashionINSTA) for brands managing large libraries
Use case: Technical designers in production environments, freelance pattern makers, brands with in-house pattern development teams.
Investment: $500–$2,000 for manual tools; $2,000–$10,000+ annually for software licenses (many offer educational or indie pricing).
For professionals managing pattern libraries and seeking to scale reuse and consistency, fashion management software and AI-powered pattern intelligence are becoming essential investments.
Tool Care and Maintenance: Making Your Investment Last
Good tools are expensive, and proper care extends their lifespan and maintains accuracy.
Sharpening and Storage
- Scissors and shears: Have blades professionally sharpened annually (or more often if heavily used). Store in protective sleeves.
- Rotary cutters: Replace blades when they start skipping or snagging. Never leave blades exposed.
Preventing Wear
- Rulers: Store flat or hanging to prevent warping. Avoid leaving them in direct sunlight, which can fade markings.
- Measuring tapes: Avoid folding or kinking tapes. Retract gently to prevent internal damage.
- Dress forms: Cover with a fabric sleeve when not in use to protect the surface from dust and accidental punctures.
Workspace Setup
- Use a self-healing cutting mat to protect your table and prolong the life of cutting tools.
- Store tools in a dedicated pattern-making toolbox or cart to keep them organized and accessible.
Frequently Asked Questions
What are the essential tools for pattern drafting?
The core toolkit includes pattern paper (dotted or Manila), a clear gridded ruler (2×18 inches), French curve, hip curve, flexible measuring tape, mechanical pencil (0.5mm or 0.7mm), and dedicated paper scissors. These seven tools cover 90% of basic pattern drafting tasks.
What supplies do you need for pattern drafting?
In addition to drafting tools, you'll need marking and finishing supplies: a pattern notcher (for marking seamlines), tracing wheel (for transferring lines), awl (for marking dart points), tape (Scotch and masking), an eraser, pins, and pattern weights. Calico or muslin fabric is essential for making test garments (toiles).
What tools are needed for fashion design pattern making?
Fashion design pattern making combines traditional drafting tools (rulers, curves, measuring tape, pencils, scissors) with marking tools (notcher, awl, tracing wheel) and, increasingly, digital tools like 2D CAD software (Gerber, Optitex), 3D simulation software (CLO 3D, Browzwear), and AI-powered platforms like FashionINSTA for brands managing large pattern libraries.
How much does a beginner pattern drafting toolkit cost?
A basic beginner kit costs $50–$75 and includes pattern paper, rulers (clear gridded, French curve, hip curve), measuring tape, mechanical pencil, eraser, paper scissors, and tape. An intermediate kit ($150–$250) adds an L-square, grading ruler, dress form, and additional supplies.
Do I need a dress form for pattern drafting?
A dress form is not required for flat pattern drafting but becomes essential when you move into draping or want to check the fit of your drafted patterns in 3D. It's highly recommended for intermediate and advanced pattern makers.
What is the best pencil grade for pattern drafting?
Use an HB to H2 pencil grade. HB is soft enough to see clearly but hard enough not to smudge. Harder grades (H, H2) create finer lines ideal for professional work. Always use a mechanical pencil (0.5mm or 0.7mm) for consistent line width.
What is a pattern notcher used for?
A pattern notcher creates small V-shaped or U-shaped cuts along pattern edges to mark seamlines, matching points, centers, and construction details. Notches are the universal language of pattern making and are faster and more durable than drawn marks.
What digital tools do professional pattern makers use?
Professionals use 2D CAD software (Gerber AccuMark, Optitex, TUKAcad) for precision drafting and grading, 3D simulation software (CLO 3D, Browzwear) for virtual fit and visualization, and AI-powered platforms like FashionINSTA for pattern intelligence, modular generation, and library management. Many modern workflows blend traditional skills with digital tools for maximum efficiency.
Final Thoughts: Start Simple, Grow Strategically
The beauty of pattern drafting is that it's both an art and a craft—part creative vision, part technical precision. The tools you choose shape how you work, but they don't define your skill. I've seen brilliant patterns drafted with nothing more than a ruler, a pencil, and patience, and I've seen mediocre work produced with the fanciest CAD systems.
Start with the essentials. Master the fundamentals of measuring, drafting, and tracing by hand. As your skills grow, invest in tools that solve specific problems—better curves for smoother lines, a dress form for fit checks, digital software for faster iteration. And if you're managing a pattern library or working in a production environment, explore how AI-powered pattern intelligence can transform scattered archives into a searchable, reusable system.
Pattern making is a journey, and every tool you add to your kit opens new creative possibilities. Whether you're drafting your first skirt block or generating variations from a library of thousands, the right tools make the process faster, more accurate, and infinitely more rewarding.
Now, go grab your ruler and start drafting—you've got everything you need.