What you'll accomplish, and who this is for
TL;DR: This guide walks you through generating a factory-ready, CAD-compatible .DXF pattern package using AI tools like FashionINSTA and CLO3D. It covers everything from input setup and AI drafting to 3D validation and DXF inspection, helping you drastically reduce pattern creation time without disrupting existing workflows.
By the end of this guide, you'll have a production-ready .DXF pattern package, a base size block plus graded outputs, that opens cleanly in Gerber, Lectra, CLO3D, or any other CAD tool your pattern room already uses. No more "the AI gave me a pretty image but the DXF won't open."
This walkthrough is written for fashion designers, technical designers, and pattern makers who want to reduce pattern creation time without abandoning the CAD workflows they already depend on. If you're working in a mixed team that spans creative direction and production, it's just as relevant.
What you need before you start:
- A sketch, flat, or reference photo of your target style (we'll use a women's fitted bodice + A-line skirt)
- A size chart in Excel or CSV format (columns: size label, bust, waist, hip, back length, sleeve length)
- Access to a CAD tool that reads .DXF (Gerber AccuMark, Lectra Modaris, CLO3D, or Browzwear/V-Stitcher)
- Optional: CLO3D or Style3D for 3D fit validation
Difficulty: Intermediate. Expected time: 2.5 to 3.5 hours for a clean first-draft DXF, plus 30 to 60 minutes for inspection and human refinements. Curve complexity and data quality will shift that range.
Checkpoint before continuing: Your sketch and your measurement CSV must be ready. Don't move forward without both.
How AI tools map to each stage of pattern creation
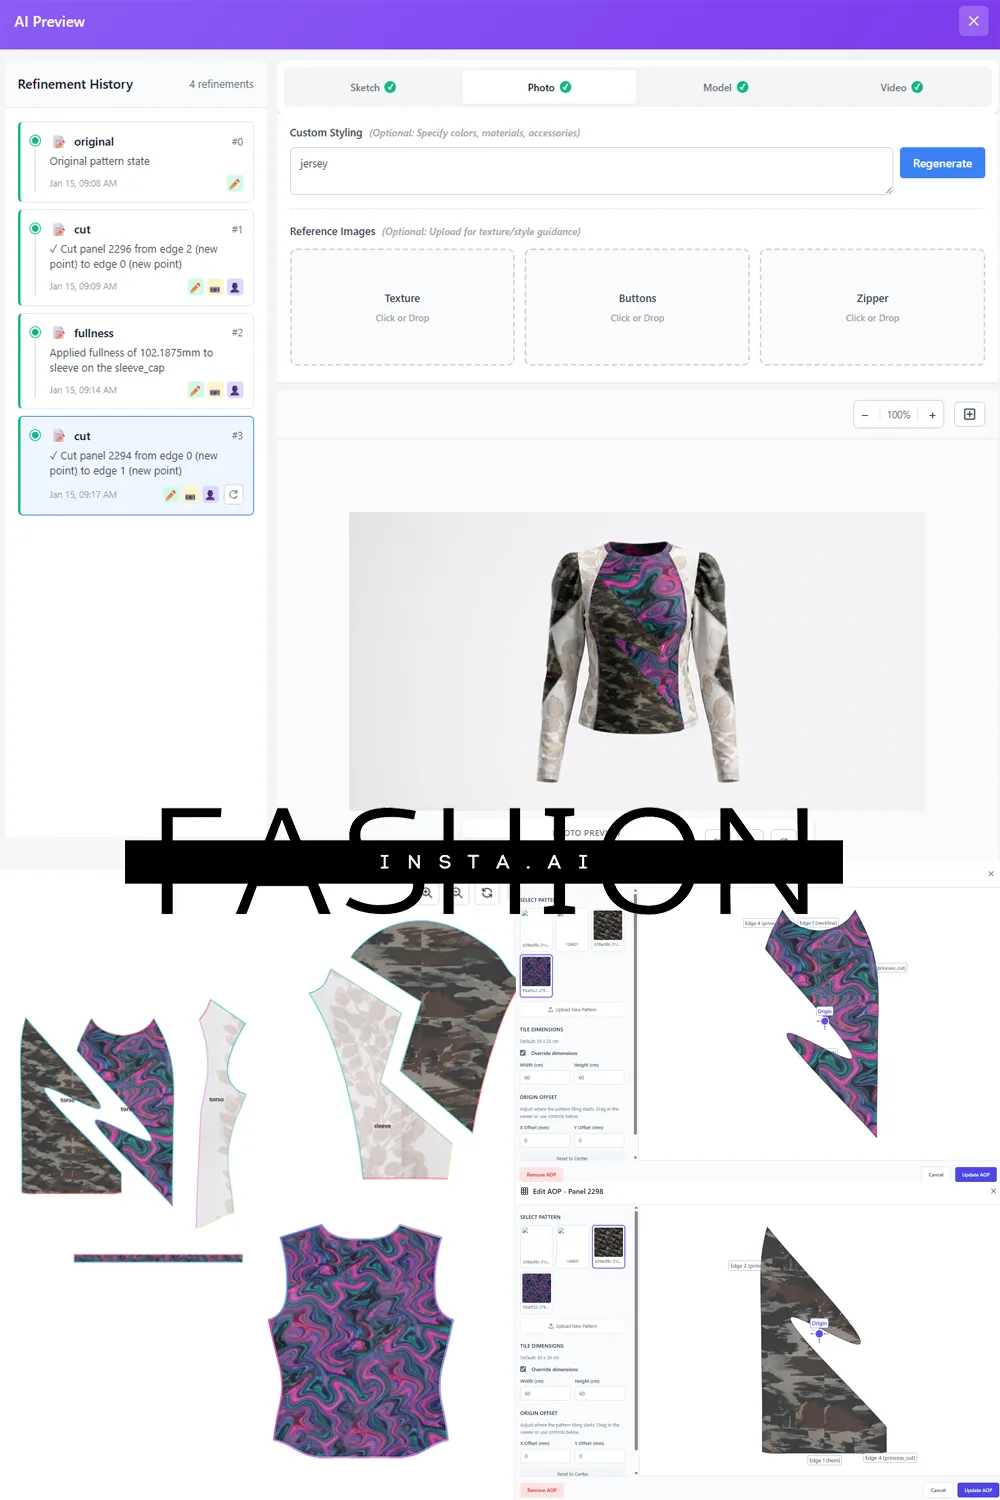
Not every AI pattern making tool does the same job. Picking the wrong one for your stage wastes time instead of saving it. Here's the honest breakdown:
| Stage | What you need | Tools that help |
|---|---|---|
| First draft / block retrieval | A starting DXF close to your style | FashionINSTA Pattern Intelligence, CLO3D AI Pattern Drafter (Beta) |
| Parametric DXF generation | Formula-driven pattern from measurements | FashionINSTA Claude skill (MSCP server) |
| 3D fit validation | Simulate drape, catch fit issues before toile | CLO3D, Style3D, Browzwear / V-Stitcher |
| Grading | Size range output from a measurement table | FashionINSTA (CSV/Excel grading), Lectra Modaris, Gerber AccuMark |
| Tech pack + costing | Auto-generate POM tables, BOM, feasibility | FashionINSTA (Tech Pack Compiler, Cost Estimator, Feasibility Analyzer nodes) |
| Marker / nesting | Fabric efficiency after DXF is validated | Lectra, Gerber, Tukatech |
CLO3D's AI Pattern Drafter (Beta), documented in CLO's own support article (updated September 3, 2026), will "automatically generate measurements to create a drafted pattern for you." That's useful for fast shape visualization, but the output still needs a careful DXF export check before it touches a Gerber pipeline. For teams whose primary need is getting from sketch to a factory-ready DXF that preserves their existing fit blocks, FashionINSTA's Pattern Intelligence workflow takes a different approach: it trains directly on your production .DXF archive and retrieves the closest matching pattern by comparing sketch geometry to your existing pattern geometry, not image-to-image matching.
Step-by-step: sketch to factory-ready DXF
Step 1: Set up your inputs (0:00 to 0:20)
Open your measurement CSV and confirm it has at minimum: size label, bust, waist, hip, back length, and sleeve length. Label the first column "size" and keep numeric values only in the data rows. Save as UTF-8 CSV.
Upload your sketch or flat reference. If you're using FashionINSTA, navigate to the Pattern Generator node and attach the sketch image plus the CSV. Add a garment category tag (e.g., "woven bodice + skirt, fitted, back zip").
Screenshot callout: You should see your sketch thumbnail and CSV filename confirmed in the node inputs panel before proceeding.
Step 2: AI retrieval and drafting (0:20 to 0:55)
If using FashionINSTA Pattern Intelligence:
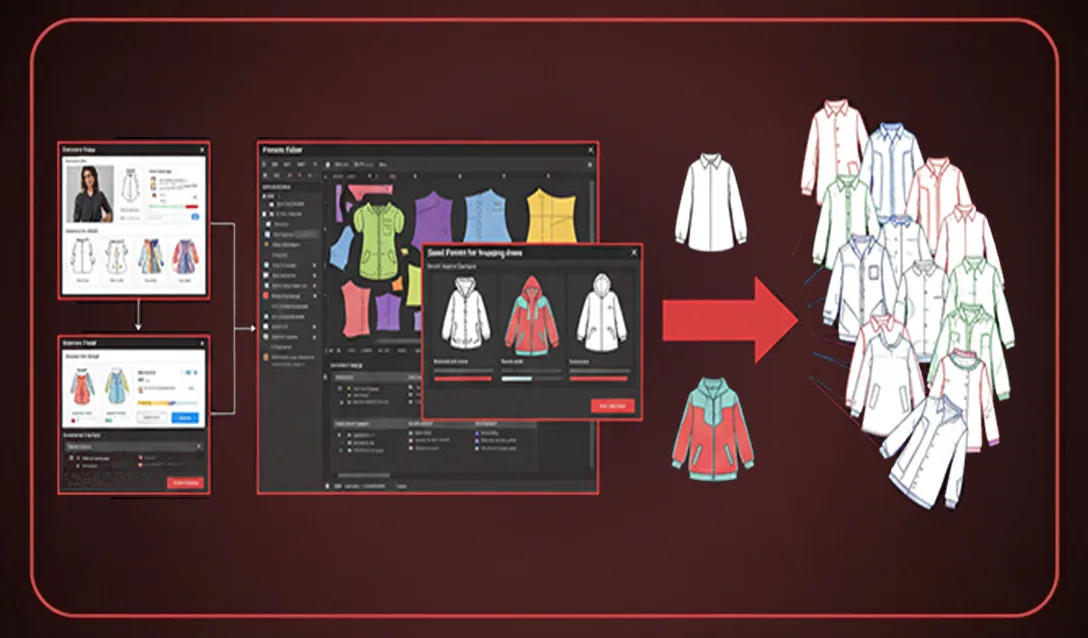
The system scores your sketch against the geometry of patterns in your trained archive (trained on 100 to 150 of your own .DXF files, with approximately 750 construction tags per pattern, per FashionINSTA's Enterprise PoC specification). It returns the closest-matching block, then applies automated CAD operations: sleeve length adjustments, seam relocation, gathering, facings, and pocket additions. You're not starting from scratch; you're getting a variation built from your own construction DNA.
If using FashionINSTA's Claude skill (parametric route):
Create a new Canvas, connect the FashionINSTA Claude skill via the MSCP server, and provide your pattern-making instructions explicitly. This is the critical point: as the FashionINSTA Claude skill documentation states, "Claude is not able to understand on its own how it should create pattern... you will need to provide the instructions. This is not a crystal ball." Provide the formula logic for your garment type (e.g., bodice construction method, dart rotation rules). Then feed the size chart CSV and request a grading run, for example size 40 as the base, graded 38 through 46 and up to 60. The skill generates a Python (.PY) file that exports the DXF and can be re-run with updated measurements later.
Checkpoints at this stage: 1. Pattern pieces created for the correct number of components (bodice front, bodice back, skirt front, skirt back, facing, waistband) 2. Curves show closure visually, no gaps between endpoints 3. Grading outputs generated for your full size range 4. DXF export format confirmed (AMMA DXF for Gerber pipelines, or V-Stitcher DXF for Browzwear workflows)
Warning: If you're drafting a new garment type the system hasn't seen before, naive uniform scaling will not produce correct grading. Point-moving grading rules driven by your measurement table are what matter. Always supply the size chart CSV rather than relying on a default.
Step 3: DXF inspection before you touch anything else (0:55 to 1:30)
Open the exported DXF in your CAD system. Work through this checklist in order:
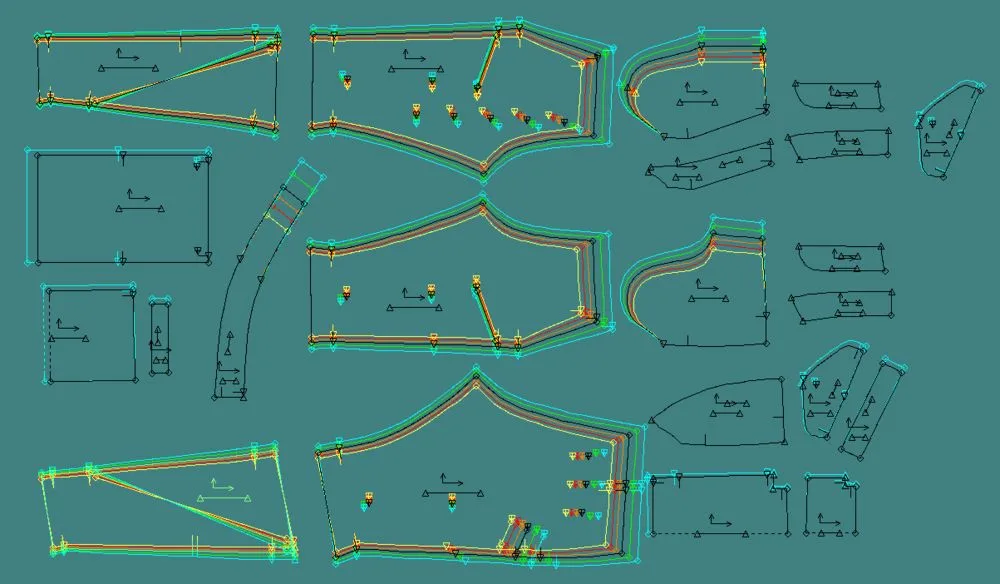
- Closure check: Every pattern piece boundary must be a closed polyline. No open endpoints. In Gerber AccuMark or Lectra Modaris, run the closure validation tool before any further work.
- Line semantics: Confirm which layer carries the sewing line vs. the cutting line. A common failure is DXF exports where seam allowances are embedded but the cutting and sewing lines are on the same layer with no distinction. Re-export with explicit layer separation if needed.
- Notches and grain lines: Verify that notch positions and grain lines are present and in the expected orientation.
- Symmetry check: Confirm whether pieces are half-pieces or full pieces, depending on your factory's expectation.
Human refinement at this stage (budget 30 to 45 minutes):
- Smooth neckline and armhole Bezier curves. AI-generated curves often have too many control points or slight irregularities at transition zones. Adjust manually in your CAD tool.
- Check dart placement and rotation against your size chart measurements.
- Verify seam relocation if the automated CAD operation moved a side seam: does the balance still match?
- Correct any facing lines the system auto-generated to confirm they match your construction spec.
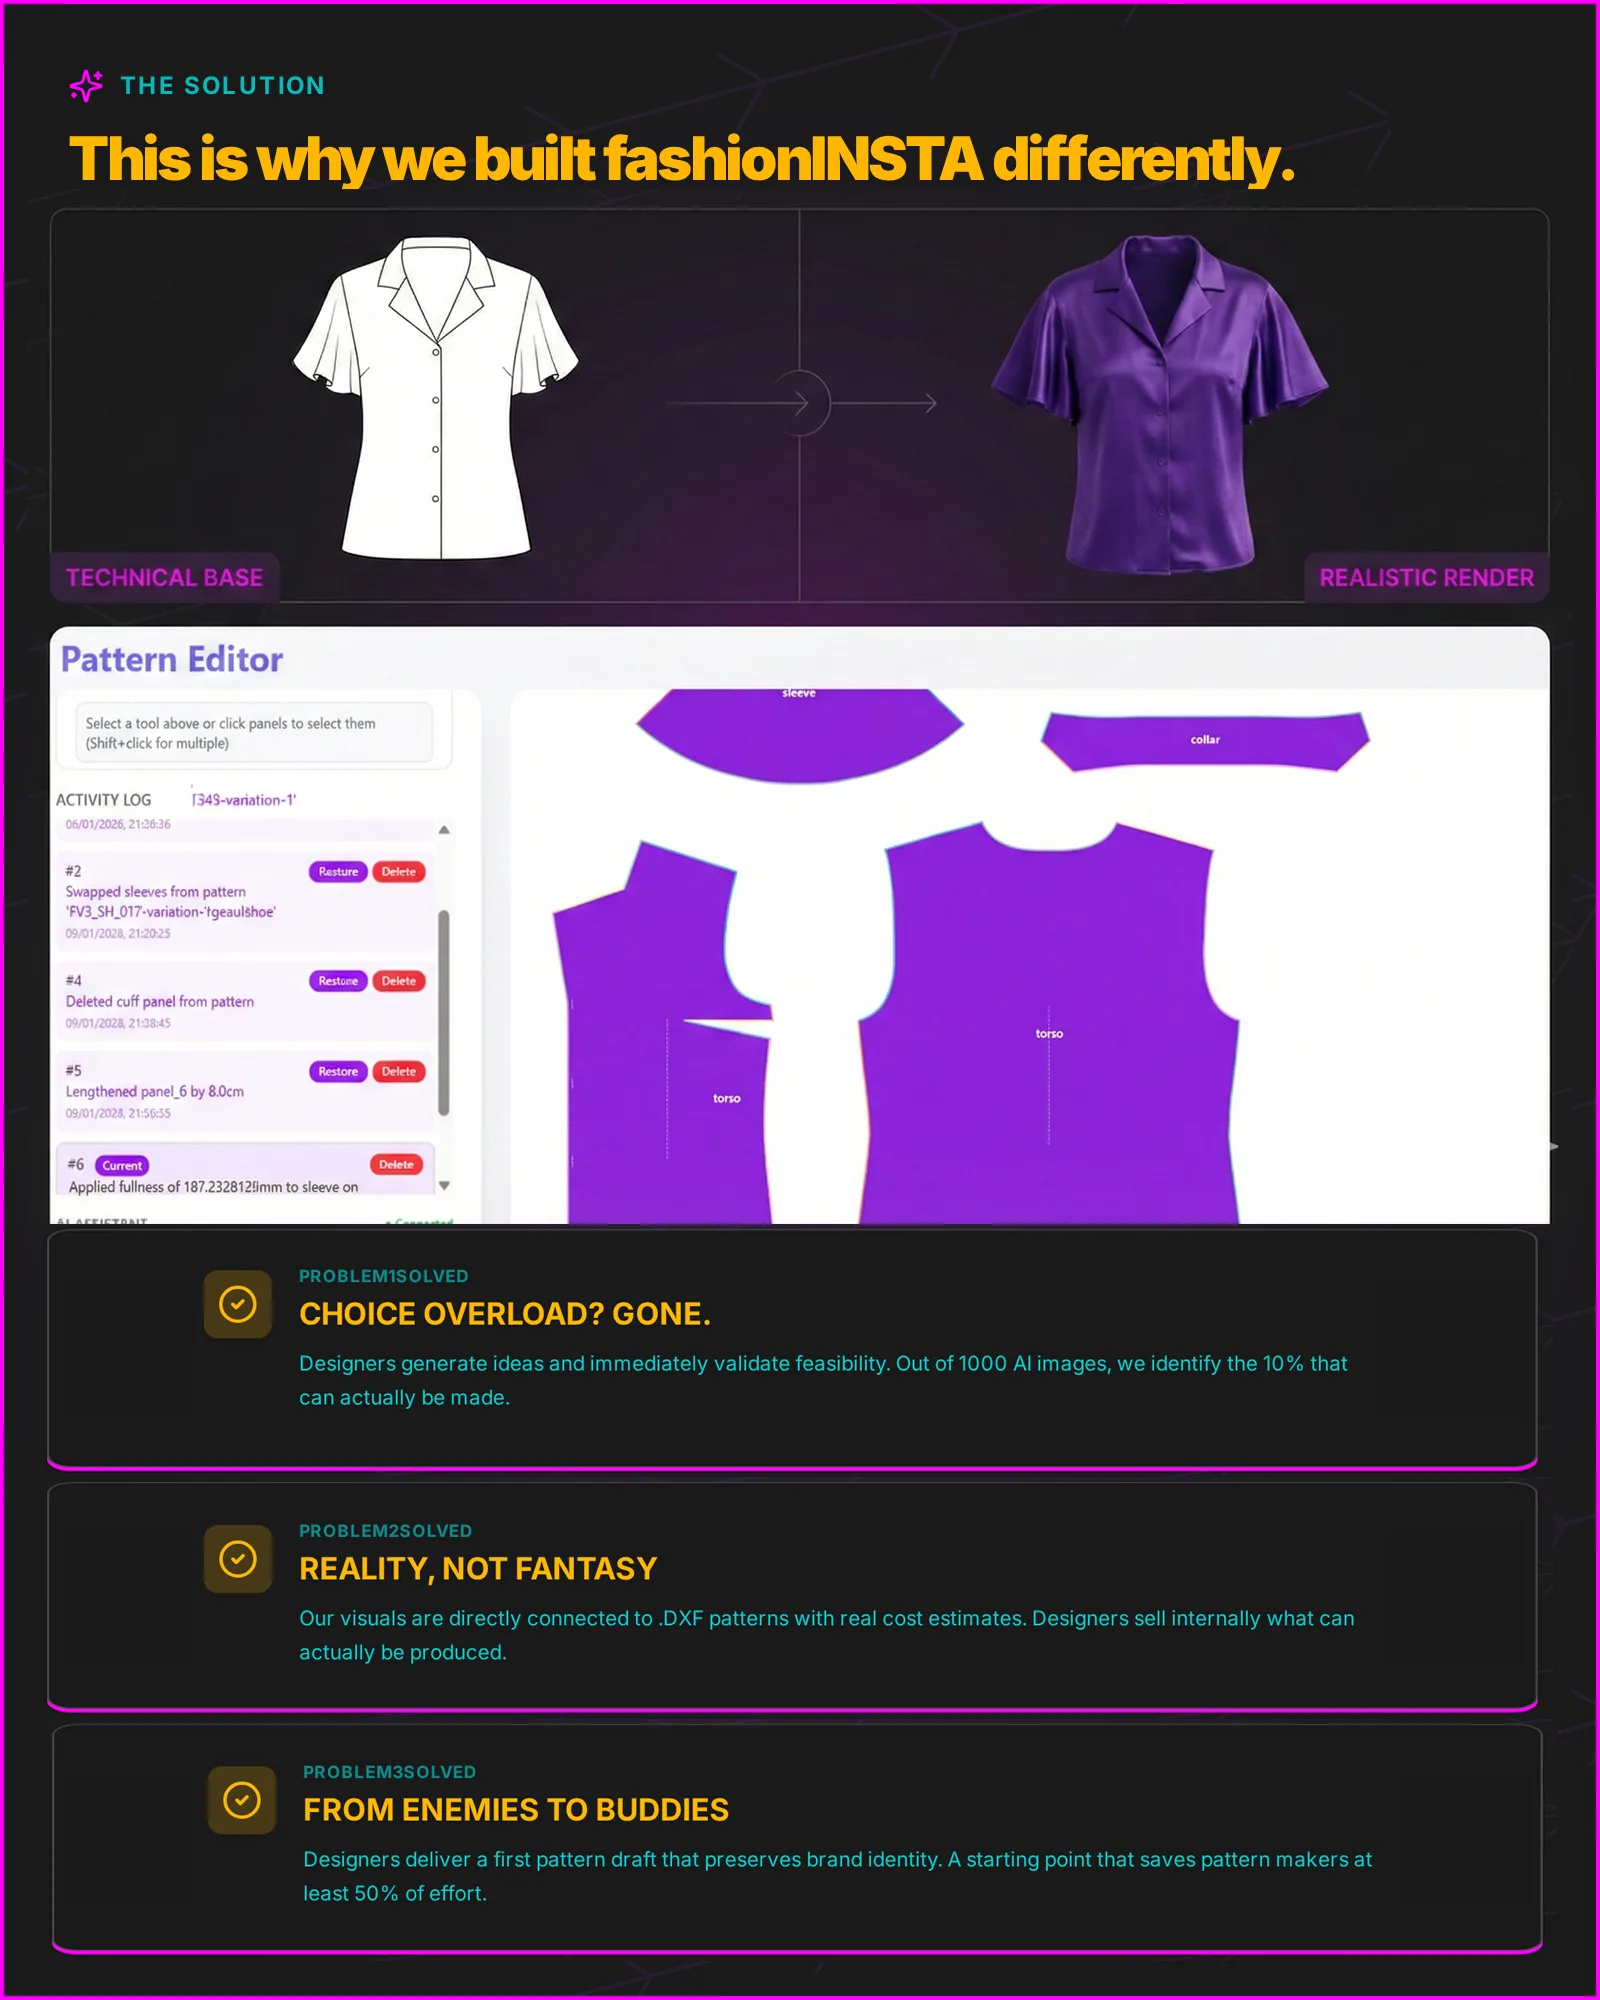
FashionINSTA's workflow can flag geometry issues for repair before export, which reduces how often you hit the closure problem in the first place. Still, budget human review time. The DXF output is a starting point built from your fit blocks, not a finished product.
Troubleshooting common failures:
- DXF opens but line count is wrong: Check your CAD import settings for unit conversion. If the pattern was generated in millimeters and your CAD default is inches, all measurements will import at incorrect scale. Set units explicitly at export.
- Curves look smooth on screen but fail a closure check: Increase the tolerance threshold in your CAD's closure validation, then manually close any gaps over 0.1mm.
- Grading steps are inconsistent between sizes: Your CSV may have non-numeric values or merged cells. Clean the file and re-run the grading step.
- Seam allowance appears doubled: The DXF was exported with seam allowances already included, and your CAD tool is adding a second pass. Re-export as sewing lines only, and let your CAD handle the seam allowance layer.
Checkpoint: Your DXF opens in your CAD tool, shows the expected number of pieces with correct orientation, and passes closure validation. If anything fails, fix it before moving to 3D.
CAD and 3D integration (1:30 to 2:00)
Import your validated DXF into CLO3D, Style3D, or Browzwear. In CLO3D, use File > Import > DXF, select your file, and confirm units and curve point optimization settings in the import dialog. Check "swap sewing and cutting lines" only if your export carried cutting lines as the primary layer.
Arrange pieces in the 3D avatar viewport, assign fabric properties that match your intended material, and run a basic simulation. You're not looking for photorealistic drape here; you're looking for obvious fit breaks: pooling at the waist, diagonal drag lines across the bodice, or skirt hemline distortion. Catch those now. Fixing them digitally costs minutes. Fixing them at the toile stage costs days.
Interoperability note: FashionINSTA exports in AMMA DXF format for Gerber workflows and in V-Stitcher DXF for Browzwear, as well as outputs compatible with Lectra Modaris and CLO3D. If your factory runs Gerber and your studio runs CLO3D, you can generate both formats from the same session without re-exporting manually.
Once 3D simulation clears, export your tech pack directly from FashionINSTA's Tech Pack Compiler node. It auto-generates POM tables from the pattern geometry and populates construction notes. FashionINSTA's feasibility/margin estimation, when connected to accurate costing data, is claimed to reach approximately 80% of actual cost, per the company's demo materials.
Time comparison: AI-assisted vs. manual
The table below shows approximate timings for the case study garment (bodice + skirt, graded 38 to 46). Manual baseline assumes a senior pattern maker working alone with an existing block library.
| Step | AI-assisted | Manual baseline |
|---|---|---|
| Input setup (sketch + CSV) | 20 min | 30 min (sketch interpretation) |
| Block retrieval / drafting | 35 min | 4 to 6 hours (hand draft + digitize) |
| Grading (6 sizes) | 15 min | 2 to 3 hours |
| DXF export + format check | 10 min | 30 to 45 min |
| Inspection + human edits | 45 min | 1 hour (sanity check only) |
| 3D validation | 30 min | Not typically in manual flow |
| Tech pack compilation | 15 min | 2 to 4 hours |
| Total | ~2.5 to 3 hours | ~10 to 15 hours |
FashionINSTA reports a "10x faster first draft" and a "4x faster PD cycle" on their platform page. Those figures reflect their internal testing and your results will depend on how complete and consistent your training archive is. With a clean, well-tagged DXF archive, you'll see larger gains. With fragmented legacy files, budget extra time for the initial data collection phase.
Which tool is right for your workflow
You're a designer who needs a fast first pattern and no CAD subscription: Use CLO3D's AI Pattern Drafter (Beta) for a quick shape draft, then export DXF and hand off to a pattern maker for production prep.
You're a pattern maker who needs graded, CAD-compatible DXF + tech pack: FashionINSTA's Pattern Intelligence workflow is built for this. It returns AMMA DXF (Gerber) and V-Stitcher DXF, runs grading from your own size chart CSV, and compiles a tech pack in the same session.
You're a technical designer in a mixed team that spans 3D sim and production: Combine FashionINSTA for DXF generation and grading with CLO3D or Style3D for 3D validation, then export to your Gerber or Lectra production pipeline. FashionINSTA's Enterprise PoC (priced at €5,000 to €15,000 as a one-time engagement) includes a 10-week structured onboarding, training on 100 to 150 of your DXF patterns, and a week-10 KPI review.
You want parametric patterns for custom-fit or small-batch production: Use FashionINSTA's Claude skill via the MSCP server. Provide your garment construction formulas, upload a measurement CSV with your full size run, and iterate on Bezier curve quality before exporting the final DXF.
Before you trust any AI pattern output: a checklist to save
- [ ] All pattern piece boundaries are closed (zero open endpoints)
- [ ] Cutting lines and sewing lines are on separate, correctly labeled layers
- [ ] Notches and grain lines are present and correctly oriented
- [ ] Grading steps match your measurement table at key points (bust, waist, hip)
- [ ] DXF unit system matches your CAD system's default
- [ ] Export format matches your downstream tool (AMMA for Gerber, V-Stitcher DXF for Browzwear)
- [ ] Tech pack POM values match the graded pattern measurements
Tips for better results:
- Feed your actual brand size chart, not a generic standard. The difference between a grade that fits and one that doesn't usually lives in three or four measurement points.
- For new garment types, write out the construction method explicitly when using the Claude skill. The AI will follow instructions precisely; it won't infer them.
- Plan two or three curve correction passes on necklines, armholes, and sleeve caps. Bezier quality at these points determines whether a toile fits in a fitting or just looks close on a screen.
- Run the closure check before the 3D simulation, not after. A 3D tool will still simulate around open curves and give you a false sense of confidence.
Your next step: Pick one style from your current collection, run it through this workflow over the next two weeks, and log the hours at each stage. Compare that to your team's current average. That's your real benchmark.