From Pattern Maker to Fashion Designer
TL;DR: Transitioning from pattern making to fashion design doesn't require a traditional creative background; it requires showcasing the design decisions you already make. By reframing your technical skills, building a cohesive mini-collection, and presenting a hybrid portfolio, you can prove your creative vision and constructability.
If you're a pattern maker thinking about moving into design, the worry usually sounds the same: "I can build anything, but I don't have the creative background." It's a common fear, and it's mostly a misdiagnosis. What most pattern makers lack isn't talent. It's a body of work that shows their design thinking, and a few presentation habits that designers pick up early.
Design isn't only drawing. It's choosing a point of view, curating references, and making decisions under constraints like fabric behavior, construction method, and cost. This article covers how to transition from pattern making to fashion design by reframing what you already know, adding the skills that matter most, and building a portfolio that proves both vision and wearability.
Pattern making already gives you design capital
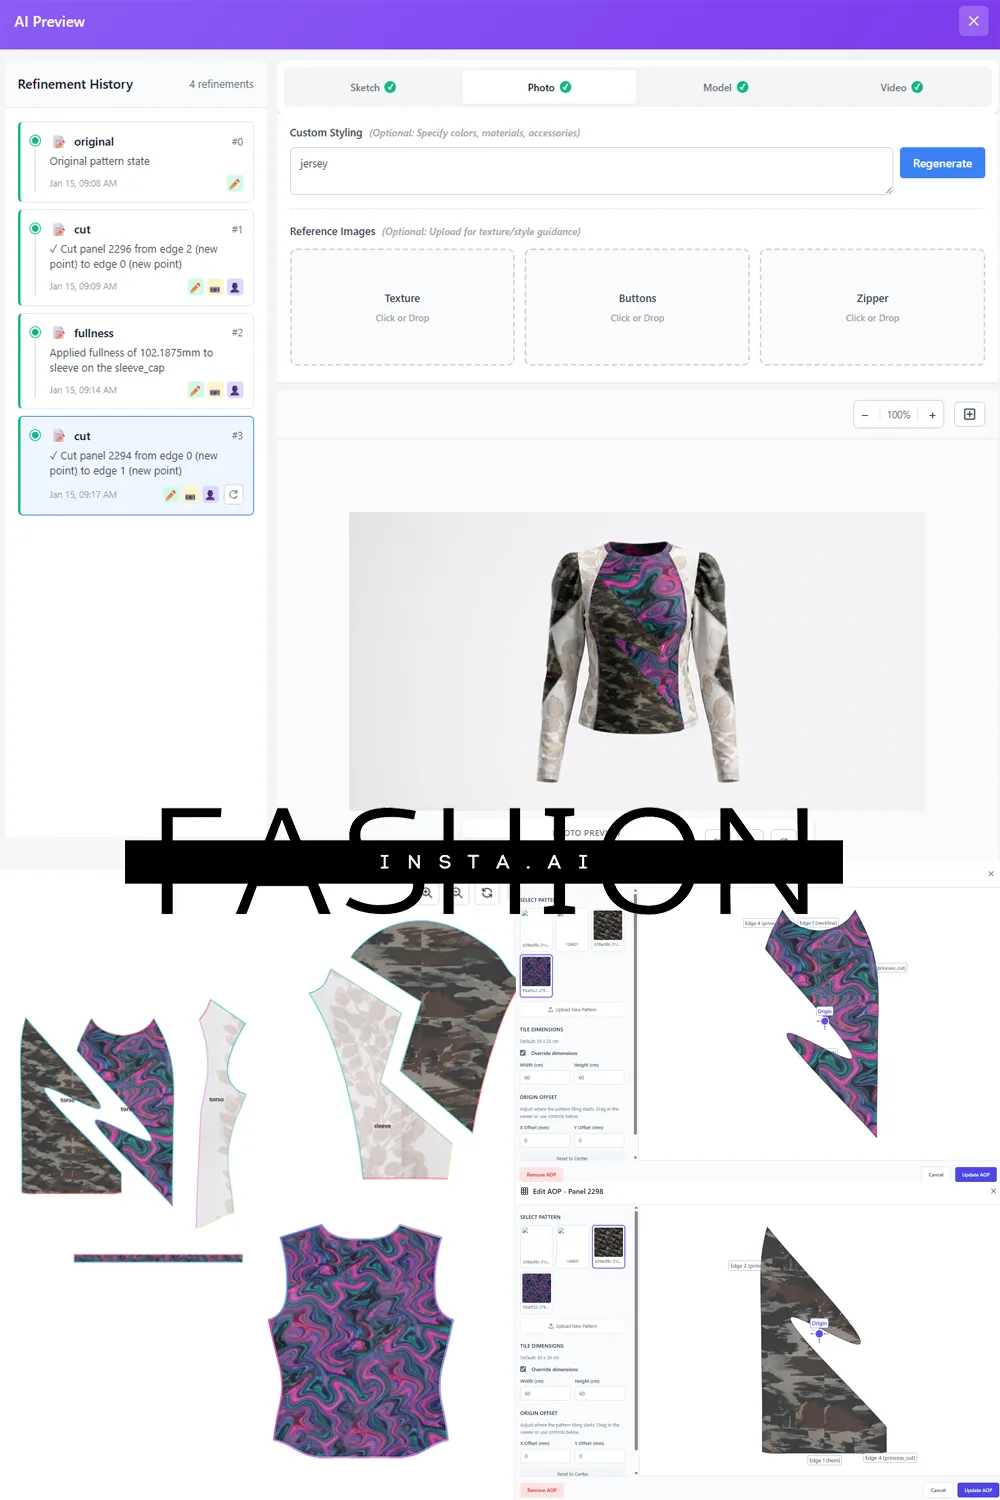
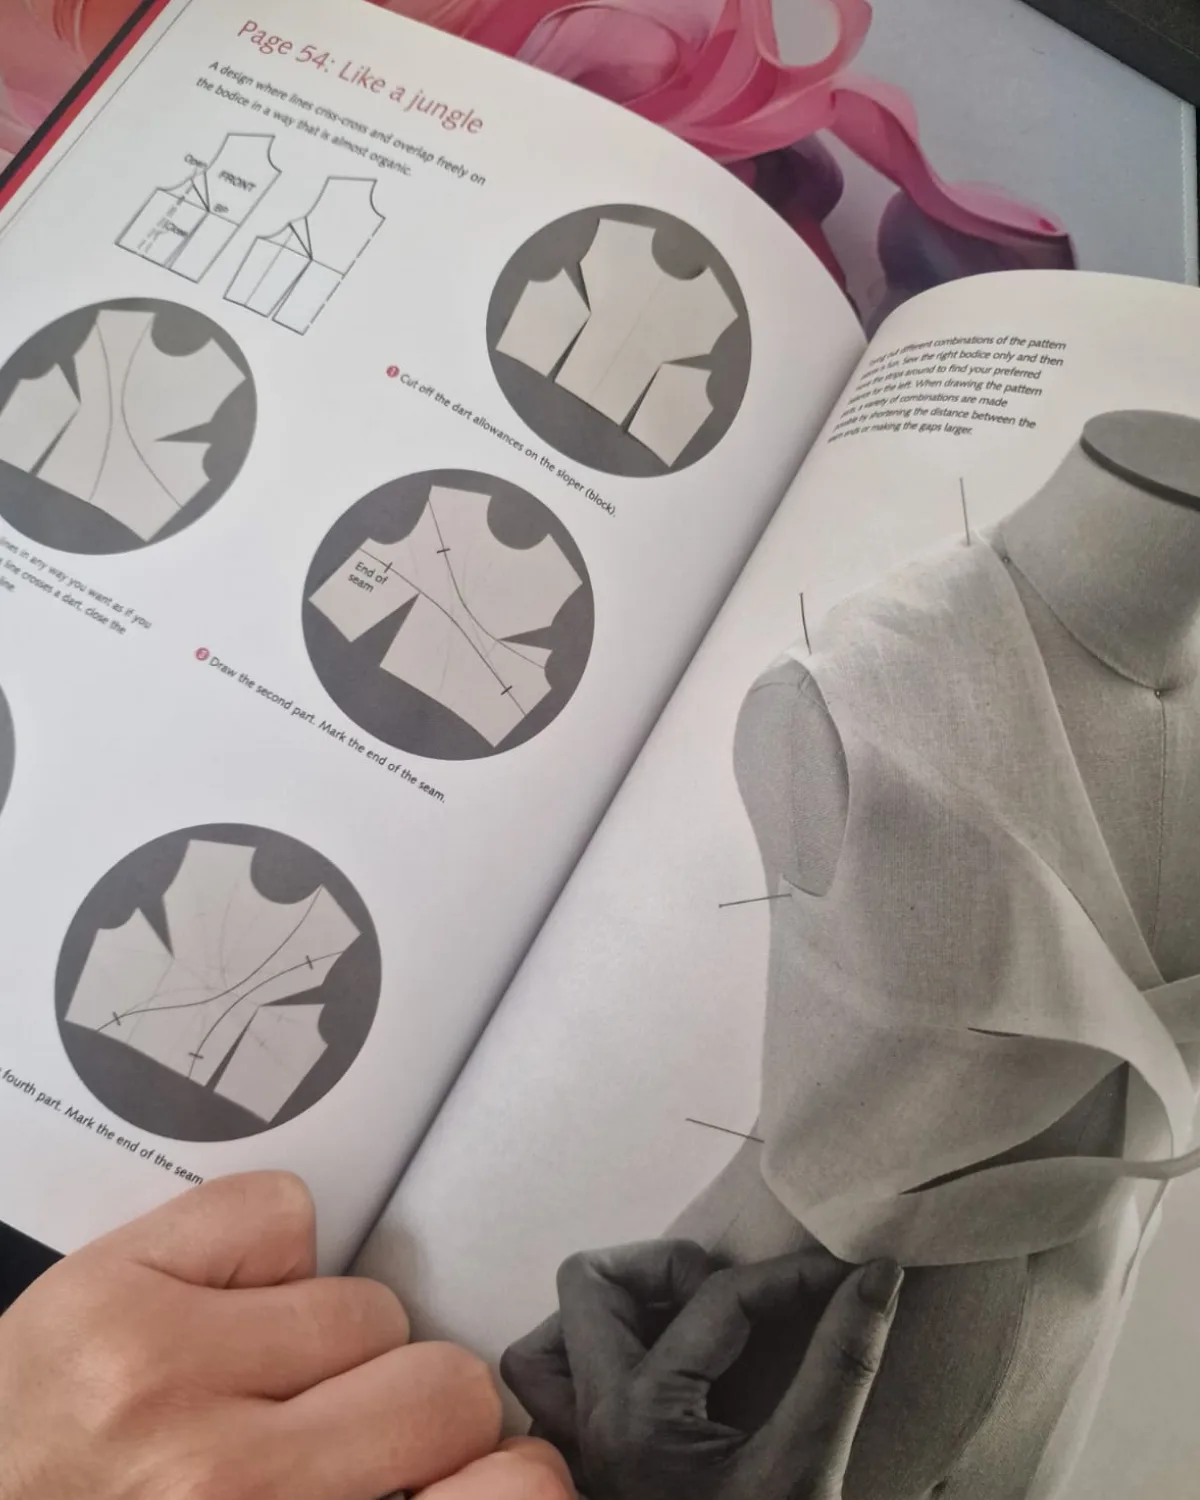
You've spent years thinking in three dimensions from a flat piece of paper. You know why a dart moves, how a bias cut hangs, and where a seam will pull. Many designers learn this only secondhand, through conversations with someone like you.
Useful strengths you probably already have:
- Spatial reasoning and silhouette engineering
- Fit sensitivity, including how a garment moves on a real body
- Iteration discipline (muslin, adjust, re-muslin)
- Construction intuition that prevents designs from dying in sampling
The reframe for your resume and portfolio is simple: move from "pattern execution" to "design that ships." Instead of "drafted patterns for the outerwear line," write "resolved silhouette and closure decisions that took a trench concept from sketch to production sample." Same work, different emphasis on the decisions you made.
The design skills worth adding first
"Creative background" in hiring conversations rarely means an art degree. It usually means a coherent point of view and the ability to communicate it. Break that into four areas:
- Concept and visual direction: building a mood board and turning it into a narrative with a clear audience.
- Drawing and presentation: flats, front and back, that show design intent.
- Styling and communication: explaining why a look exists.
- Market positioning: knowing who wears it and at what price.
Prioritize in that order. Strong concept and clear flats will carry you further than polished fashion illustration. If you want a structured way to build drawing fluency, the daily practice plan in this patternmaker-to-designer sketching guide is designed for people with your exact background.
Map each skill to an output: mood boards become a design narrative, flats show intent, and a finished prototype proves the idea is wearable.
A hybrid portfolio proves vision and constructability
Pattern makers tend to make one of two portfolio mistakes. The first is a binder of technical pattern cards with no sign of why the garments exist. The second is a set of final photos with no process. Design hiring managers want to see the thinking between those two.
Use this template for each project:
- Concept and research (mood board, references, audience)
- Ideation sketches and a lineup
- Design flats, front and back
- Technical translation (pattern pieces, drape or muslin photos)
- Realized garment photography
- Production notes: fabric, trims, and two or three construction highlights
Put steps 1 to 3 first. Your technical proof comes after, as evidence the designs work. That order tells a reader you lead with ideas and can back them up.
On volume: two or three cohesive mini-collections of four to six looks beat thirty disconnected sketches. Cohesion shows a point of view. Scattered work shows the absence of one.
A repeatable mini-collection workflow
You can run the same five steps for every collection.
Pick a design thesis. One sentence covering theme, audience, and silhouette goal. Example: "Relaxed tailoring for commuters who cycle, with volume that clears the saddle."
Turn the thesis into measurable decisions. Proportions, seam placement, closure strategy, fabric weight and drape. This is where pattern makers shine, because vague ideas become specifications.
Run fast experiments. Sketch ten variations quickly, then drape or muslin the strongest three. Keep photos of the rejected versions too. They show process.
Build the full garment package. Narrative, visuals, and construction evidence together.
Edit ruthlessly. If a look doesn't support your signature, cut it, even if the sewing was excellent.
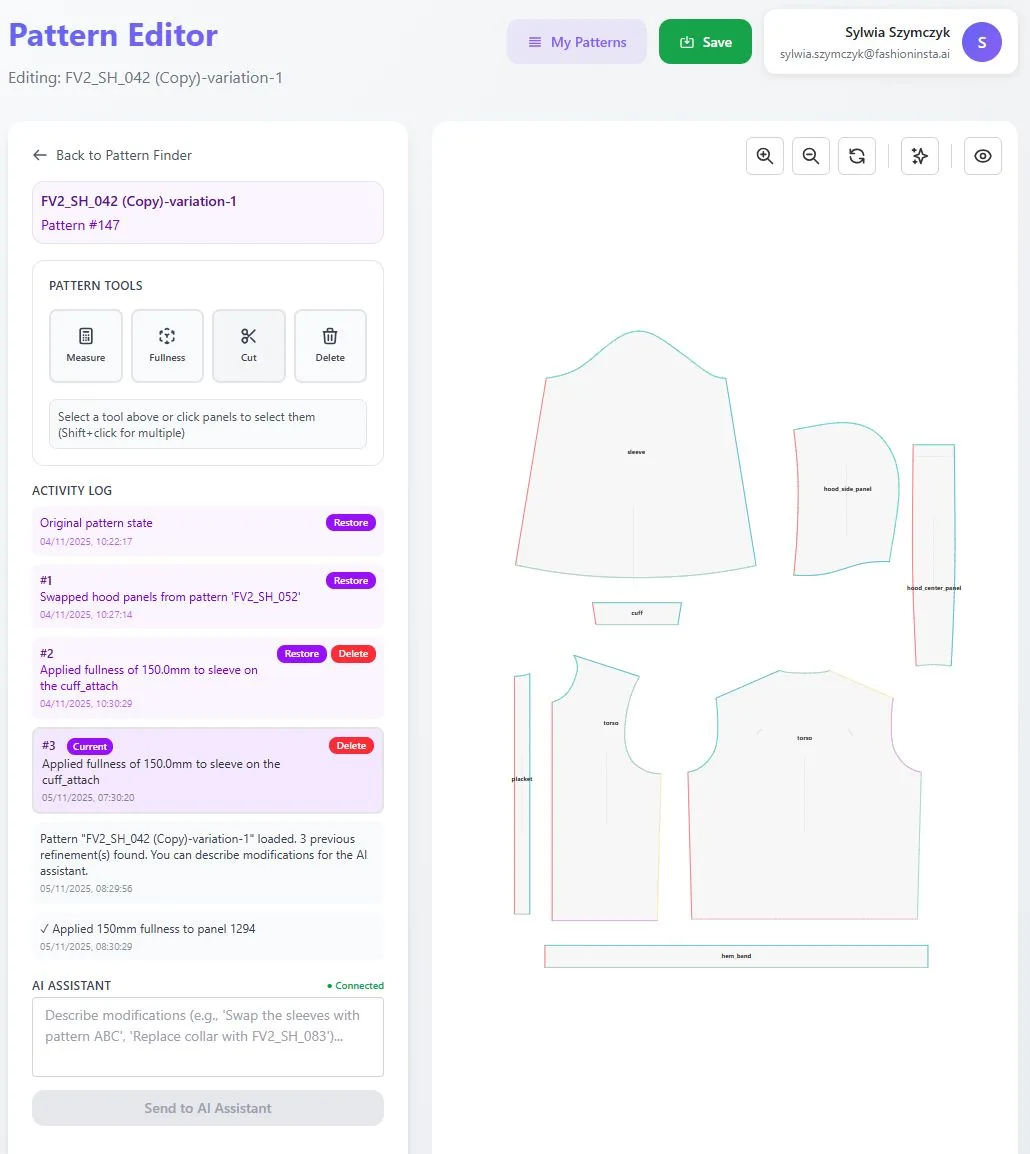
The same logic applies to tools that connect intent to manufacturing. Fashioninsta's platform, for example, is built around turning a reference into working .DXF patterns, a tech pack, cost and feasibility checks, and renders, with the stated aim of making real garments rather than pretty pictures. You don't need software to adopt the principle, though. A design that arrives with a believable construction plan and cost logic is more persuasive than a drawing alone.
Presenting design when drawing isn't your strength
You don't need to be a gifted illustrator. Clean flats from a consistent template, digital layouts, and 3D mockups or CAD renders all communicate well. Treat renders as communication tools. They support your physical proof, they don't replace it.
Hiring teams look at three things in visuals: clarity of silhouette, visible construction intent, and consistency across the collection.
Give every look a short caption:
- Inspiration: one line on the source
- Materials: fabric and key trims
- Fit goal: how it should feel and move
- Construction choice: one decision and why you made it
Ask for feedback that can be answered
"Do you like it?" gets you opinions. Ask targeted questions instead:
- Does the silhouette read clearly from the flat alone?
- Is the construction logic sound for the fabric?
- Does every look support the stated thesis?
- What would you change to make this producible at a target price?
Pick reviewers by strength. A technical designer checks feasibility, a creative director judges cohesion, and a sample maker flags practical problems. Save the notes and revise the same project rather than starting over.
Career moves while you transition
The shortest path is proximity. Ask to sit in design reviews, offer to help an illustrator or designer with small concept tasks, and volunteer for development work that feeds design iterations. Design assistant and development assistant roles are the most common bridge. When you apply, show the bridge in your materials: lead with a concept page, then the construction proof.
Timelines vary. Fashioninsta's pattern maker to designer timeline lays out realistic ranges, including a case of someone moving in six months and the more typical 18 to 24 months.
Your next 90 days
Days 1 to 30: Write your design thesis, build one look, and gather proof: sketches, muslin photos, final garment shots.
Days 31 to 60: Complete one or two mini-collections and lay out the portfolio with concept first, construction second.
Days 61 to 90: Apply for design assistant roles, request critiques using the questions above, and refine. Keep improving the work you have.
Creativity, in hiring terms, is a visible pattern of choices and a repeatable process. You already make hundreds of those choices a week. The job now is to show them.