How to go from design sketch to factory-ready pattern without a full team
TL;DR: Learn how to transform a simple design sketch into a factory-ready .DXF pattern, complete with tech packs and cost estimates, using AI-driven tools. This guide empowers independent designers and small teams to bypass traditional bottlenecks and accelerate their product development cycle without needing a dedicated pattern room.
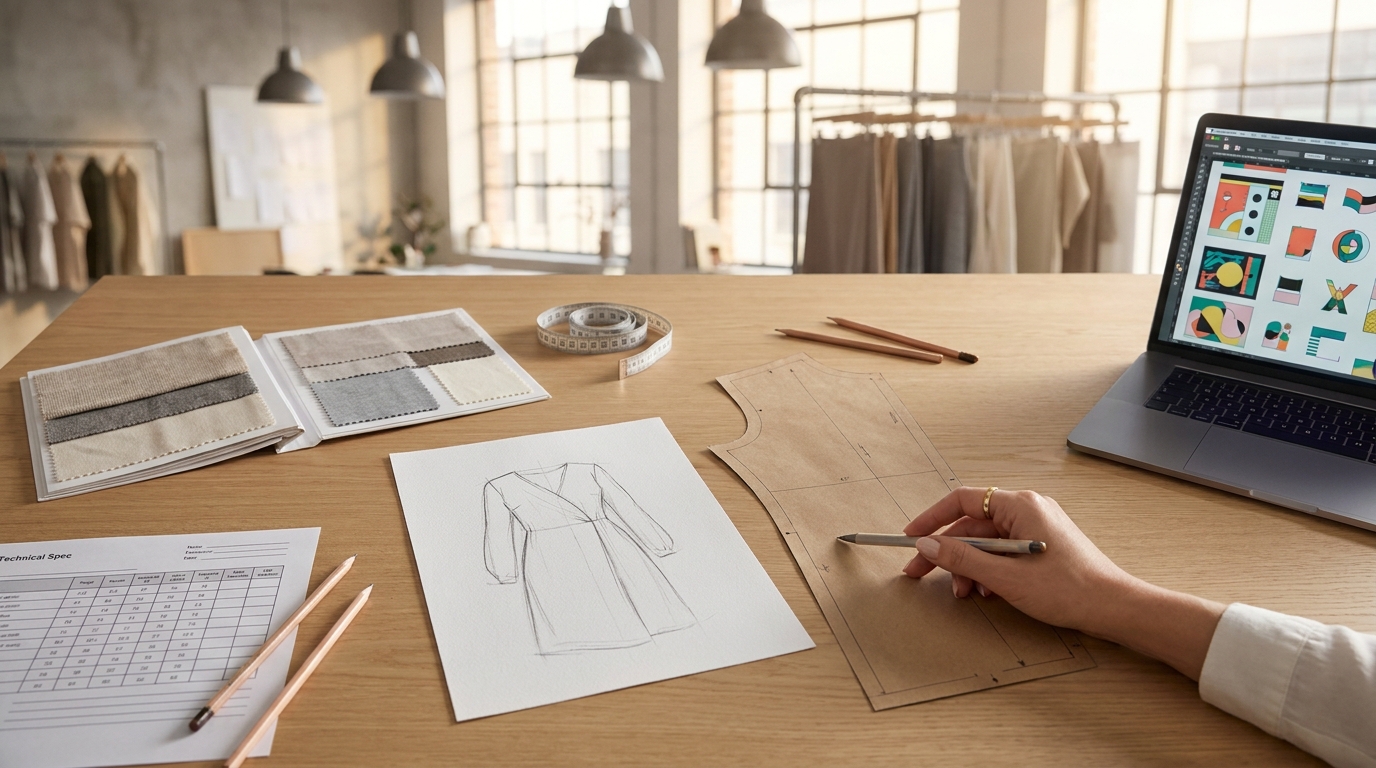
Getting a sketch into a factory's hands used to require a pattern maker, a technical designer, a sampling budget, and weeks of back-and-forth. For indie designers, emerging labels, or brand directors managing lean product development, that bottleneck is where ideas go quiet.
This guide walks you through the exact process to move from a design sketch to a factory-ready pattern on your own, using AI pattern intelligence. No CAD background required.
What you'll accomplish: A downloadable .DXF pattern file, bill of materials, cost estimate, and auto-generated tech pack ready for a factory handoff.
Who it's for: Independent designers, small brand teams, and product development leads who need production-ready assets without a dedicated pattern room.
Prerequisites: A design sketch (hand-drawn, digital, or photo reference), basic body measurements or a size spec, and access to fashionINSTA (free tier available with 150 credits).
Difficulty: Beginner to intermediate. Estimated time: 20-30 minutes per style.
Step 1: Prepare your sketch for upload
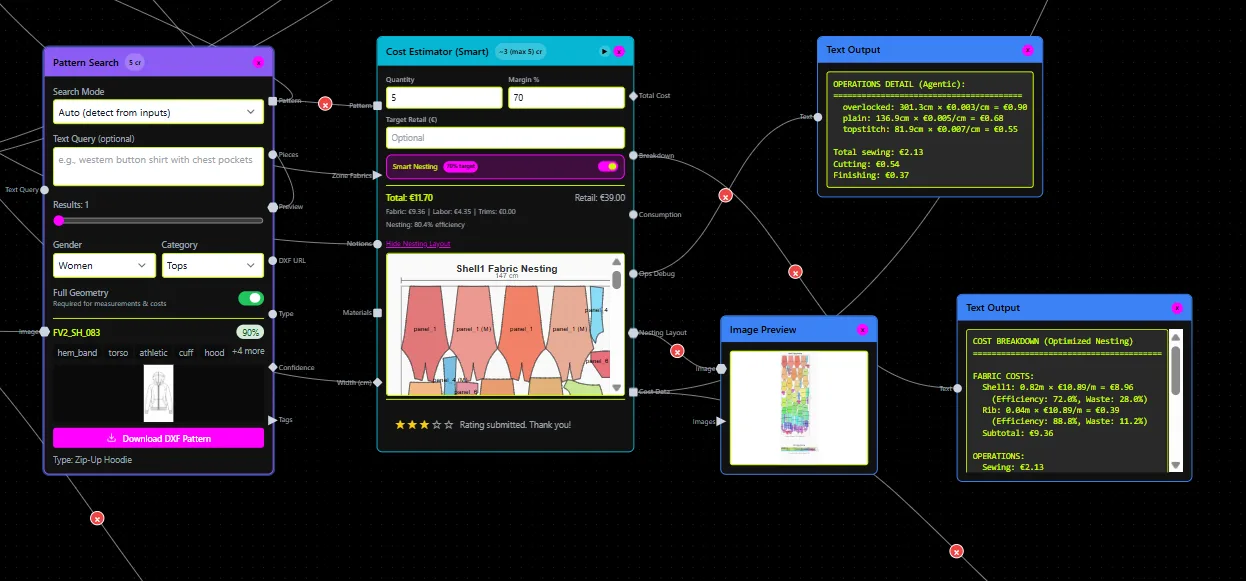
The AI reads garment geometry, so the clearer your input, the tighter the output.
- Use a clean, well-lit image if working from a hand-drawn sketch. A phone photo works; just avoid heavy shadows.
- Make sure the full silhouette is visible, including neckline, hem, and sleeve construction if relevant.
- Digital flats from Illustrator or Procreate upload as-is. No special file format needed.
- If you have a photo reference garment, that works too. The AI interprets construction lines, not just aesthetics.
Warning: Avoid uploading highly stylized renderings with exaggerated proportions (elongated limbs, fashion-figure scaling). These confuse the geometry interpretation and produce distorted pattern pieces. Use a flat sketch or technical drawing for best results.
Step 2: Upload your sketch and input measurements
- Log into your fashionINSTA dashboard.
- Open the Fashion Nodes workflow builder. This is the drag-and-drop AI canvas where you'll chain together each step of the product development pipeline.
- Add the Pattern Generator node to your workspace.
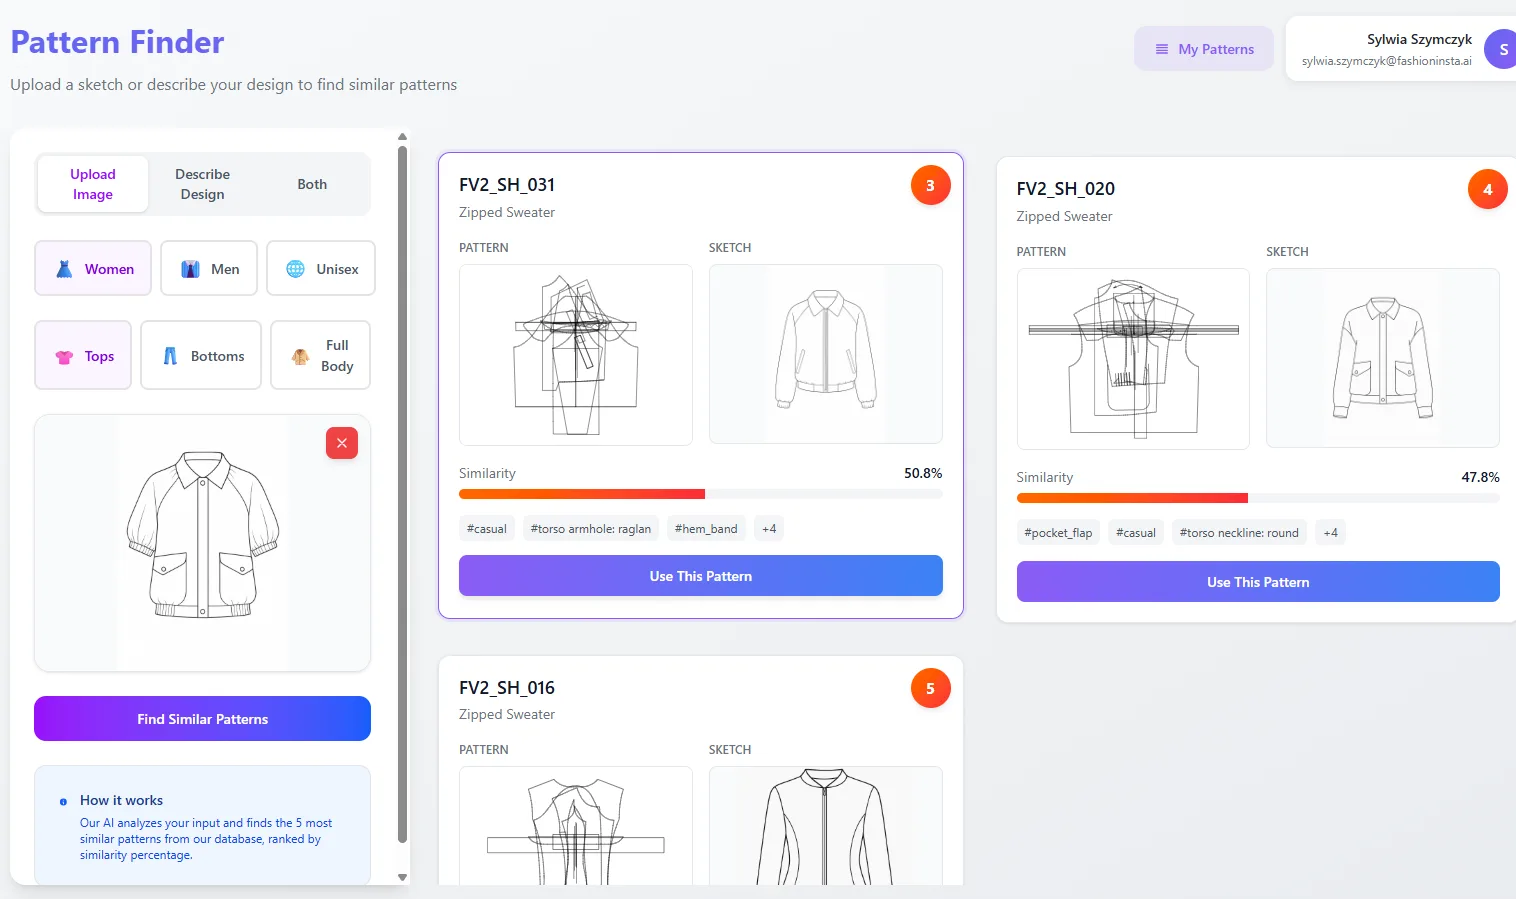
- Upload your sketch or reference image directly into the node.
- Input body measurements or select a standard size base (e.g., EU 38, US 8). The AI maps your sketch geometry against real body data to produce proportionally accurate pattern pieces.
Checkpoint: After upload, the platform displays a geometry interpretation overlay. Confirm the AI has correctly identified the main seam lines, neckline, and hem before proceeding. If a construction detail is misread (for example, a raglan shoulder read as a set-in sleeve), add a short text note in the node's description field to correct it.
Step 3: Generate and review the .DXF pattern
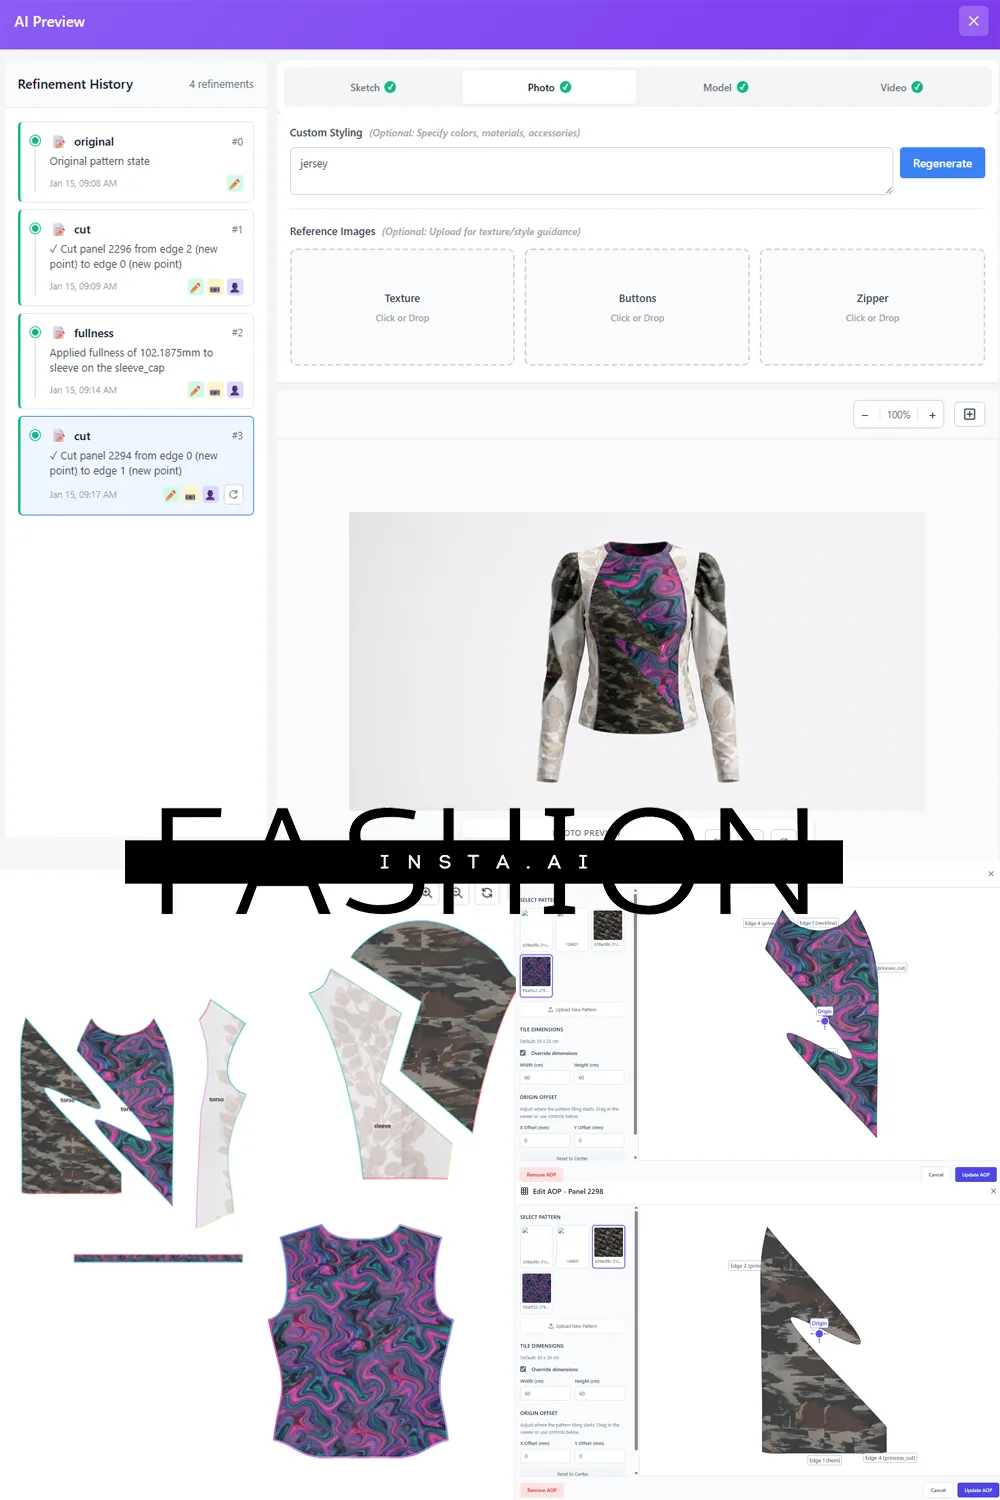
Click Generate Pattern. In most cases, the AI returns a complete set of pattern pieces within 10 minutes. This is not a simulation or a sketch-to-image render. The output is a real .DXF pattern file compatible with CAD tools including CLO3D, Browzwear, Lectra, and Gerber.
What to check before moving forward:
- Seam allowances are applied and consistent across all pieces.
- Grain lines are correct for each panel.
- Notches are placed at matching seam points.
- The number of pattern pieces matches your garment construction (a basic T-shirt should produce a front body, back body, and sleeves at minimum).
Warning: Don't skip this review. AI-generated patterns are accurate for standard constructions but can drift on unusual details like asymmetric hems or unconventional pocket placements. A 2-minute review here prevents a wasted sample later.
If you have an existing .DXF pattern archive, upload it before this step. fashionINSTA's Pattern Intelligence layer learns your brand's fit blocks and construction DNA by extracting 750+ features per pattern, then applies your established ease allowances and seam standards automatically to every new style you generate.
Step 4: Run the BOM agent and cost estimator
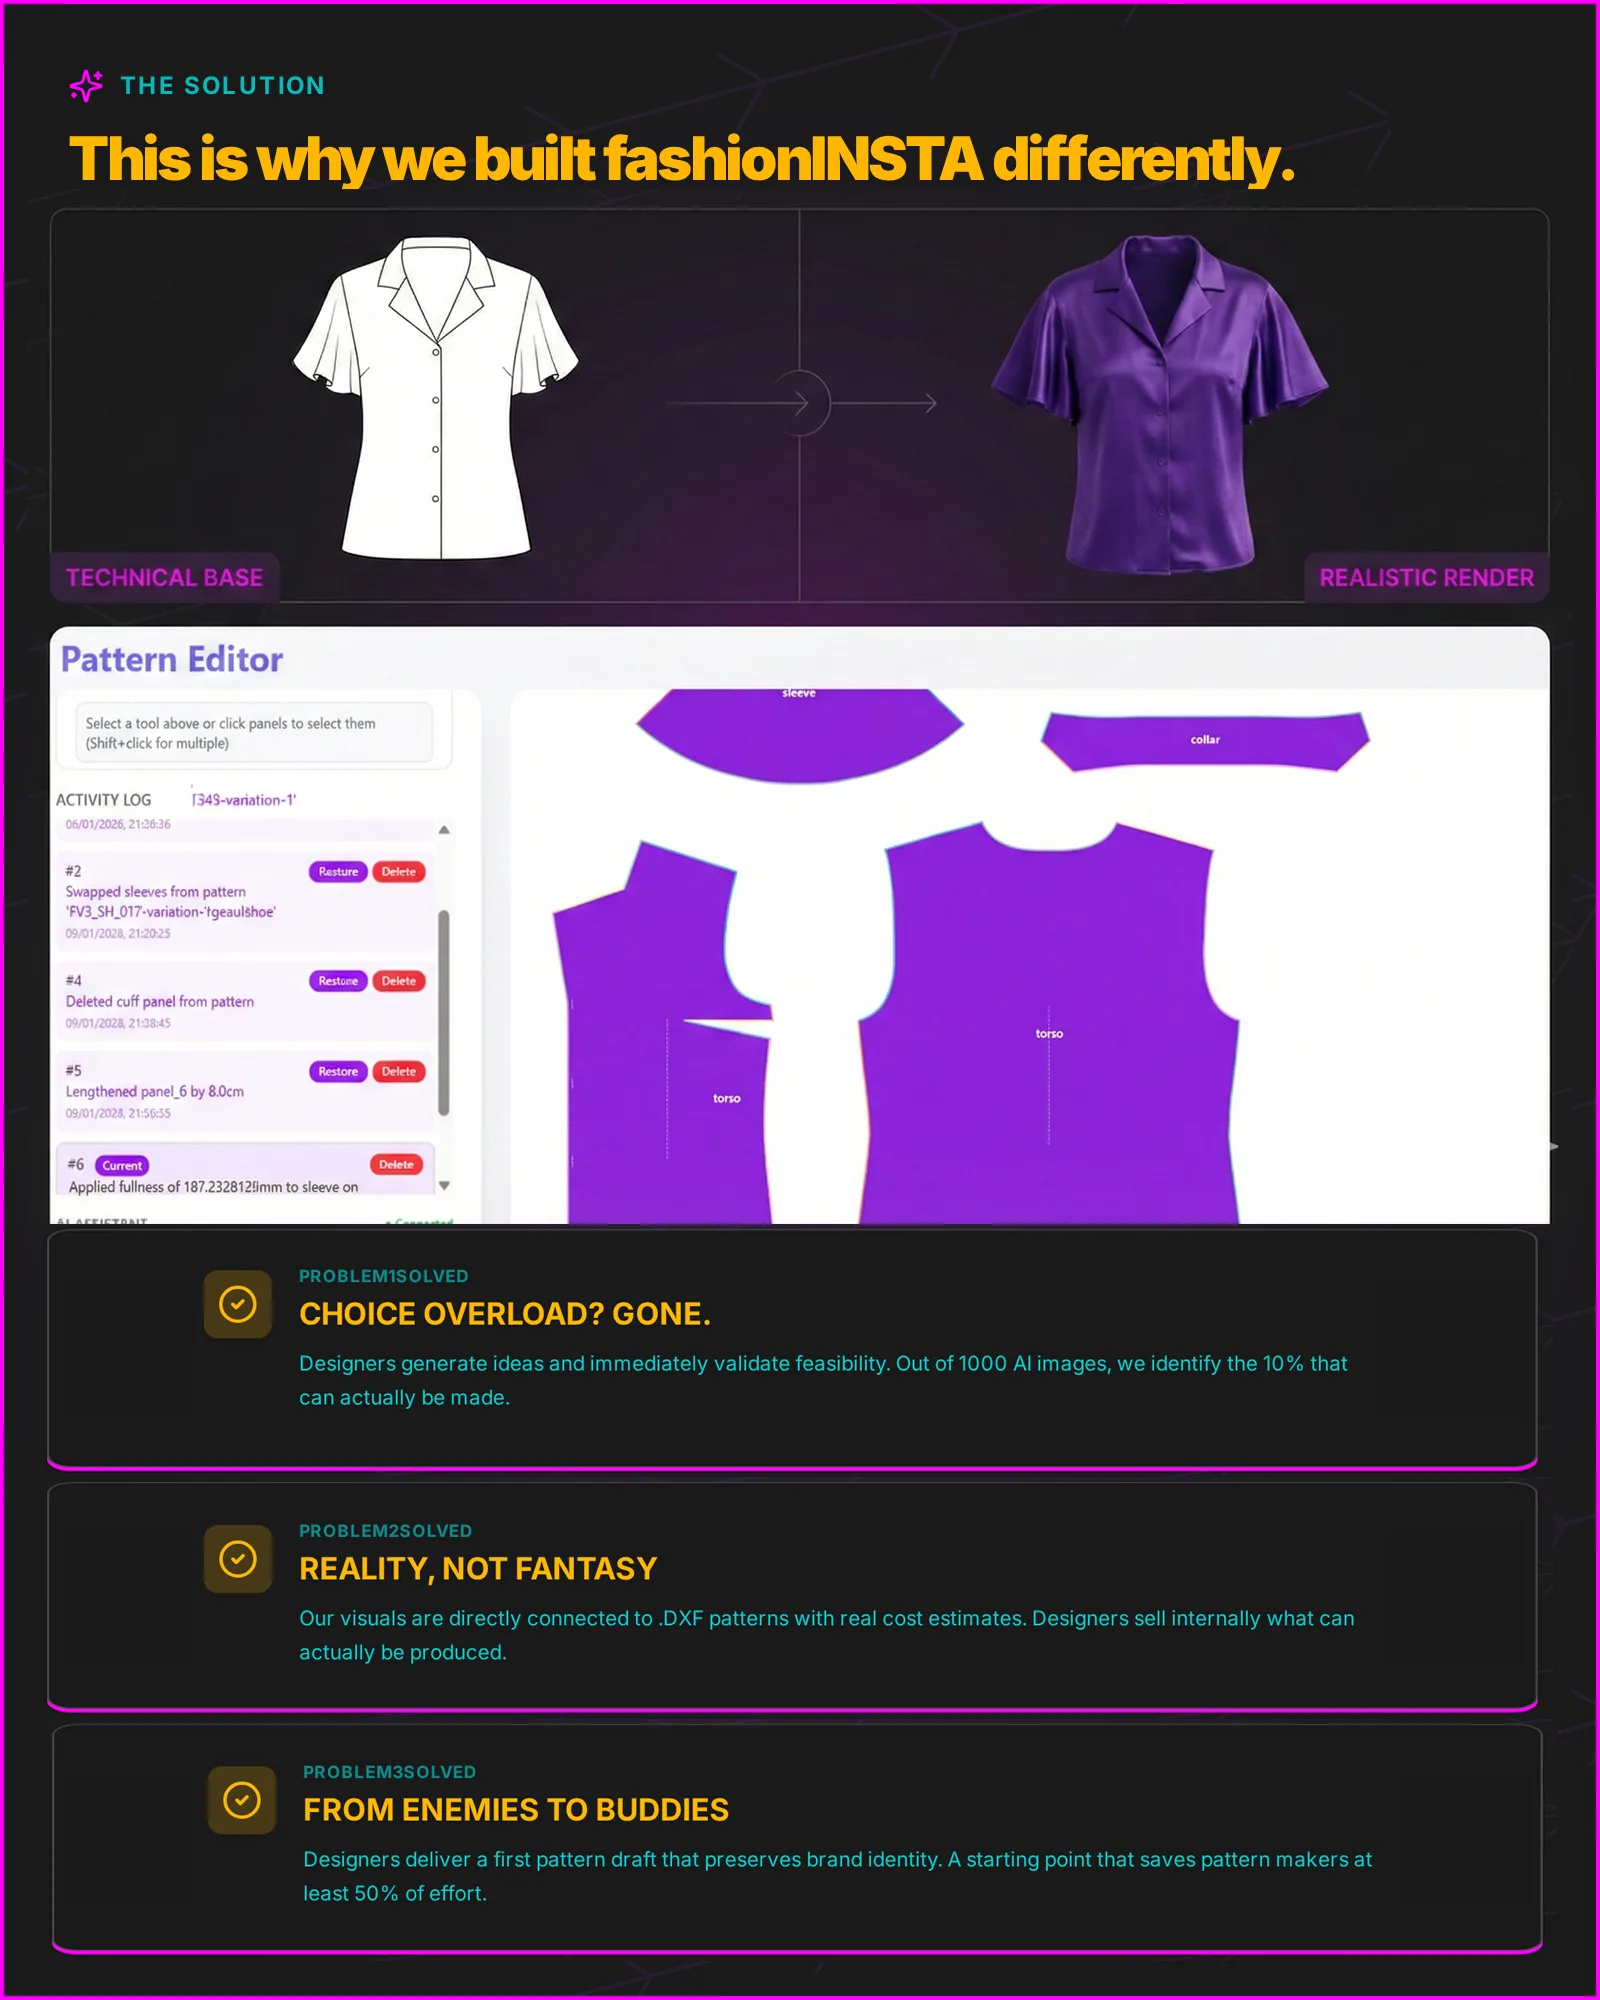
With a verified pattern in hand, add two more nodes to your workflow: the BOM Agent and the Cost Estimator.
The BOM Agent connects to a live fabric database and returns real fabric names, compositions, prices, and minimum order quantities matched to your garment's construction requirements. You're not browsing a generic catalog; the node surfaces purchasable options that fit your spec.
The Cost Estimator then calculates cost-of-goods using fabric consumption pulled directly from the .DXF geometry, plus construction complexity, trims, and estimated labor. This runs in the same session as pattern generation, so you know whether the design is commercially viable before you've spent a dollar on sampling.
Checkpoint: If the cost estimate comes back over your target price point, use the AI production costing and feasibility tools to identify which construction details are driving cost. A lapped seam finish, for instance, adds labor time; the AI will flag it.
Step 5: Auto-generate the tech pack
Add the Tech Pack Compiler node to your workflow. The node pulls measurements and construction data directly from the pattern geometry, fabric spec from the BOM agent output, and colorways from your reference, then assembles a factory-ready tech pack automatically.
The tech pack includes:
- Measurement spec sheet
- Construction notes and stitch type callouts
- Fabric and trim specifications with supplier references
- Grading rules across sizes
- Front and back garment views
Download the tech pack as a PDF. This is the document that goes to your manufacturer.
Warning: Review the construction notes section before sending. The AI drafts based on pattern geometry, but factory-specific requirements (minimum stitch density, label placement rules, or regional compliance standards) need to be added manually if they apply to your production context.
Step 6: Export and send to factory
- Download the .DXF pattern file from the Pattern Generator node output.
- Download the tech pack PDF from the Tech Pack Compiler node.
- Attach both files to your factory handoff. Most cut-and-sew manufacturers accept .DXF directly into their cutting room software.
If your factory uses a specific CAD system like Gerber AccuMark or Lectra Modaris, the .DXF file is compatible without conversion.
Checkpoint: Send the tech pack and pattern to your factory contact with a request to confirm the file opens correctly in their system before scheduling a sample cut. A 10-minute confirmation call prevents a week's delay.
Common issues and how to fix them
Pattern pieces don't match your expected garment structure. Go back to Step 2 and add more detail to the node's text description. Specify sleeve type (set-in vs. raglan), number of panels, and any design details not visible in the sketch (e.g., internal yoke, side panels).
The .DXF file won't open in your CAD software. Confirm your CAD version supports the DXF format version exported. fashionINSTA outputs standard DXF; if your software requires a legacy version, contact support to request a format-specific export.
The cost estimate seems too high. Check the BOM agent's fabric selection. If it defaulted to a premium woven when you intended a jersey knit, manually adjust the fabric node input and re-run the cost estimator.
The tech pack is missing construction details. This usually means the sketch had limited construction visibility. Add a second reference image showing the back or a detail shot, then re-run the Tech Pack Compiler node.
What you've accomplished
Starting from a single sketch, you now have a downloadable .DXF pattern file, a verified BOM with real fabric pricing, a cost-of-goods estimate, and a factory-ready tech pack. The entire workflow runs in one session, without a pattern maker, without a CAD specialist, and without a sampling round to verify proportions.
Brands using AI-assisted pattern development report cutting development timelines by up to 70% compared to traditional methods, with sketch-to-table time dropping from 2 weeks to under a day for standard styles.
Next steps:
- Upload existing .DXF files from previous seasons to train fashionINSTA's Pattern Intelligence layer on your brand's fit standards. The more patterns you feed it, the more accurately it reproduces your fit DNA on new styles.
- Explore the node workflows that cut production time by 70% for building multi-style seasonal workflows in a single canvas.
- Review how AI tech pack generation eliminates revision cycles for deeper guidance on collaborating with factories using AI-generated documentation.