Evaluating AI Fashion Tools: A DXF Verification Protocol
TL;DR: Evaluating AI fashion tools requires moving beyond visual renders to ensure the generated DXF patterns are genuinely cuttable in CAD systems. This protocol provides a step-by-step verification checklist for geometry integrity, pattern semantics, and manufacturing readiness. Use this guide to audit AI-generated patterns for real-world production viability.
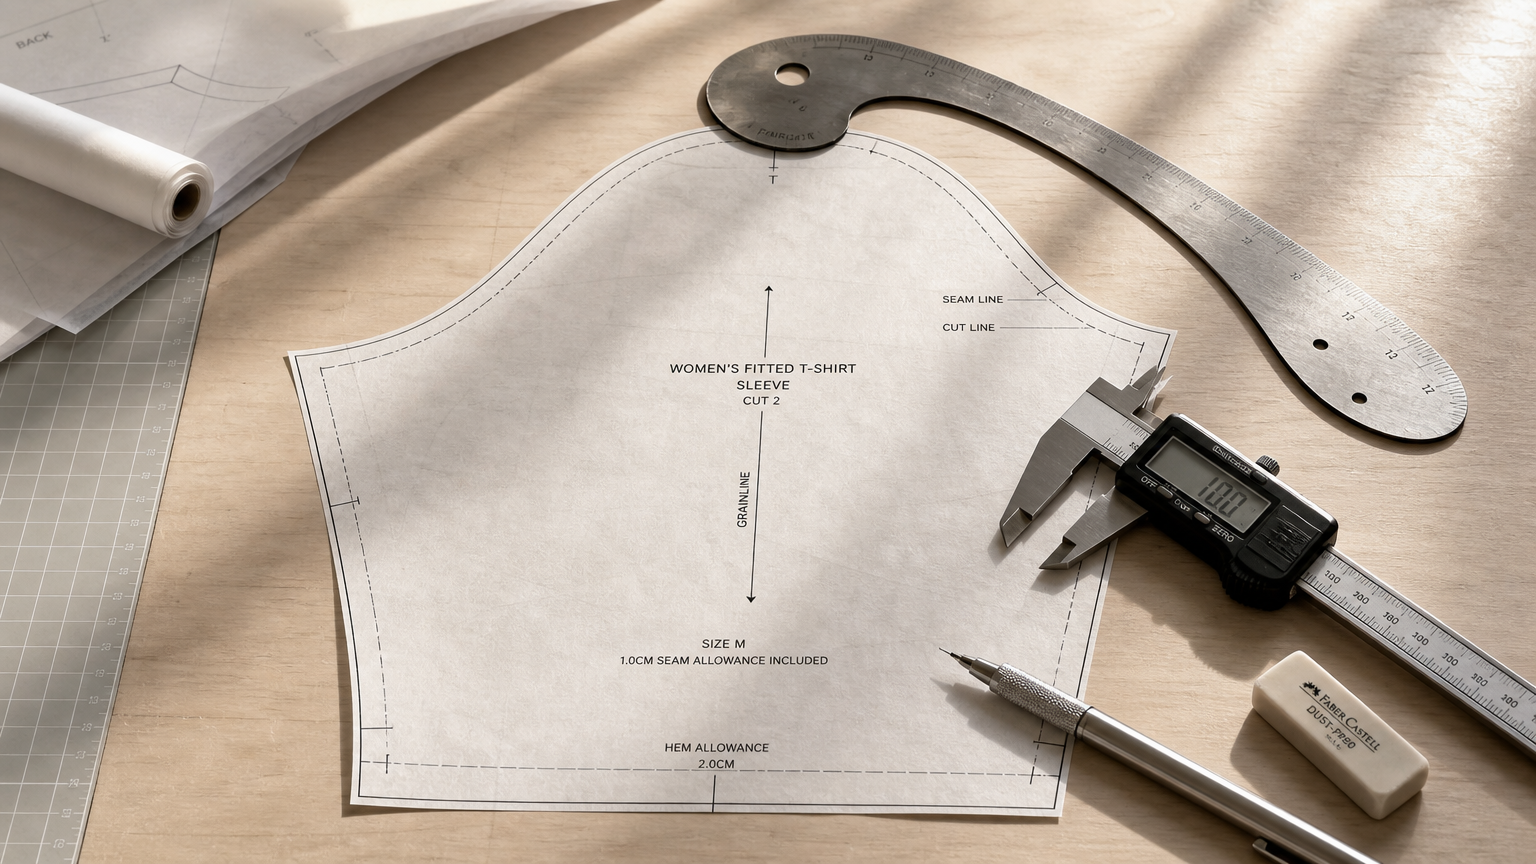
A render that looks right means nothing if the DXF won't open cleanly in Gerber, CLO3D, or Browzwear. That's the core problem with most AI fashion tool evaluations: they stop at the image. This protocol gives pattern makers and R&D directors a repeatable, auditable QA workflow to determine whether an AI tool produces genuinely cuttable patterns or just production-grade illustrations.
The full evaluation runs 60–90 minutes per tool and covers three verification levels: CAD/DXF geometry integrity, pattern semantics, and manufacturing readiness (nesting, POM extraction, tech pack output).
What this protocol covers and what you'll need
Before running any checks, confirm you have the following in place:
- A target CAD or 3D environment: Gerber AccuMark, Lectra Modaris, CLO3D, Browzwear VStitcher, Optitex, or Tukatech
- A reference garment type and size range (e.g., women's fitted tee, sizes XS–XL)
- A reference tech pack or master pattern with known POM values
- A clean folder structure per tool under evaluation:
/input,/screenshots,/measurements,/reports,/exported_audit_DXF
The three templates this protocol uses are: a DXF Verification Checklist, a CAD Inspection Worksheet, and a Technical Brief for scoring and sign-off. Each is fillable and designed to produce an audit record you can reference in a PoC review.
The pass/fail logic is binary at the geometry level. A pattern that visually resembles the correct silhouette but contains open contours, inverted seam/cut layers, or misaligned notches is a hard fail for cutting purposes. No amount of semantic correctness compensates for geometry that a plotter or cutter cannot process.
DXF verification checklist with recommended tolerances
Work through these categories in sequence. Items marked hard fail halt evaluation; no further scoring applies.
Units and scale Verify the DXF is authored in millimeters (standard for AAMA/ASTM apparel DXF) and that a known dimension (e.g., bodice length) matches the reference within ±1 mm. A unit mismatch (e.g., inches interpreted as mm) produces a scale error of ~25.4x and is a hard fail. TAAS Digital's DXF guide for apparel specifically recommends unit consistency checks as part of any DXF verification workflow.
Layer and element mapping (AAMA vs ASTM) Confirm that cut line, sew line, grain line, notch, internal line, and annotation layers are mapped to named or numbered layers recognizable by your target CAD system. Browzwear's file-type documentation notes that AAMA/ASTM DXF format support is expected for pattern import workflows. The CLO3D help center similarly treats DXF import settings as a distinct configuration step, meaning an incorrect layer structure will silently misroute elements. Hard fail: cut line and sew line on the same undifferentiated layer with no AAMA/ASTM-style separation.
Contour integrity (closed polygons) Select each pattern piece outline. All contours must be closed polylines or closed spline paths with zero gap tolerance (recommended QC tolerance: gap ≤ 0.1 mm at any vertex). Open polygons are a hard fail: plotters and digital cutters require closed paths. Common causes in AI-generated DXFs include duplicated micro-segments at corner points and arc/line transitions with sub-millimeter gaps that appear closed visually.
Curve quality Inspect control points on armscyes, necklines, and crotch curves. Recommended: no more than one control point per 10 mm of curve length for smooth plotter output; no self-intersecting paths; no zero-length segments. Stray points and zero-length duplicate segments are common AI output artifacts that cause cutter errors without visible flags.
Seam vs cut intent Verify seam allowance is present and correctly attributed. Measure seam allowance width at three POM points per piece (CB seam, side seam, armhole). Recommended tolerance: ±0.5 mm from spec. Confirm seam line and cut line are on separate layers. Hard fail: missing seam allowance entirely, or seam/cut intent not distinguished by layer.
Notches and match points Every notch must align with its mating seam on the corresponding pattern piece. Measure notch-to-notch offset between mating seams (e.g., side front to side back). Recommended QC tolerance: ≤ 1.0 mm misalignment. Notch type (T-notch vs V-notch) must match the tech pack spec. Hard fail: notch placement on one piece with no corresponding notch on the mating piece.
Grainline Each piece requires a grainline with correct directional orientation (double-headed arrow or single arrow with defined warp direction). Grainline must be on a dedicated layer and fall within the pattern piece boundary. An off-grain or reversed grainline is a semantic failure that produces fabric waste and miscut pieces.
Text and labels Piece name, size designation, quantity (cut x), and fabric type should be readable text entities, not rasterized or embedded blocks. Extract labels; confirm they match the reference tech pack spec.
Grading integrity (multi-size) If the tool claims graded output, isolate each size layer and verify that grade increments at key POM points (chest, waist, hip, sleeve length) are within ±1 mm of the grade rule spec. Verify no size nests cross or share vertices with adjacent sizes.
Scoring rubric
| Category | Max points | Hard-fail condition |
|---|---|---|
| Geometry critical (units, contours, seam/cut intent) | 40 | Any hard fail = total fail |
| Semantic critical (notches, grainline, labels) | 30 | Any hard fail = total fail |
| Extraction / tech pack (POM match, label extraction) | 20 | Score only if geometry passes |
| Feasibility / marker (nesting, plot feasibility) | 10 | Score only if geometry passes |
A minimum passing score is 70/100, with zero hard fails in the Geometry and Semantic categories. Tools that score below 70 or trigger any hard fail should be documented as "not cuttable without manual repair" in the Technical Brief.
CAD quick-commands cheat-sheet
These are tool-agnostic operations; adapt syntax to your specific software environment.
| Task | Operation type | Notes |
|---|---|---|
| Isolate pattern piece layer | Layer filter / freeze all except target | Prevents adjacent pieces from masking open paths |
| Validate closed contours | Select outline > check entity type | Closed polyline = pass; open polyline or set of lines = inspect for gaps |
| Measure seam allowance | Point-to-point distance at three locations | Record values in measurements worksheet |
| Inspect control points | Display knots / node edit mode | Look for zero-length segments and stacked vertices |
| Check notch placement | Measure notch position from nearest corner point on both mating pieces | Delta should be ≤ 1.0 mm |
| Verify grainline direction | Angle measurement from grain entity | Should align with warp direction stated in tech pack |
| Run polyline cleanup | Join / repair / heal path tool | Document before/after in screenshots |
| Export audit DXF | Save cleaned copy to /exported_audit_DXF |
Preserve original; never overwrite input file |
Recommended audit artifacts per evaluation session: before/after repair screenshots, a measurement log CSV, and the exported cleaned DXF. These become the evidence record for your PoC review.
Sample completed checklist: women's jersey tee, size M
Garment: short-sleeve jersey tee (front body, back body, sleeve x2) Target size: M (chest 96 cm / 38 in spec) Reference: internal tech pack with 14 POM points
| Check | Measured value | Acceptable range | Result |
|---|---|---|---|
| Units | mm | mm | Pass |
| Chest width at POM (half) | 48.1 cm | 48.0 ± 0.1 cm | Pass |
| Contour closure, front body | 0.0 mm gap | ≤ 0.1 mm | Pass |
| Contour closure, sleeve | 0.08 mm gap | ≤ 0.1 mm | Pass |
| Seam allowance at side seam | 9.8 mm | 10.0 ± 0.5 mm | Pass |
| Seam/cut layer separation | Separate layers confirmed | AAMA standard | Pass |
| Sleeve cap notch to back notch delta | 0.7 mm | ≤ 1.0 mm | Pass |
| Grainline on sleeve | Present, warp direction | Required | Pass |
| Text labels readable | All 4 pieces | Required | Pass |
Typical fail example: a second output from a different tool showed the sleeve contour with a 1.4 mm gap at the cap-to-underarm transition. The gap was invisible at standard zoom but triggered a "path not closed" error on import into CLO3D (per CLO Help Center import behavior for open DXF paths). The notch on the sleeve cap was also present on the sleeve but absent on the corresponding armhole of the back body, flagging a semantic hard fail. That file scored 18/100 and was classified as not cuttable.
Why the passing output is cuttable: all four pieces carried closed contours, AAMA-separated layers, seam allowance within ±0.5 mm of spec, and matched notches on all mating seams. The file opened without repair in both CLO3D and Gerber AccuMark.
How to access the downloadable templates
The evaluation kit includes four files:
- DXF Verification Checklist (fillable PDF/Excel) with all checklist rows, tolerance columns, and pass/fail fields
- CAD Inspection Worksheet (fillable) for logging per-piece measurements and command outputs
- Technical Brief Template (fillable) for scoring summary, evaluator sign-off, and recommendation
- Example filled report (PDF) based on the women's tee sample above
Organize one folder per tool under evaluation using the structure: /input, /screenshots, /measurements, /reports, /exported_audit_DXF. Keep the original input DXF untouched; all repair work goes to the audit copy.
If you're sharing results with a team or running a formal PoC review, strip client project names from the measurement logs before distribution but retain all numeric measurement data. The measurement log is the auditable core of the evaluation.
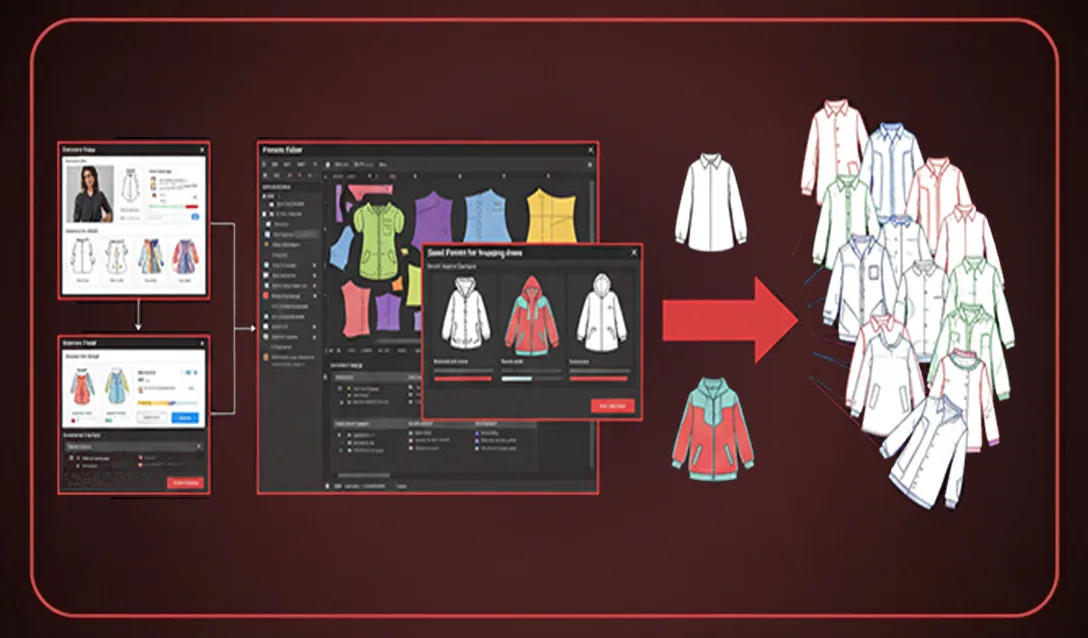
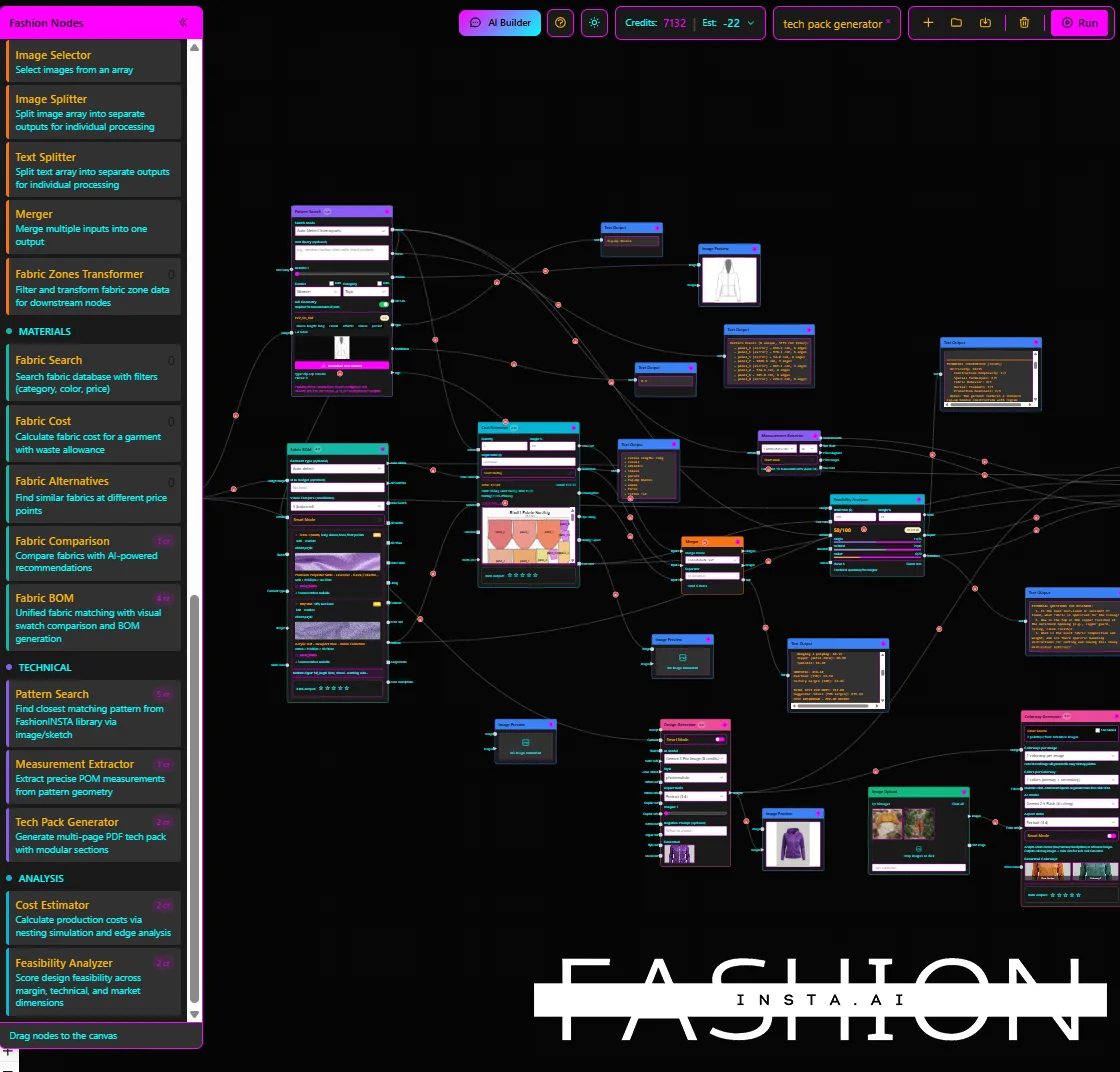
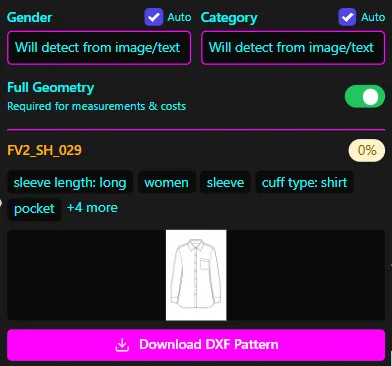
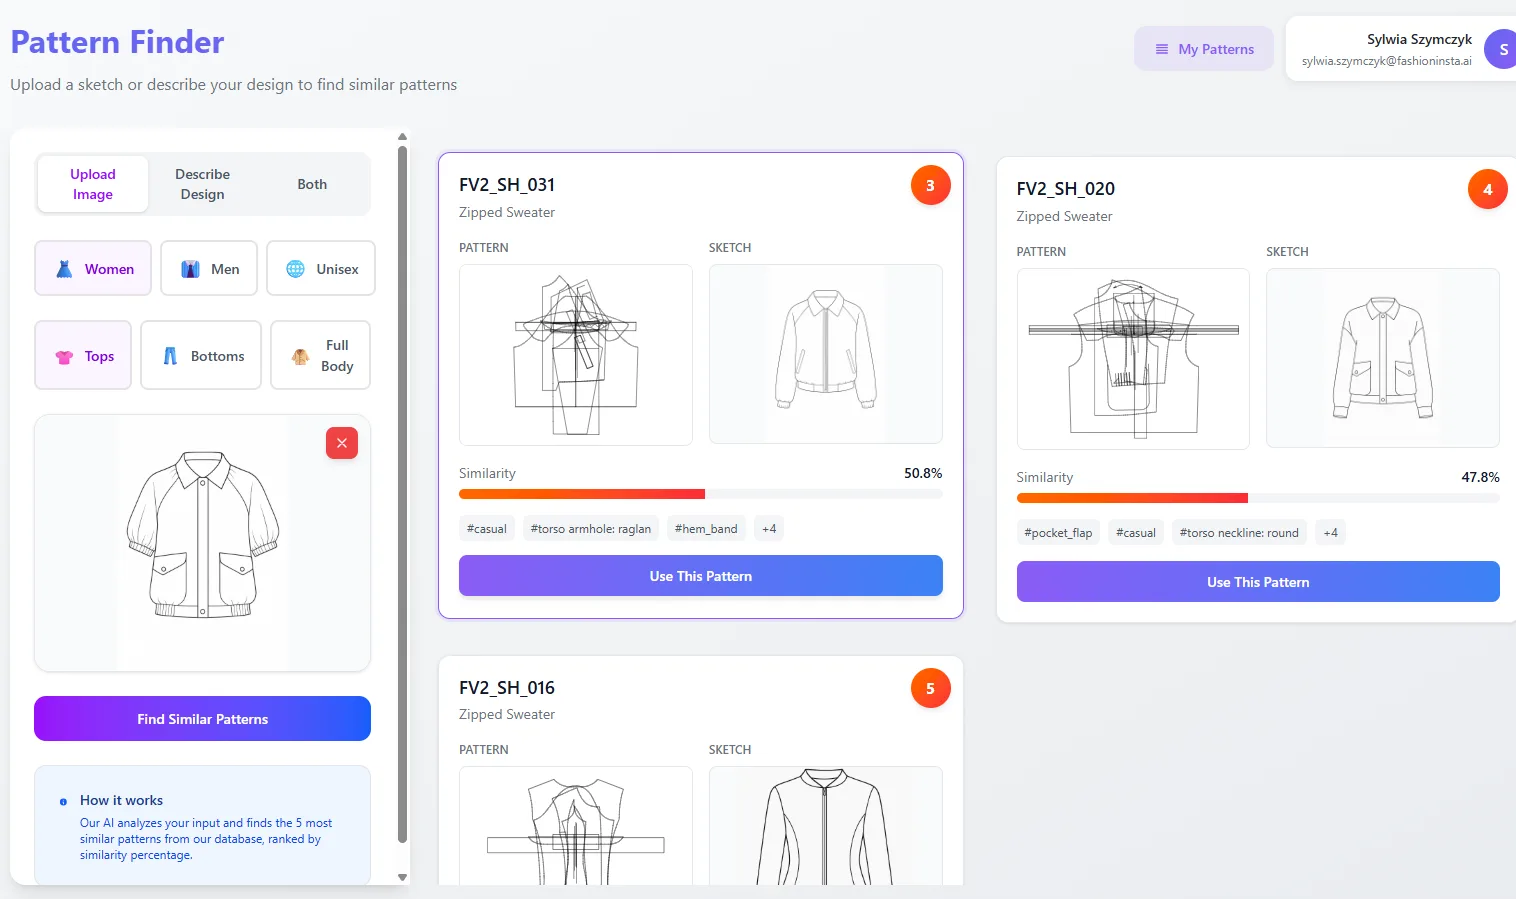
Platforms that produce genuinely cuttable output, like FashionINSTA, export AAMA DXF for Gerber and VStitcher-compatible DXF formats, auto-extract measurement points for tech pack generation, and structure their enterprise PoC around week-10 KPI reviews with feasibility checks including nesting and cost estimation (described in FashionINSTA's Pattern Intelligence interview materials as "about 80% of reality if you connect it to the correct data"). That PoC structure maps directly onto this protocol: collect patterns, train/clean, run tryout, then verify outputs against the checklist before the formal review gate.